3eae24ece972eece097ec82f82643cef.ppt
- Количество слайдов: 86
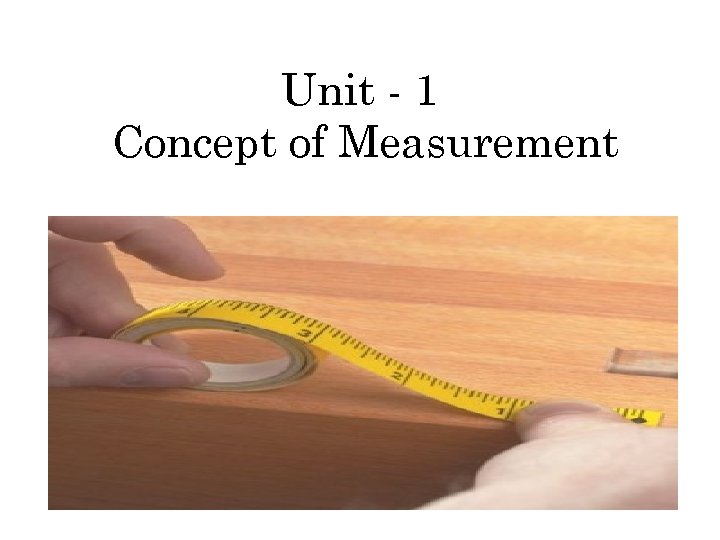
Unit - 1 Concept of Measurement
Syllabus General concept – Generalized measurement system-Units and standards-measuring instruments- sensitivity, readability, range of accuracy, precision-static and dynamic response repeatability- systematic and random errorscorrection, calibration, interchangeability
Definition • Metrology is the name given to the science of pure measurement. • Engineering Metrology is restricted to measurements of length, angle & form • Measurement is defined as the process of numerical evaluation of a dimension or the process of comparison with standard measuring instruments
Why measure things? • Check quality? • Check tolerances? • Allow statistical process control (SPC)?
Need of Measurement • • Establish standard Interchange ability Customer Satisfaction Validate the design Physical parameter into meaningful number True dimension Evaluate the Performance
Consider the vehicle the following are to be measured • • Speed of travel Distance of travel Fuel level Engine temperature
Methods of Measurement • • Direct method Indirect method Comparative method Coincidence method Contact method Deflection method Complementary method
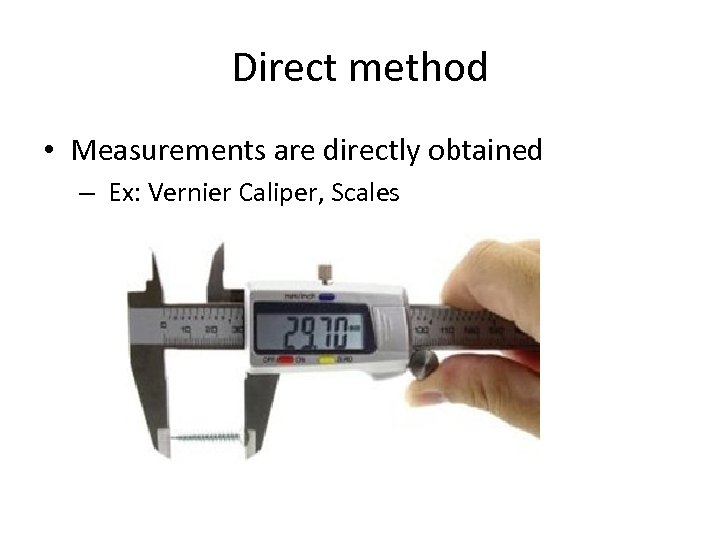
Direct method • Measurements are directly obtained – Ex: Vernier Caliper, Scales
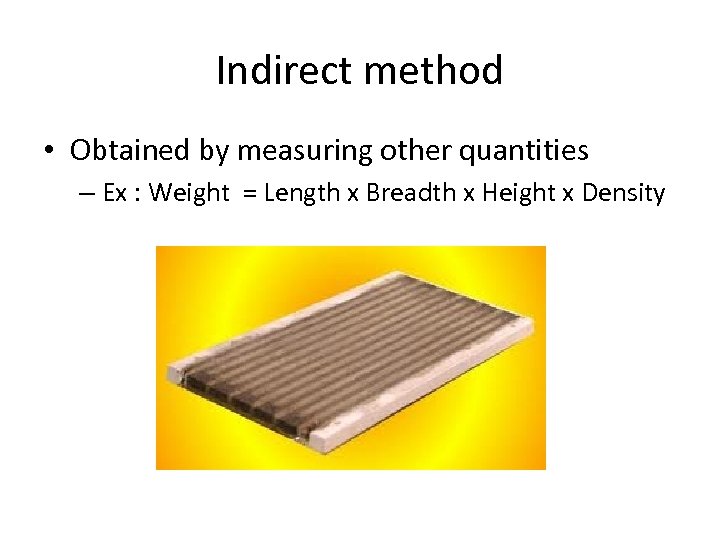
Indirect method • Obtained by measuring other quantities – Ex : Weight = Length x Breadth x Height x Density
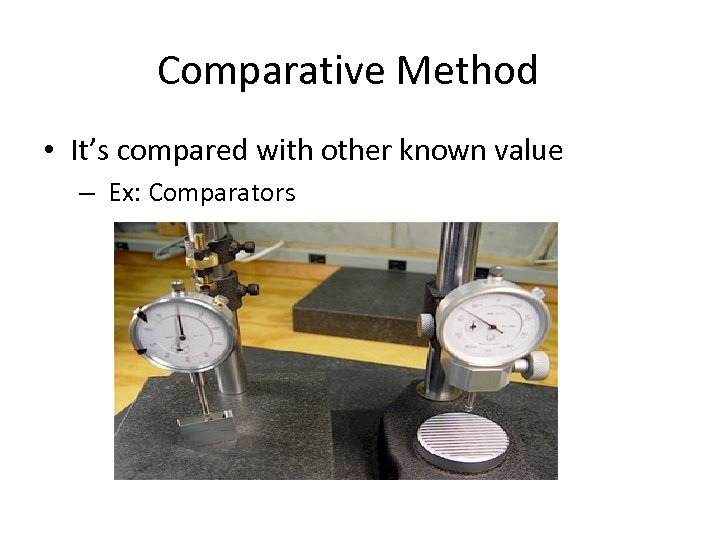
Comparative Method • It’s compared with other known value – Ex: Comparators
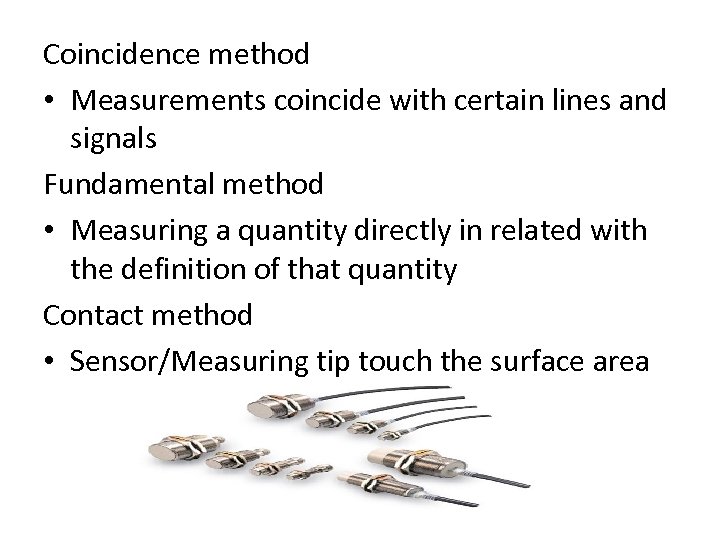
Coincidence method • Measurements coincide with certain lines and signals Fundamental method • Measuring a quantity directly in related with the definition of that quantity Contact method • Sensor/Measuring tip touch the surface area
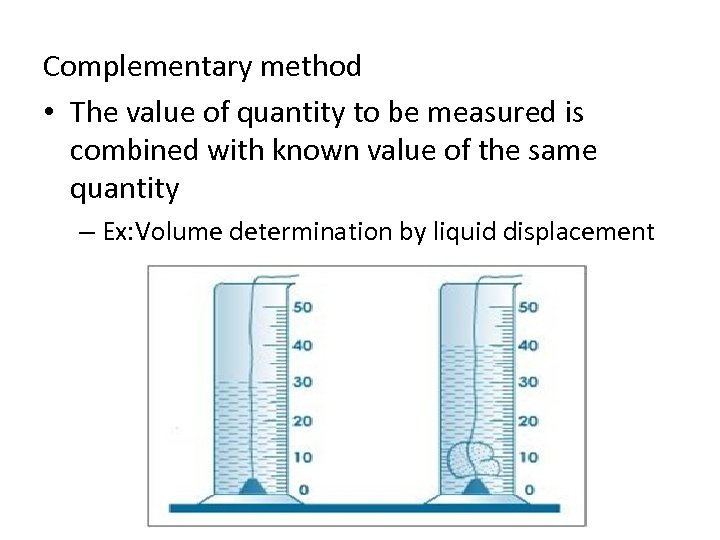
Complementary method • The value of quantity to be measured is combined with known value of the same quantity – Ex: Volume determination by liquid displacement
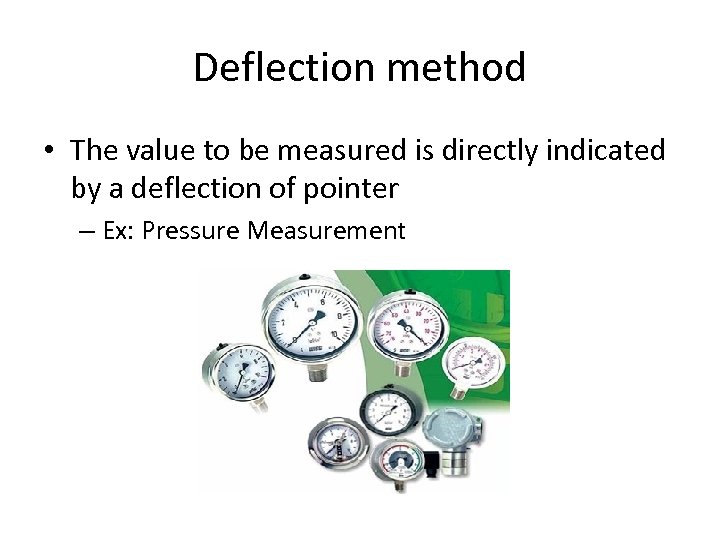
Deflection method • The value to be measured is directly indicated by a deflection of pointer – Ex: Pressure Measurement
GENERALIZED MEASURING SYSTEM
Common elements of system • • • Primary sensing element Variable conversion element Variable manipulation element Data transmission element Data processing element Data presentation element
Primary sensing element: - Receives energy from measured medium and produces output to the measured. - This output is converted into electrical signal by transducer. Variable conversion element: - Converts the output electrical signal of the primary sensing element (may be voltage, frequency or other electrical parameters) into more suitable form without changing the information content of the input signal - Some instruments, there is no need of using variable conversion element. (temp-EMF)
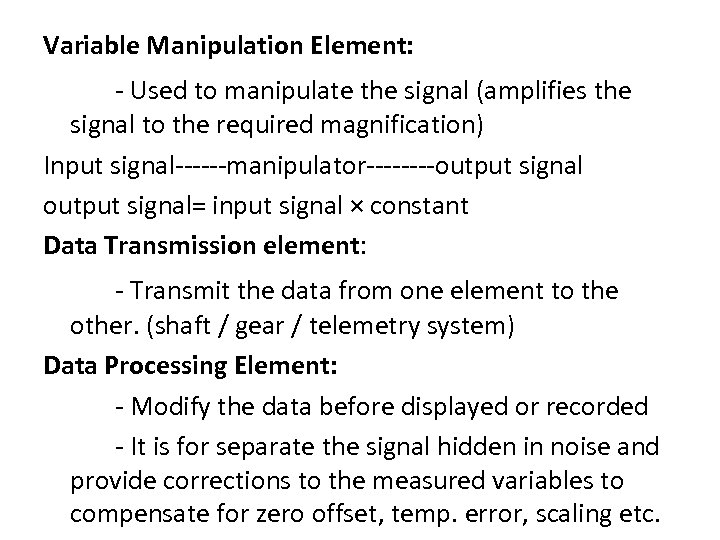
Variable Manipulation Element: - Used to manipulate the signal (amplifies the signal to the required magnification) Input signal------manipulator----output signal= input signal × constant Data Transmission element: - Transmit the data from one element to the other. (shaft / gear / telemetry system) Data Processing Element: - Modify the data before displayed or recorded - It is for separate the signal hidden in noise and provide corrections to the measured variables to compensate for zero offset, temp. error, scaling etc.
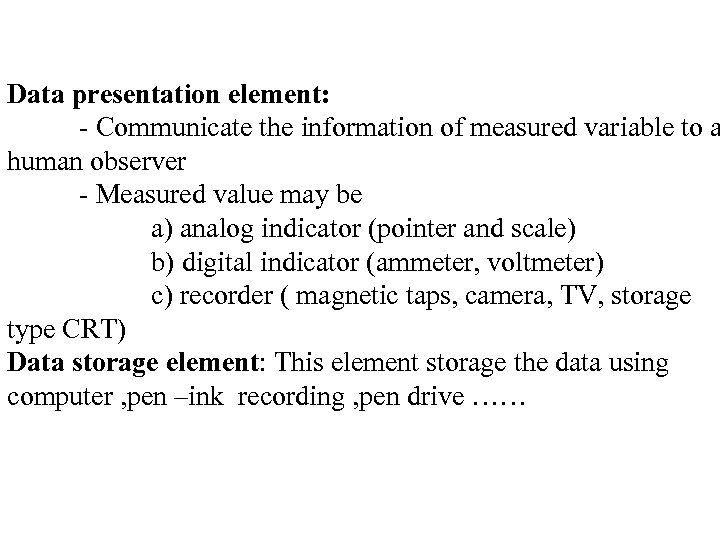
Data presentation element: - Communicate the information of measured variable to a human observer - Measured value may be a) analog indicator (pointer and scale) b) digital indicator (ammeter, voltmeter) c) recorder ( magnetic taps, camera, TV, storage type CRT) Data storage element: This element storage the data using computer , pen –ink recording , pen drive ……
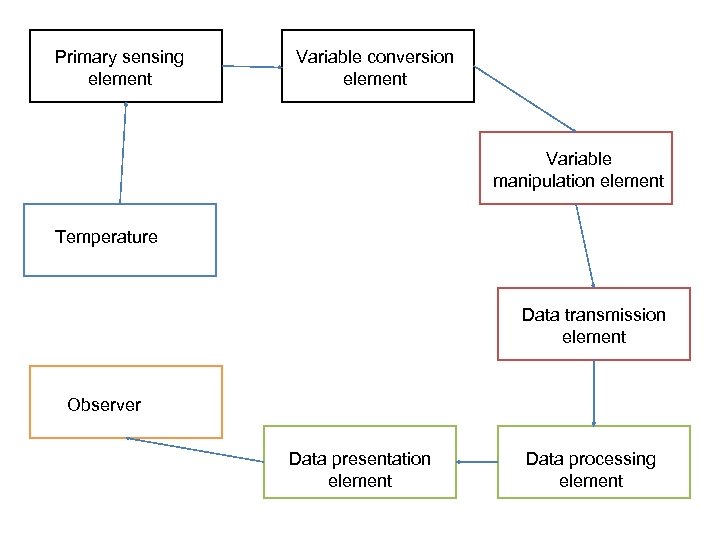
Primary sensing element Variable conversion element Variable manipulation element Temperature Data transmission element Observer Data presentation element Data processing element
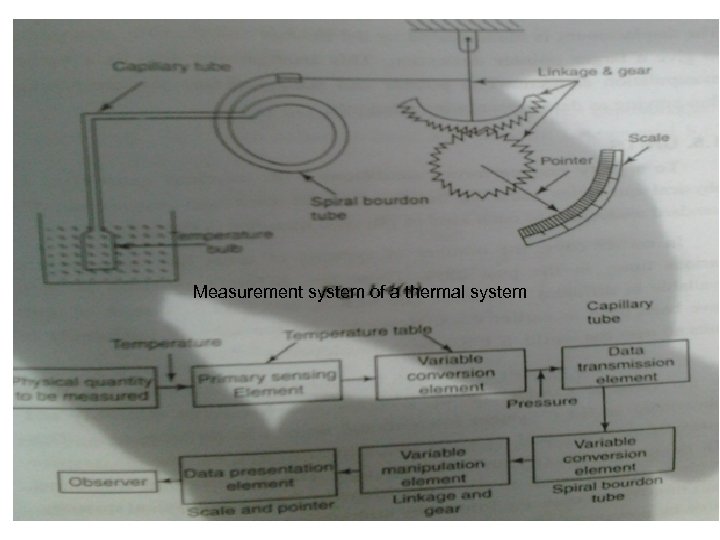
Measurement system of a thermal system
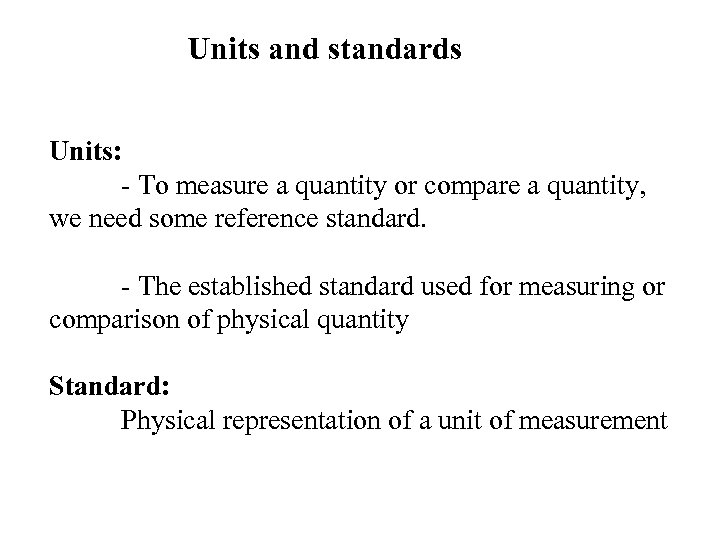
Units and standards Units: - To measure a quantity or compare a quantity, we need some reference standard. - The established standard used for measuring or comparison of physical quantity Standard: Physical representation of a unit of measurement
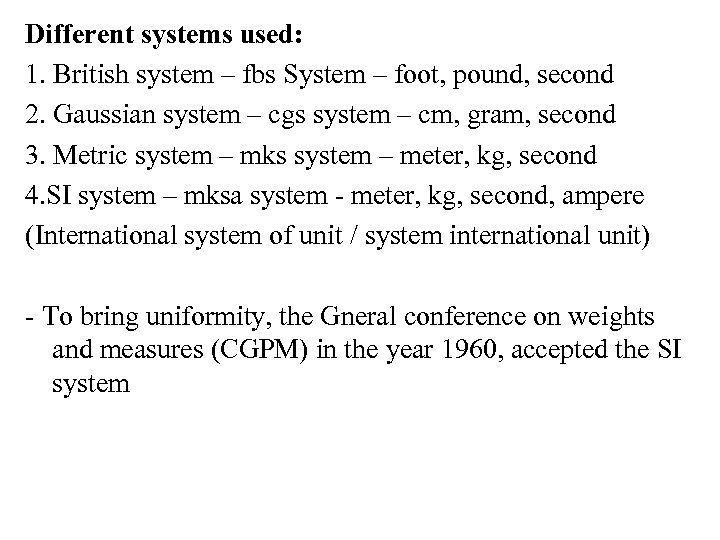
Different systems used: 1. British system – fbs System – foot, pound, second 2. Gaussian system – cgs system – cm, gram, second 3. Metric system – mks system – meter, kg, second 4. SI system – mksa system - meter, kg, second, ampere (International system of unit / system international unit) - To bring uniformity, the Gneral conference on weights and measures (CGPM) in the year 1960, accepted the SI system
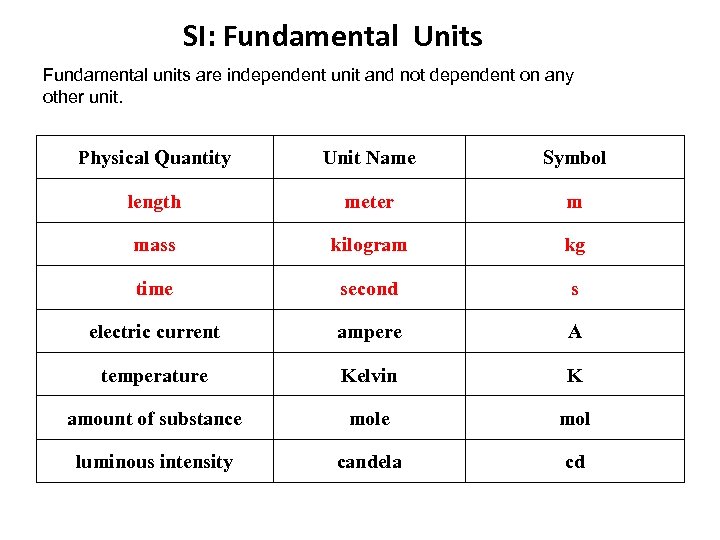
SI: Fundamental Units Fundamental units are independent unit and not dependent on any other unit. Physical Quantity Unit Name Symbol length meter m mass kilogram kg time second s electric current ampere A temperature Kelvin K amount of substance mol luminous intensity candela cd
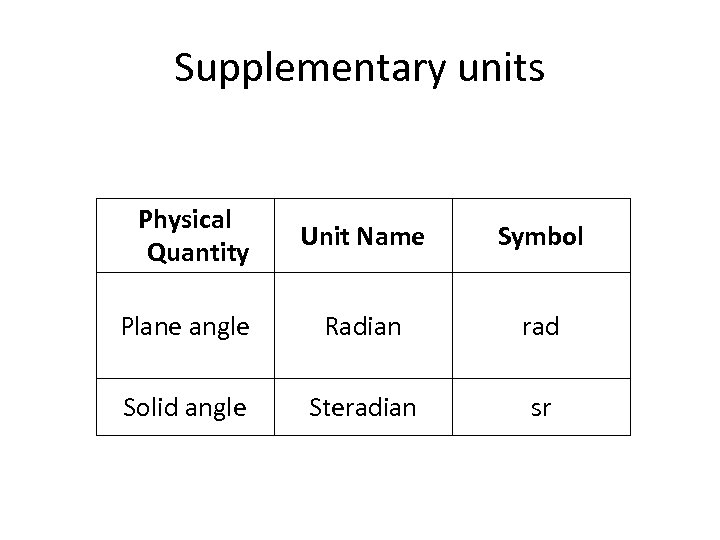
Supplementary units Physical Quantity Unit Name Symbol Plane angle Radian rad Solid angle Steradian sr
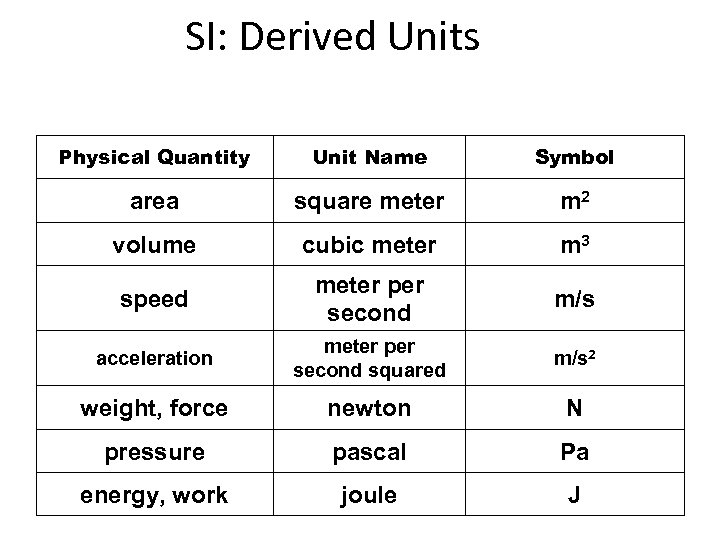
SI: Derived Units Physical Quantity Unit Name Symbol area square meter m 2 volume cubic meter m 3 speed meter per second m/s acceleration meter per second squared m/s 2 weight, force newton N pressure pascal Pa energy, work joule J
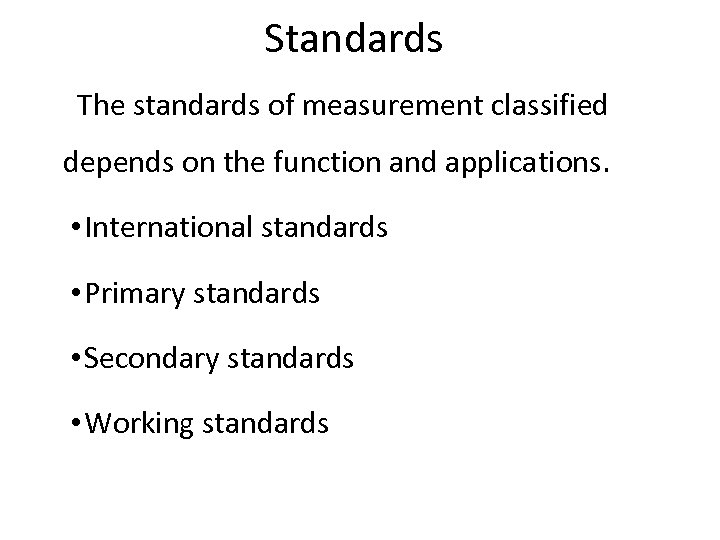
Standards The standards of measurement classified depends on the function and applications. • International standards • Primary standards • Secondary standards • Working standards
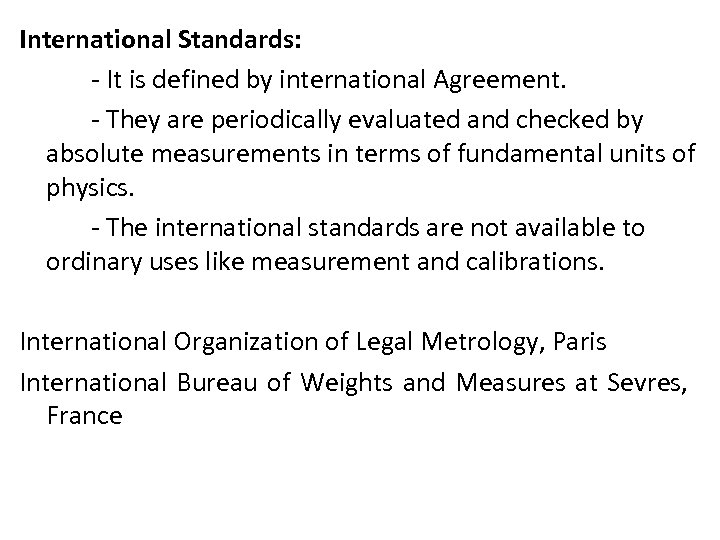
International Standards: - It is defined by international Agreement. - They are periodically evaluated and checked by absolute measurements in terms of fundamental units of physics. - The international standards are not available to ordinary uses like measurement and calibrations. International Organization of Legal Metrology, Paris International Bureau of Weights and Measures at Sevres, France
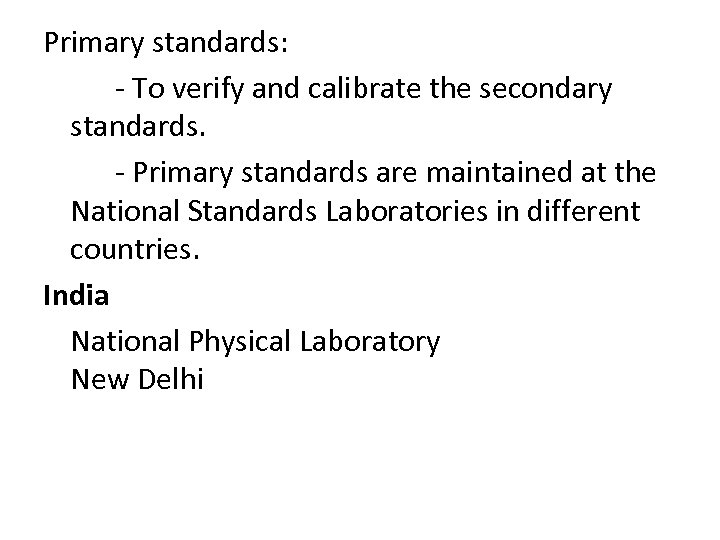
Primary standards: - To verify and calibrate the secondary standards. - Primary standards are maintained at the National Standards Laboratories in different countries. India National Physical Laboratory New Delhi
Secondary standards: - It is basic reference standards used by the measurement and calibration laboratories in industries. - Each industry has its own secondary standard. - Each laboratories periodically sends its secondary standards to the national standards lab for calibration and comparison against the primary standard.
Working standards: - It is the main tool of a measuring laboratory. - These standards are used to check and calibrate the instruments for accuracy and performance. Example: Plug gauge, Slip gauge
TYPES OF INSTRUMENTS Deflection and null type instruments Analog and digital instruments Active and passive instruments Automatic and manually operated instruments • Contacting and non contacting instruments • Absolute and secondary instruments • Intelligent instruments. • •
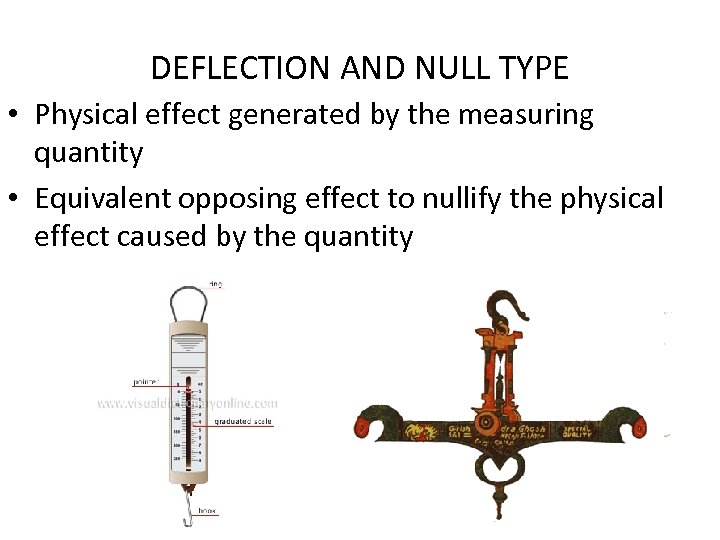
DEFLECTION AND NULL TYPE • Physical effect generated by the measuring quantity • Equivalent opposing effect to nullify the physical effect caused by the quantity
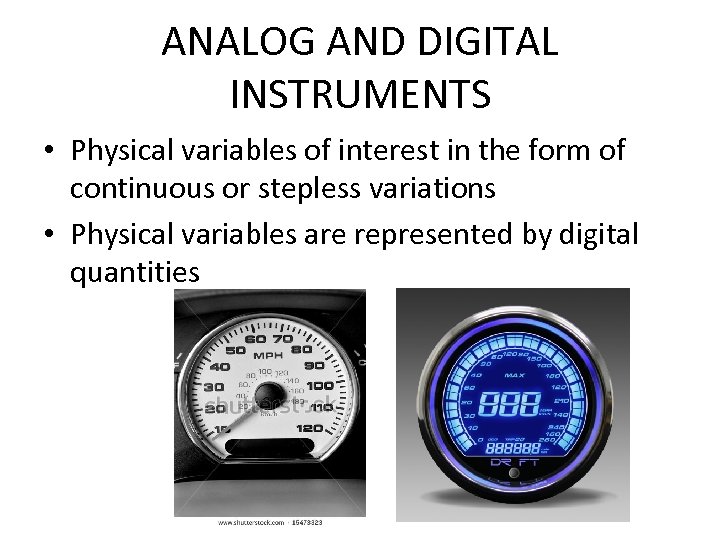
ANALOG AND DIGITAL INSTRUMENTS • Physical variables of interest in the form of continuous or stepless variations • Physical variables are represented by digital quantities
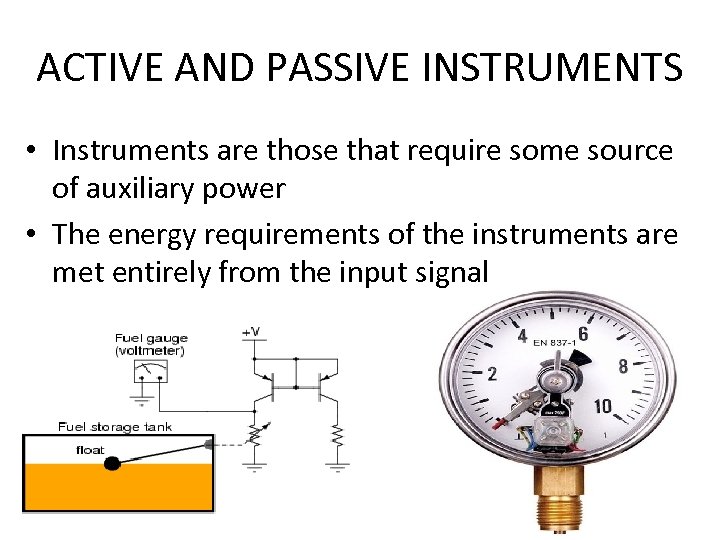
ACTIVE AND PASSIVE INSTRUMENTS • Instruments are those that require some source of auxiliary power • The energy requirements of the instruments are met entirely from the input signal
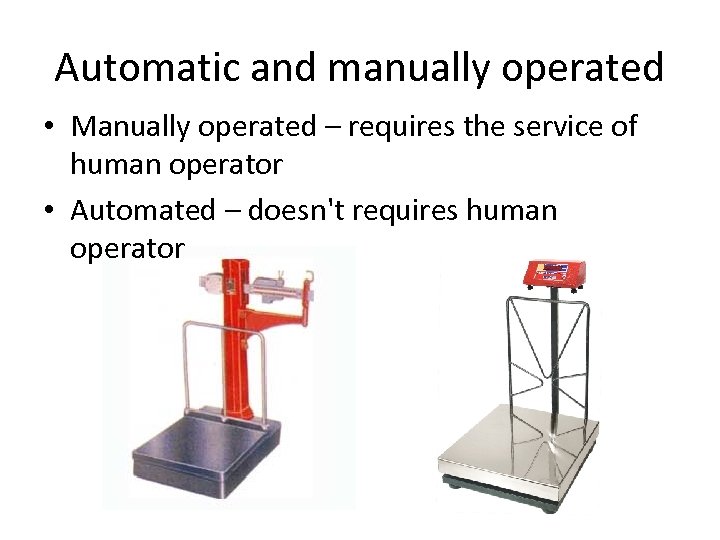
Automatic and manually operated • Manually operated – requires the service of human operator • Automated – doesn't requires human operator
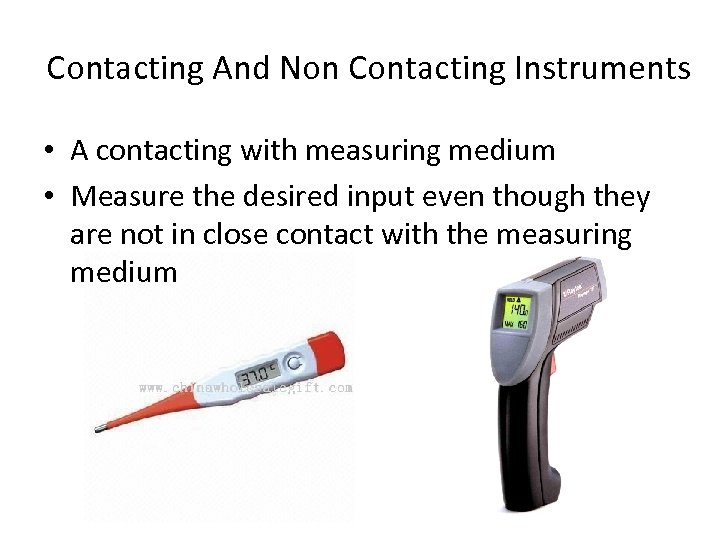
Contacting And Non Contacting Instruments • A contacting with measuring medium • Measure the desired input even though they are not in close contact with the measuring medium
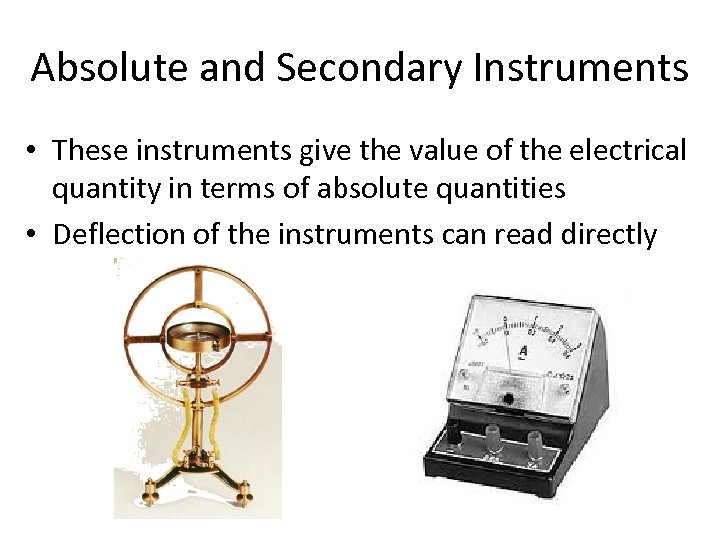
Absolute and Secondary Instruments • These instruments give the value of the electrical quantity in terms of absolute quantities • Deflection of the instruments can read directly
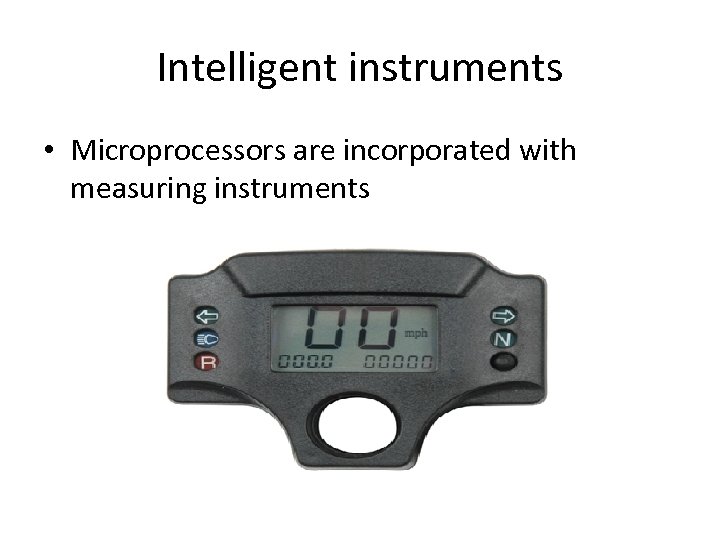
Intelligent instruments • Microprocessors are incorporated with measuring instruments
Characteristics of Measuring Instrument • Sensitivity • Readability • Range of accuracy / accuracy • Precision
Definition • Sensitivity- Sensitivity is defined as the ratio of the magnitude of response (output signal) to the magnitude of the quantity being measured (input signal) • Readability- Readability is defined as the closeness with which the scale of the analog instrument can be read
Definition • Range of accuracy- Accuracy of a measuring system is defined as the closeness of the instrument output to the true value of the measured quantity • Precision- Precision is defined as the ability of the instrument to reproduce a certain set of readings within a given accuracy
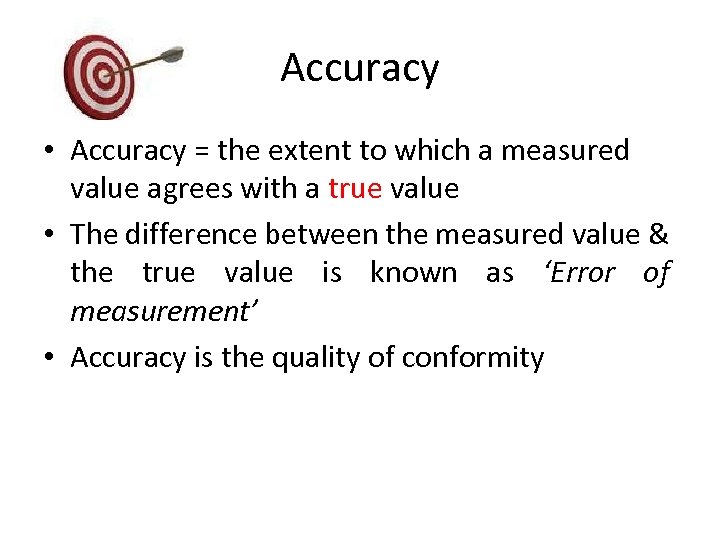
Accuracy • Accuracy = the extent to which a measured value agrees with a true value • The difference between the measured value & the true value is known as ‘Error of measurement’ • Accuracy is the quality of conformity
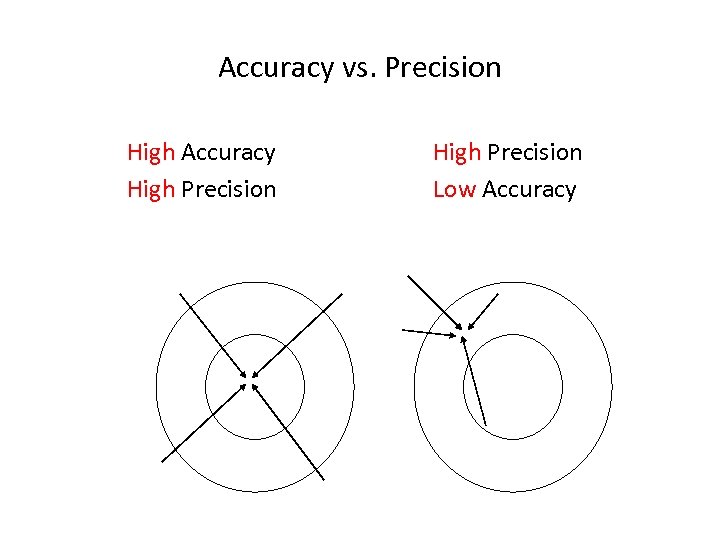
Accuracy vs. Precision High Accuracy High Precision Low Accuracy
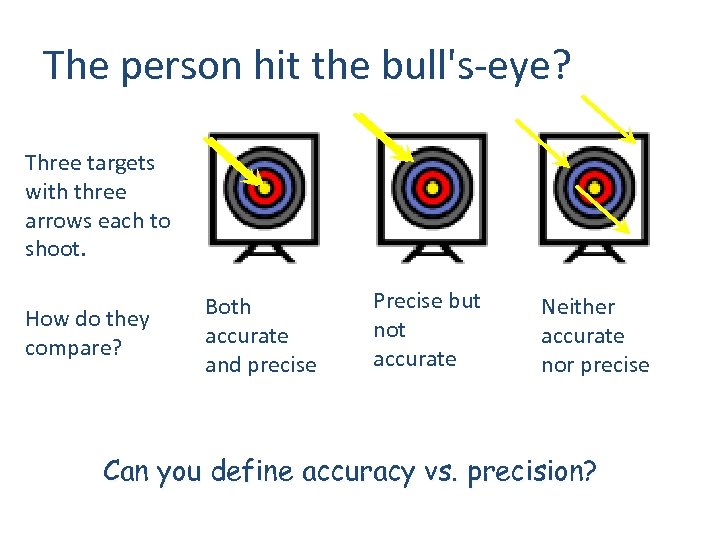
The person hit the bull's-eye? Three targets with three arrows each to shoot. How do they compare? Both accurate and precise Precise but not accurate Neither accurate nor precise Can you define accuracy vs. precision?
Sensitivity This is the relationship between a change in the output reading for a given change of the input. (This relationship may be linear or non-linear. ) Sensitivity is often known as scale factor or instrument magnification and an instrument with a large sensitivity (scale factor) will indicate a large movement of the indicator for a small input change.
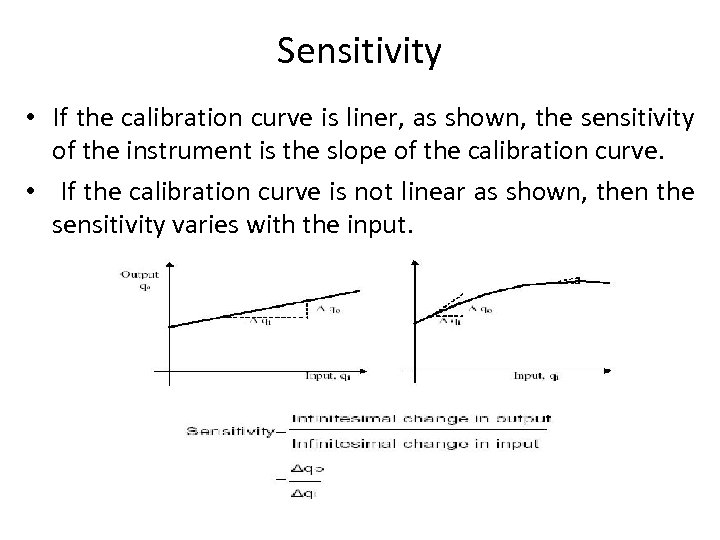
Sensitivity • If the calibration curve is liner, as shown, the sensitivity of the instrument is the slope of the calibration curve. • If the calibration curve is not linear as shown, then the sensitivity varies with the input.
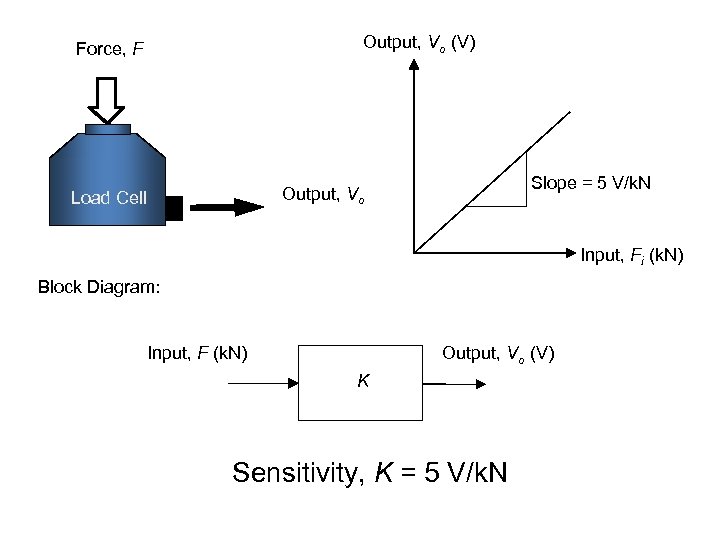
Output, Vo (V) Force, F Slope = 5 V/k. N Output, Vo Load Cell Input, Fi (k. N) Block Diagram: Input, F (k. N) Output, Vo (V) K Sensitivity, K = 5 V/k. N
Readability • Readability is defined as the ease with which readings may be taken with an instrument. • Readability difficulties may often occur due to parallax errors when an observer is noting the position of a pointer on a calibrated scale
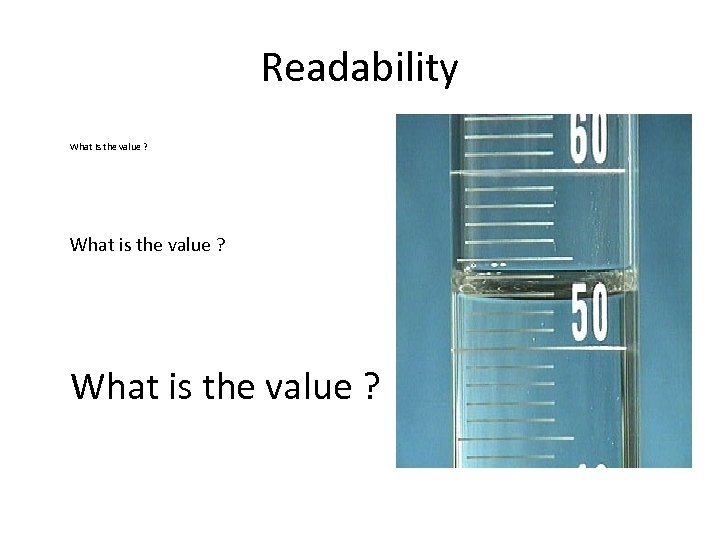
Readability What is the value ?
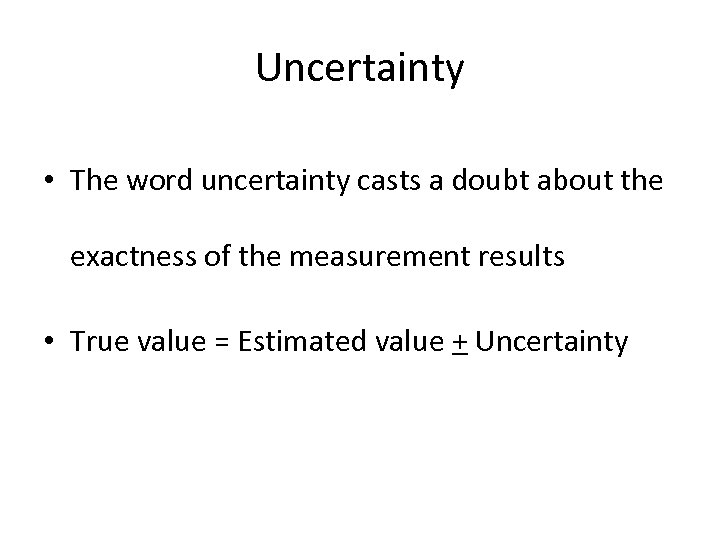
Uncertainty • The word uncertainty casts a doubt about the exactness of the measurement results • True value = Estimated value + Uncertainty
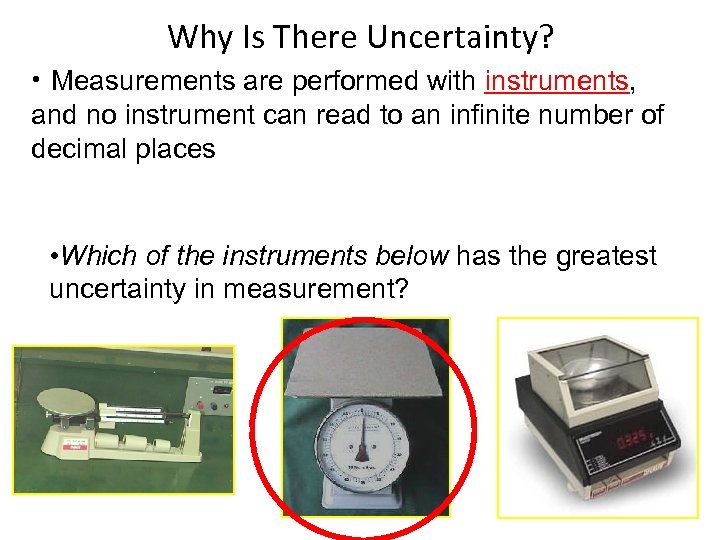
Why Is There Uncertainty? • Measurements are performed with instruments, and no instrument can read to an infinite number of decimal places • Which of the instruments below has the greatest uncertainty in measurement?
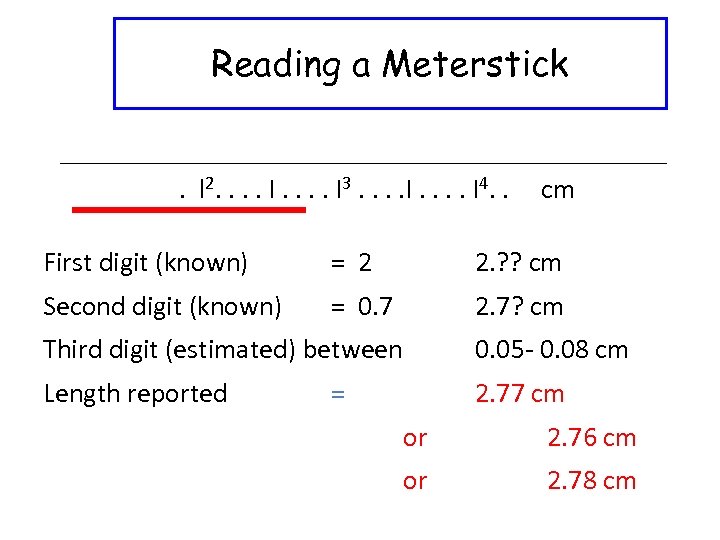
Reading a Meterstick. l 2. . . . I 3. . . . I 4. . cm First digit (known) = 2 2. ? ? cm Second digit (known) = 0. 7 2. 7? cm Third digit (estimated) between 0. 05 - 0. 08 cm Length reported 2. 77 cm = or 2. 76 cm or 2. 78 cm
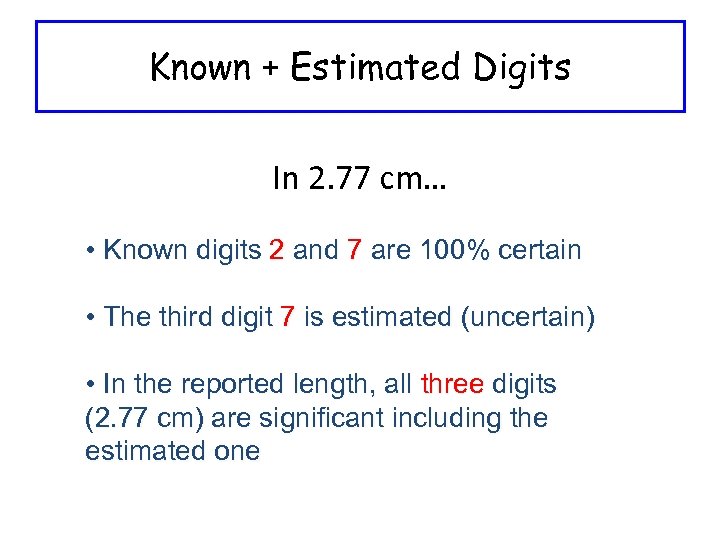
Known + Estimated Digits In 2. 77 cm… • Known digits 2 and 7 are 100% certain • The third digit 7 is estimated (uncertain) • In the reported length, all three digits (2. 77 cm) are significant including the estimated one
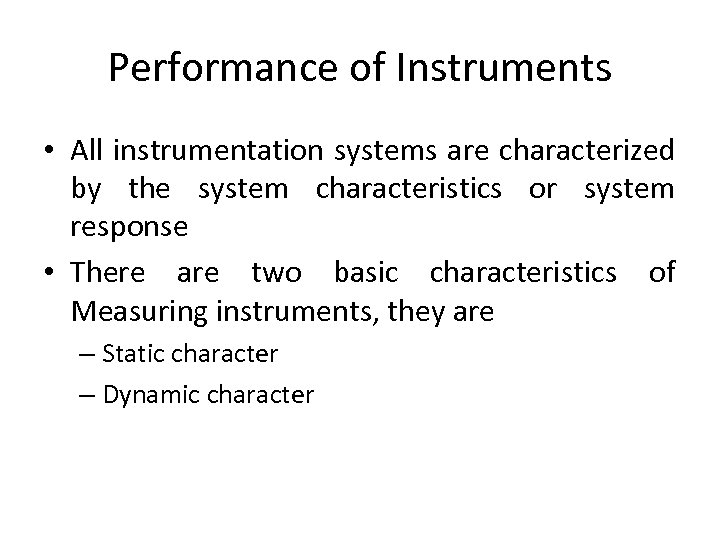
Performance of Instruments • All instrumentation systems are characterized by the system characteristics or system response • There are two basic characteristics of Measuring instruments, they are – Static character – Dynamic character
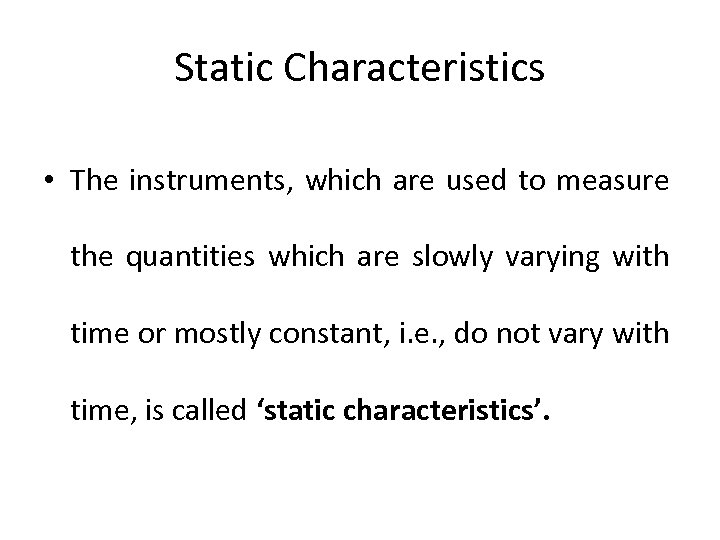
Static Characteristics • The instruments, which are used to measure the quantities which are slowly varying with time or mostly constant, i. e. , do not vary with time, is called ‘static characteristics’.
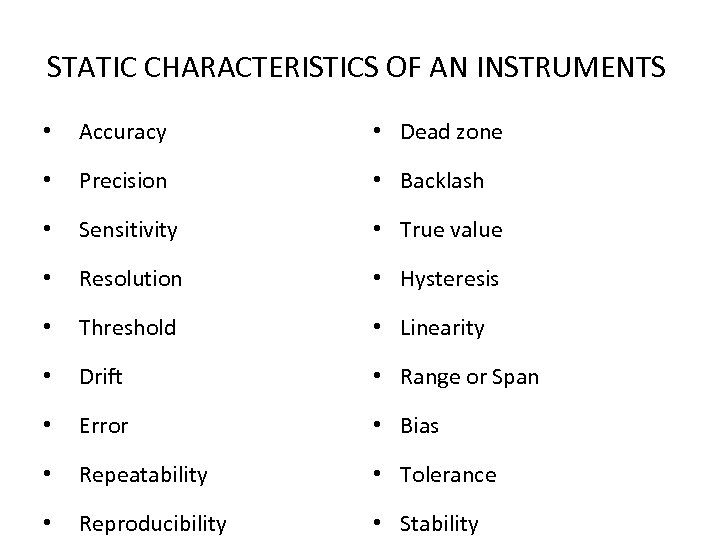
STATIC CHARACTERISTICS OF AN INSTRUMENTS • Accuracy • Dead zone • Precision • Backlash • Sensitivity • True value • Resolution • Hysteresis • Threshold • Linearity • Drift • Range or Span • Error • Bias • Repeatability • Tolerance • Reproducibility • Stability
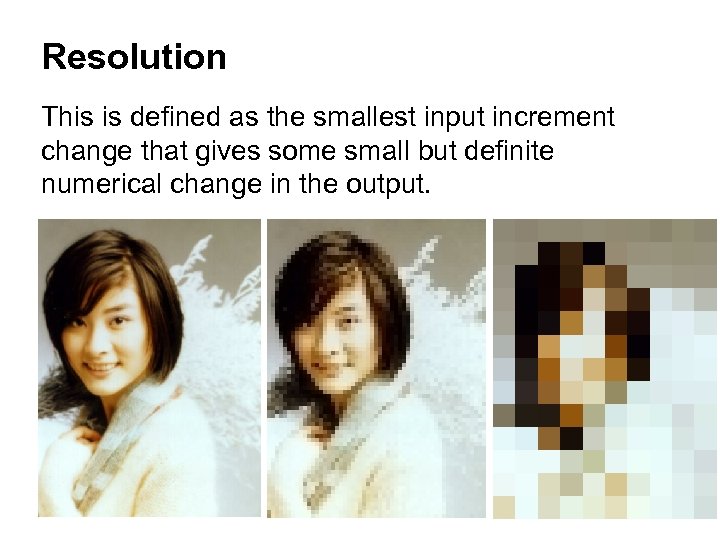
Resolution This is defined as the smallest input increment change that gives some small but definite numerical change in the output.
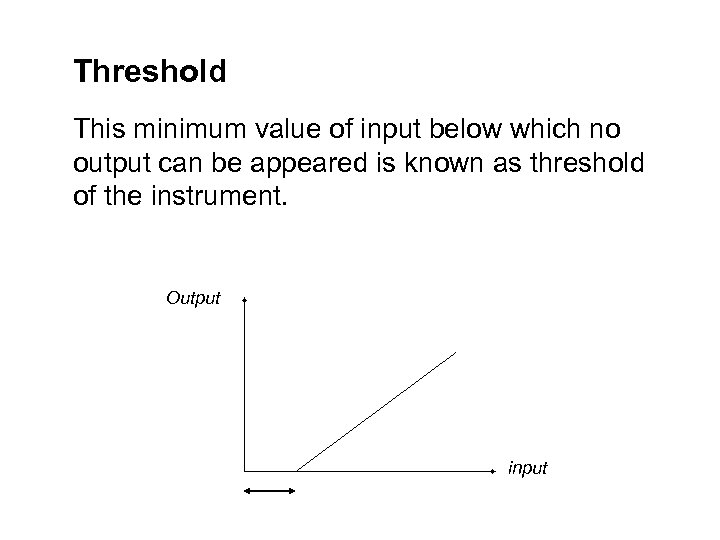
Threshold This minimum value of input below which no output can be appeared is known as threshold of the instrument. Output input
Drift or Zero drift is variation in the output of an instrument which is not caused by any change in the input; it is commonly caused by internal temperature changes and component instability. Sensitivity drift defines the amount by which instrument’s sensitivity varies as ambient conditions change.
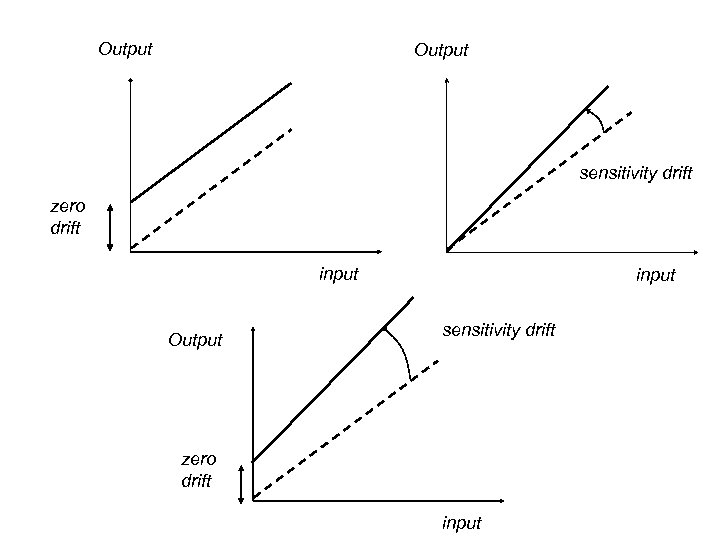
Output sensitivity drift zero drift input Output input sensitivity drift zero drift input
• Error – The deviation of the true value from the desired value is called Error • Repeatability – It is the closeness value of same output for same input under same operating condition • Reproducibility - It is the closeness value of same output for same input under different operating condition over a period of time
Range • The ‘Range’ is the total range of values which an instrument is capable of measuring.
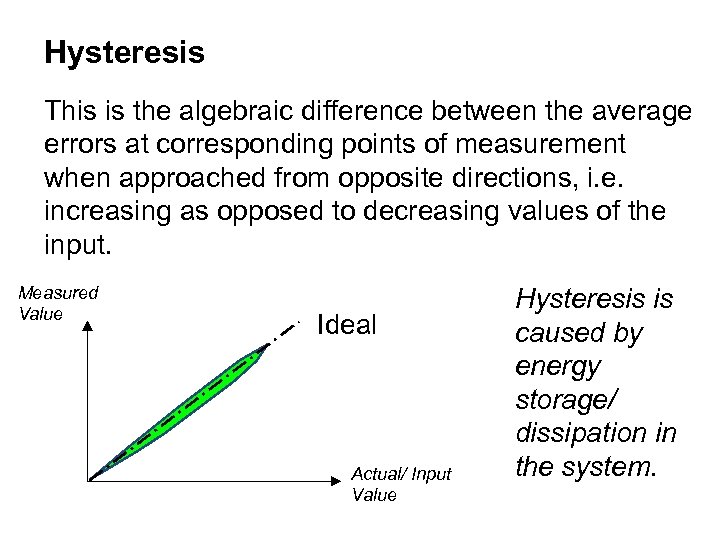
Hysteresis This is the algebraic difference between the average errors at corresponding points of measurement when approached from opposite directions, i. e. increasing as opposed to decreasing values of the input. Measured Value Ideal Actual/ Input Value Hysteresis is caused by energy storage/ dissipation in the system.
Zero stability The ability of the instrument to return to zero reading after the measured has returned to zero
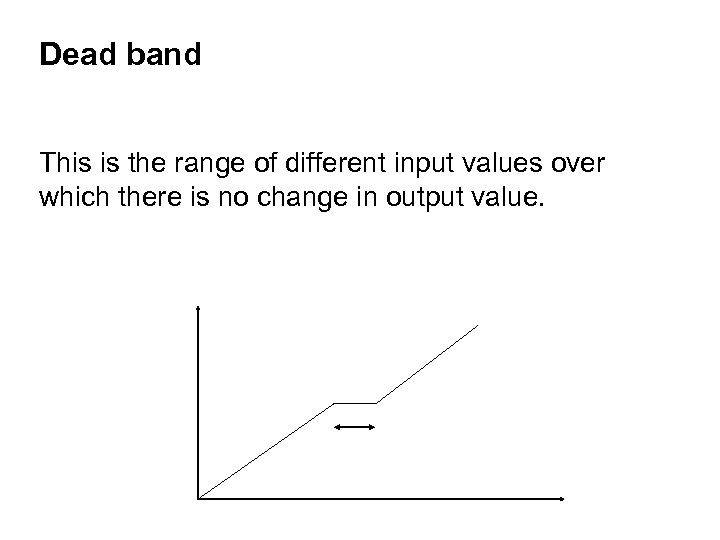
Dead band This is the range of different input values over which there is no change in output value.
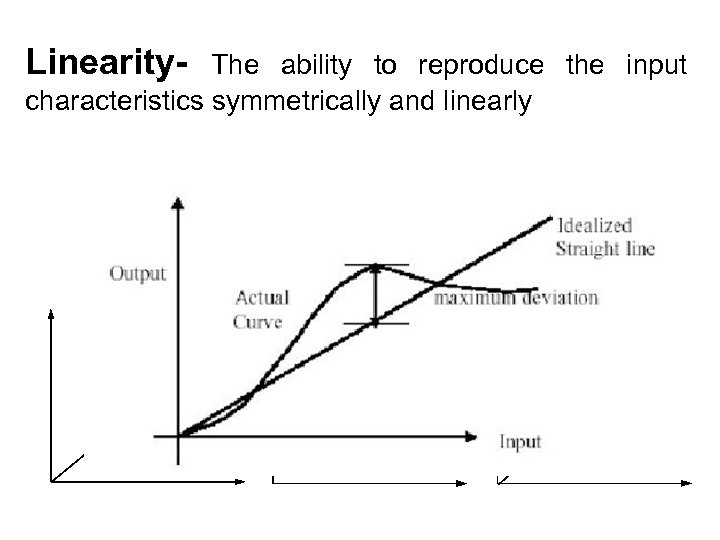
Linearity- The ability to reproduce the input characteristics symmetrically and linearly
• Backlash – Lost motion or free play of mechanical elements are known as backlash • True value – The errorless value of measured variable is known as true value • Bias – The Constant Error • Tolerance- Maximum Allowable error in Measurement
Dynamic Characteristics • The set of criteria defined for the instruments, which are changes rapidly with time, is called ‘dynamic characteristics’.
Dynamic Characteristics • Steady state periodic • Transient • Speed of response • Measuring lag • Fidelity • Dynamic error
• Steady state periodic – Magnitude has a definite repeating time cycle • Transient – Magnitude whose output does not have definite repeating time cycle • Speed of response- System responds to changes in the measured quantity
• Measuring lag – Retardation type : Begins immediately after the change in measured quantity – Time delay lag : Begins after a dead time after the application of the input • Fidelity- The degree to which a measurement system indicates changes in the measured quantity without error • Dynamic error- Difference between the true value of the quantity changing with time & the value indicated by the measurement system
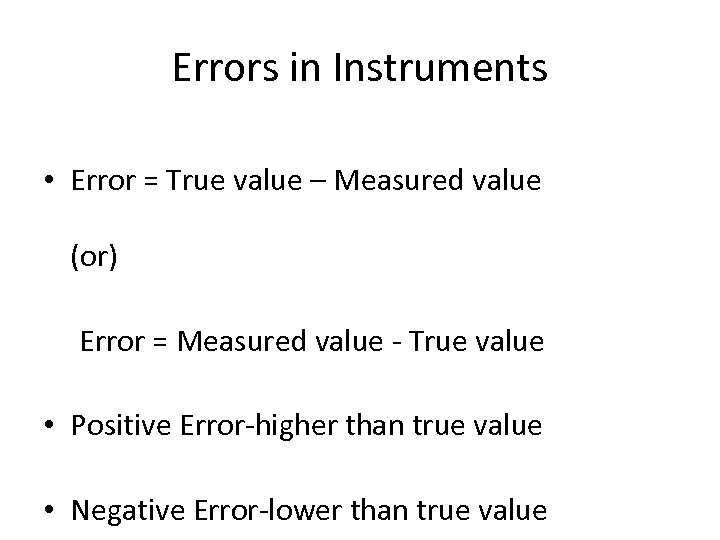
Errors in Instruments • Error = True value – Measured value (or) Error = Measured value - True value • Positive Error-higher than true value • Negative Error-lower than true value
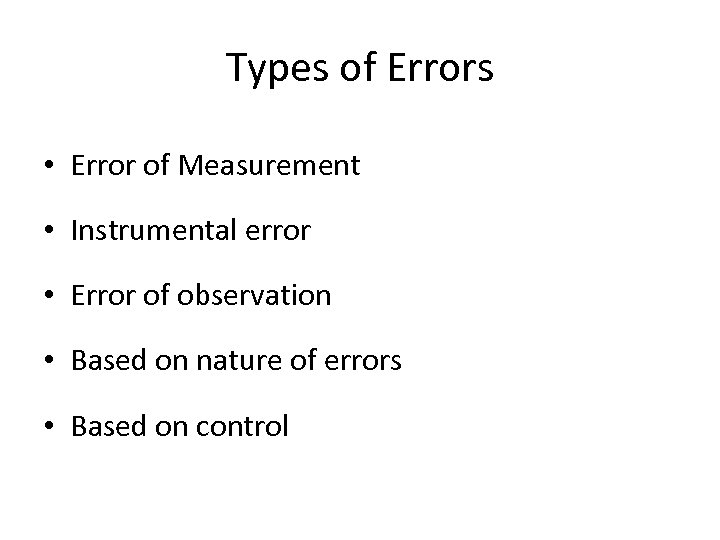
Types of Errors • Error of Measurement • Instrumental error • Error of observation • Based on nature of errors • Based on control
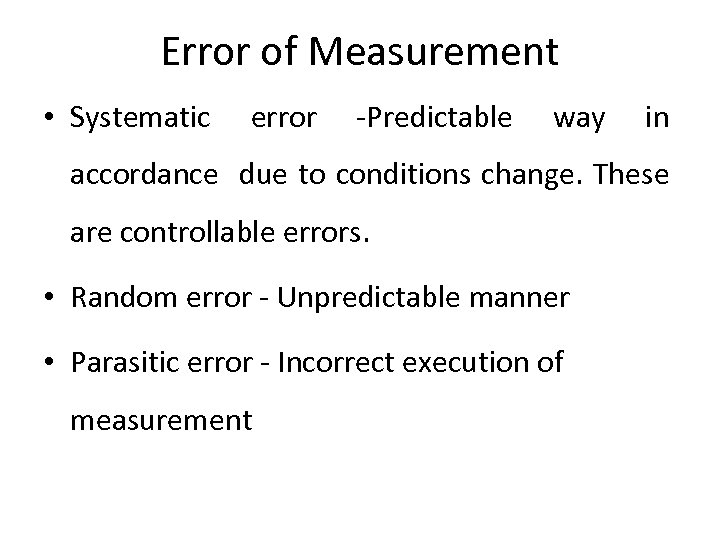
Error of Measurement • Systematic error -Predictable way in accordance due to conditions change. These are controllable errors. • Random error - Unpredictable manner • Parasitic error - Incorrect execution of measurement
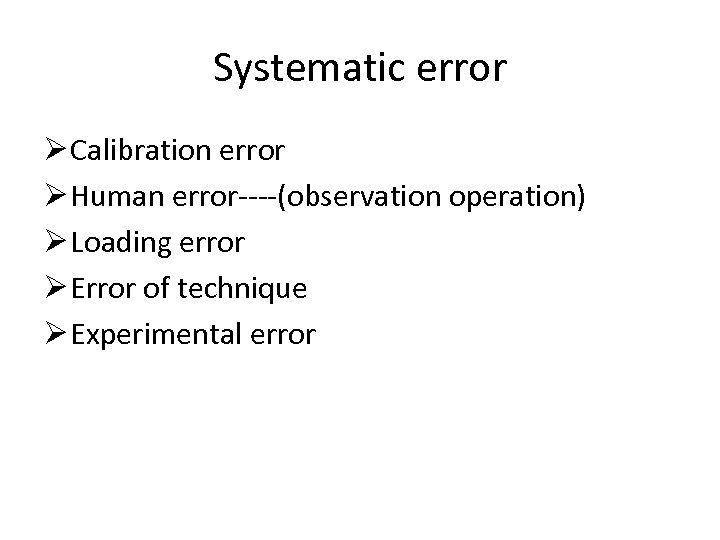
Systematic error Ø Calibration error Ø Human error----(observation operation) Ø Loading error Ø Error of technique Ø Experimental error
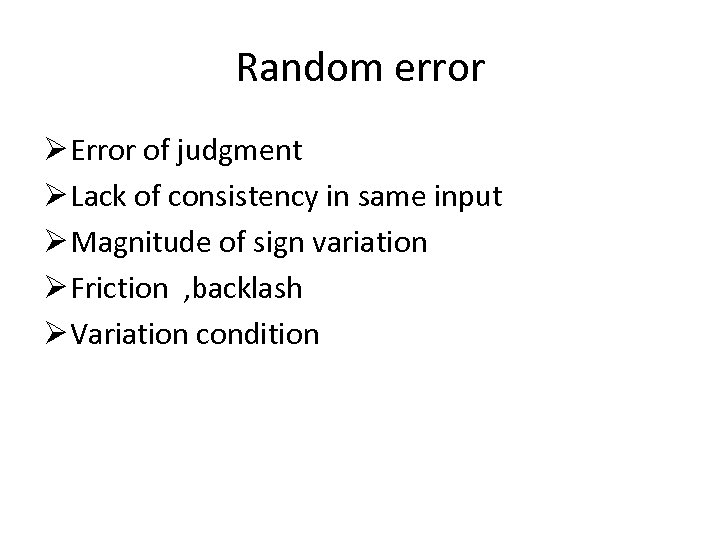
Random error Ø Error of judgment Ø Lack of consistency in same input Ø Magnitude of sign variation Ø Friction , backlash Ø Variation condition
Illegitimate error Ø Blunder mistake Ø Computation error (calculation) Ø Chaotic error(vibration , noise shocks)
Instrumental error • Error of a physical measure • Error of a measuring mechanism • Error of indication of a measuring instrument • Error due to temperature • Error due to friction • Error due to inertia
Error of observation • Reading error • Parallax error • Interpolation error
Based on control • Controllable errors – Calibration errors – Environmental (Ambient /Atmospheric Condition) Errors – Stylus pressure errors – Avoidable errors • Non - Controllable errors
Correction • Correction is defined as a value which is added algebraically to the uncorrected result of the measurement to compensate to an assumed systematic error. • Ex : Vernier Caliper, Micrometer
Technique for eliminate environmental error • Instrument is calibrated at the place of use • Atmospheric condition are monitored • Automatic device are used compensate the effect due to change in environment condition
Calibration • Calibration is the process of determining and adjusting an instruments accuracy to make sure its accuracy is with in manufacturing specifications.
Interchangeability • A part which can be substituted for the component manufactured to the same shape and dimensions is known a interchangeable part. • The operation of substituting the part for similar manufactured components of the shape and dimensions is known as interchangeability.

Help topics • http: //www. tresnainstrument. com/education. html

Thank you
3eae24ece972eece097ec82f82643cef.ppt