4ed510b87ba0fbe78ce608043cf6e258.ppt
- Количество слайдов: 31
 TEAM Microscope Engineering Planning Norman Salmon Engineering Program Manager Seung-Kil Son Ph. D. Staff Mechanical Engineer December 12, 2003
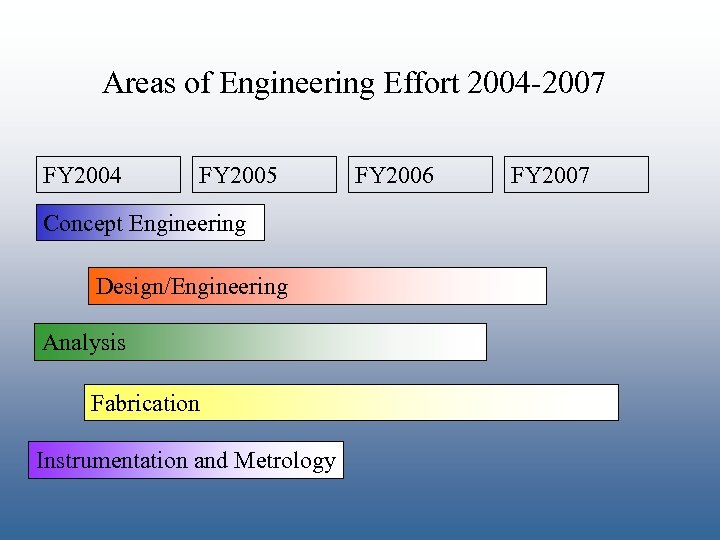 Areas of Engineering Effort 2004 -2007 FY 2004 FY 2005 Concept Engineering Design/Engineering Analysis Fabrication Instrumentation and Metrology FY 2006 FY 2007
 Critical Path for Concept Engineering and Stage Specifications Initial Specification Building Microscope Geometry Mechanical Design Thermal Analysis Sensors Cooling Systems Actuators Electrical Systems Controls Metrology Materials Fabrication Reset Specification Q 1 2004
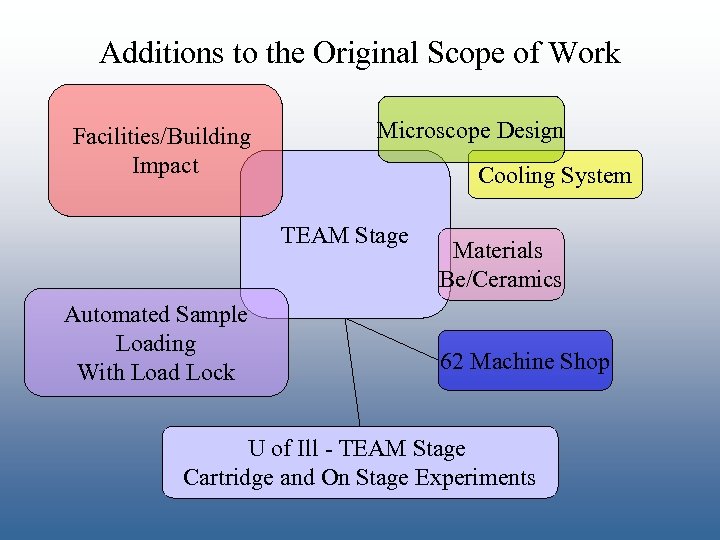 Additions to the Original Scope of Work Facilities/Building Impact Microscope Design Cooling System TEAM Stage Automated Sample Loading With Load Lock Materials Be/Ceramics 62 Machine Shop U of Ill - TEAM Stage Cartridge and On Stage Experiments
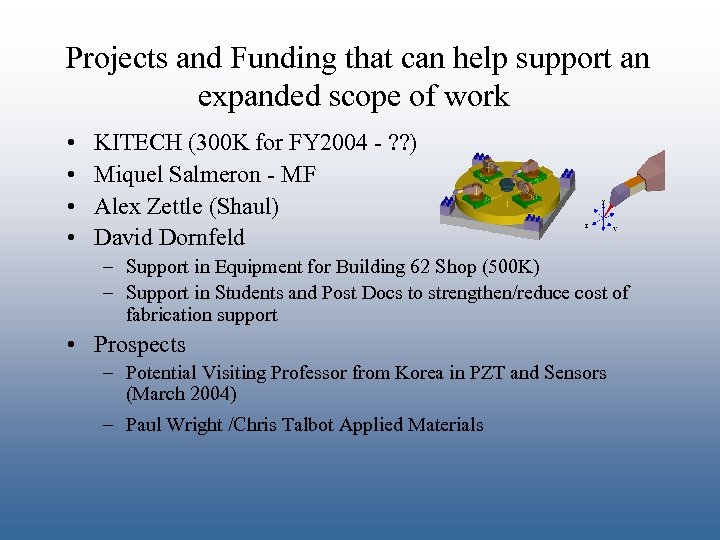 Projects and Funding that can help support an expanded scope of work • • KITECH (300 K for FY 2004 - ? ? ) Miquel Salmeron - MF Alex Zettle (Shaul) David Dornfeld – Support in Equipment for Building 62 Shop (500 K) – Support in Students and Post Docs to strengthen/reduce cost of fabrication support • Prospects – Potential Visiting Professor from Korea in PZT and Sensors (March 2004) – Paul Wright /Chris Talbot Applied Materials
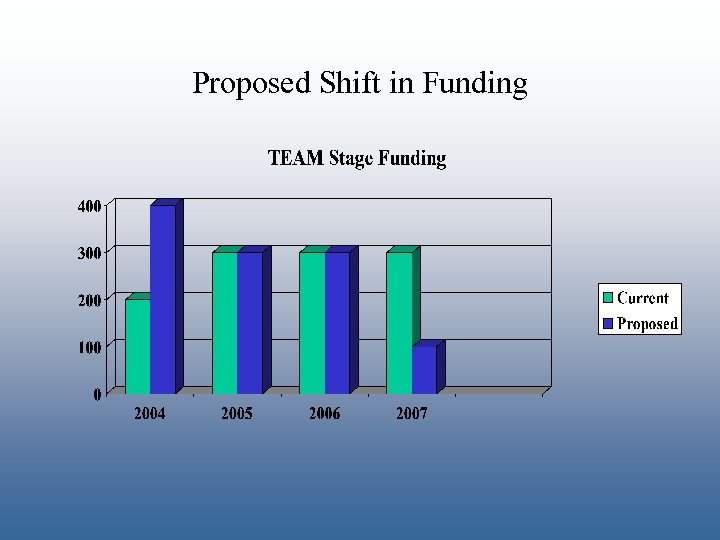 Proposed Shift in Funding
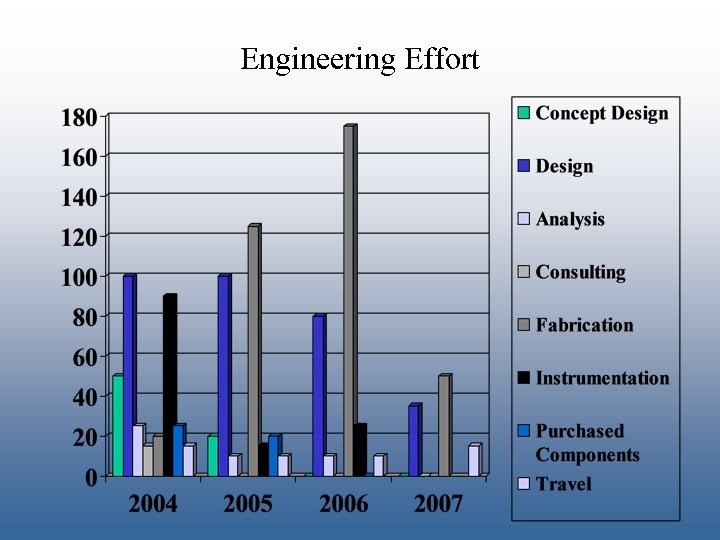 Engineering Effort
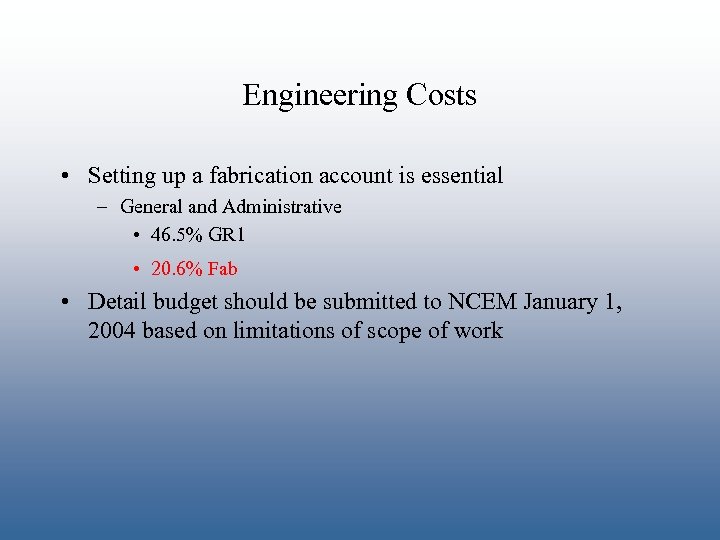 Engineering Costs • Setting up a fabrication account is essential – General and Administrative • 46. 5% GR 1 • 20. 6% Fab • Detail budget should be submitted to NCEM January 1, 2004 based on limitations of scope of work
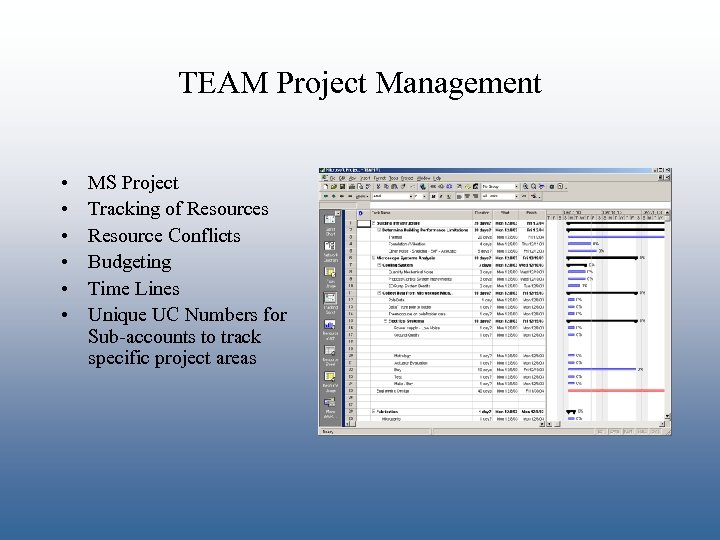 TEAM Project Management • • • MS Project Tracking of Resources Resource Conflicts Budgeting Time Lines Unique UC Numbers for Sub-accounts to track specific project areas
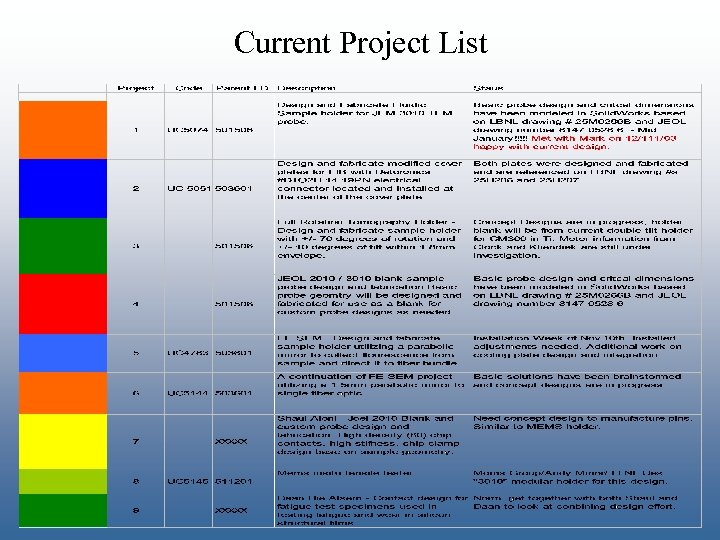 Current Project List
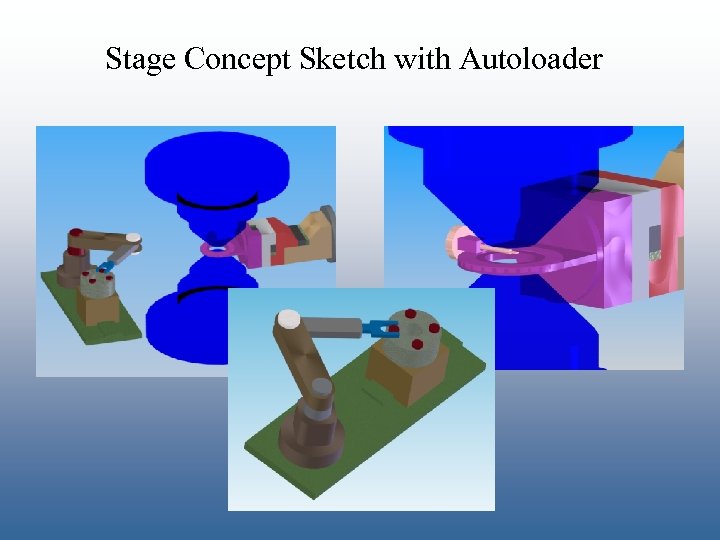 Stage Concept Sketch with Autoloader
 Specifications Currently Set • Drift Specification – Dream #: 1Å / 10 mins – applications Lorentz (single spins – 1000 secs), EFTEM (for 1Å Resolution may need 5 mins exposure) – Minimum acceptable: 0. 5 Å / 1 min – Present standard is 2 Å / min, so the existing minimum is almost sufficient, but we’d really prefer to do better – This is for x, y and z • Eucentricity – Very desirable to make any point eucentric via software control as opposed to only having only one point in space that is eucentric. – Would represent an incredible improvement for the operator
 Specifications Currently Set (Continued 1) • Range – Coarse Travel • x & y = 2 mm • z = Dream spec 3 mm (if designing for bigger gap microscopes, TEAM II+), minimum z = 0. 5 mm for TEAM I • Note that this constraint is largely based on present 3 mm disc size – practical reason, not an engineering – Resolution of coarse motion: • Generally want 10 times overlap of coarse motion to fine – this dictates about 10 nm – Range over which fine travel is in existence: 10 µm (or better) – Resolution of fine motion: 30 -50 pm
 Specifications Currently Set (Continued 2) • Repeatability – 5 times worse than resolution – thus, that means 250 pm (0. 25 Å) • Precision – 10 times worse than resolution – that’s then 500 pm (0. 5Å) • Repeatability between microscopes – It was noted that doing this very successfully would be very beneficial in terms of justifying use of two columns instead of one column. – Kinematic joint for cartridge between microscopes – goal is to be able to analyze the same nanoparticle in both the TEM and STEM columns • Repeatability resolution 250 nm coarse motion (maybe better) • Want an optical method for fine positioning • Needs to be discovered what we can expect for resolution on this, what software exists • If better than 10 nm we’re very happy
 Specifications Currently Set (Continued 3) • Rotations – Specimen stage: ± 20 is minimum, 45 is preferred, 70 is desired – Resolution: 100 µrad – Discussed in terms of requirements for TEAM I & beyond TEAM I. • Likely that TEAM I will need only 20 for routine use • The additional tilted need for tomography will almost have to come from a special cartridge design • Speed – Worth considering, but not a priority but a convenience – Obviously, faster is better – Shoot for 1 rpm
 Specifications Currently Set (Continued 4) • Cartridge – Types of samples: 3 mm disc, FIB, MEMS – Sample Size: 3 mm disc as standard • Reason: if we deviate from the 3 mm disc size, users will not be able to do any sample preparation prior to use of the TEAM instrument. This is not desirable. • Size: Thickness: 0. 5 mm in center, thicker to the sides, x & y will depend on design – Cartridge should be a kinematic fixture
 Specifications Currently Set (Continued 5) • Materials – – – Non-magnetic Conductive Stiff Thermally stable UHV-compatible/bakeable Be? Cu-Be?
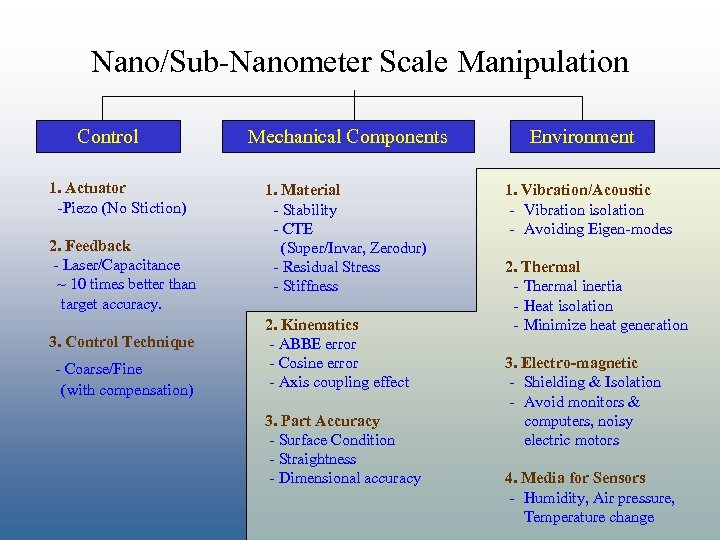 Nano/Sub-Nanometer Scale Manipulation Control 1. Actuator -Piezo (No Stiction) 2. Feedback - Laser/Capacitance ~ 10 times better than target accuracy. 3. Control Technique - Coarse/Fine (with compensation) Mechanical Components 1. Material - Stability - CTE (Super/Invar, Zerodur) - Residual Stress - Stiffness 2. Kinematics - ABBE error - Cosine error - Axis coupling effect 3. Part Accuracy - Surface Condition - Straightness - Dimensional accuracy Environment 1. Vibration/Acoustic - Vibration isolation - Avoiding Eigen-modes 2. Thermal - Thermal inertia - Heat isolation - Minimize heat generation 3. Electro-magnetic - Shielding & Isolation - Avoid monitors & computers, noisy electric motors 4. Media for Sensors - Humidity, Air pressure, Temperature change
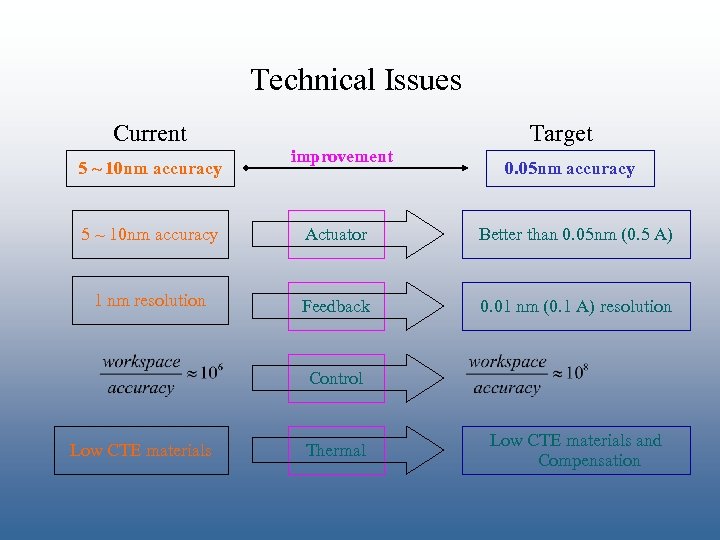 Technical Issues Current 5 ~ 10 nm accuracy improvement Target 0. 05 nm accuracy 5 ~ 10 nm accuracy Actuator Better than 0. 05 nm (0. 5 A) 1 nm resolution Feedback 0. 01 nm (0. 1 A) resolution Control Low CTE materials Thermal Low CTE materials and Compensation
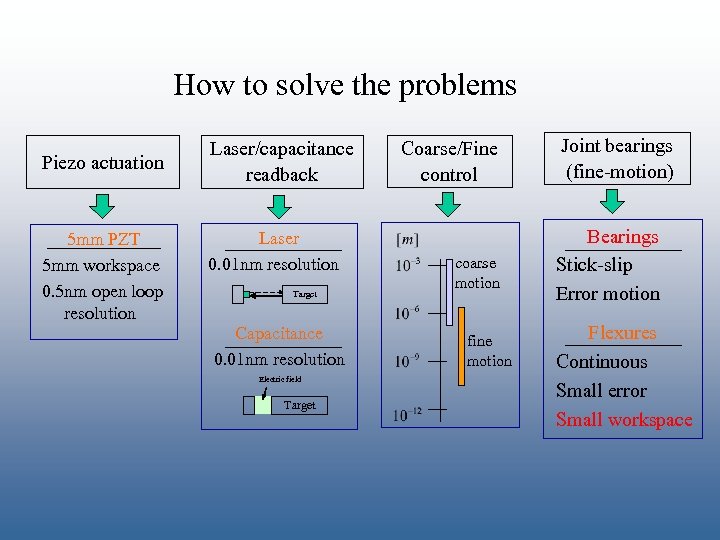 How to solve the problems Piezo actuation 5 mm PZT 5 mm workspace 0. 5 nm open loop resolution Laser/capacitance readback Laser 0. 01 nm resolution Target Capacitance 0. 01 nm resolution Electric field Target Coarse/Fine control coarse motion fine motion Joint bearings (fine-motion) Bearings Stick-slip Error motion Flexures Continuous Small error Small workspace
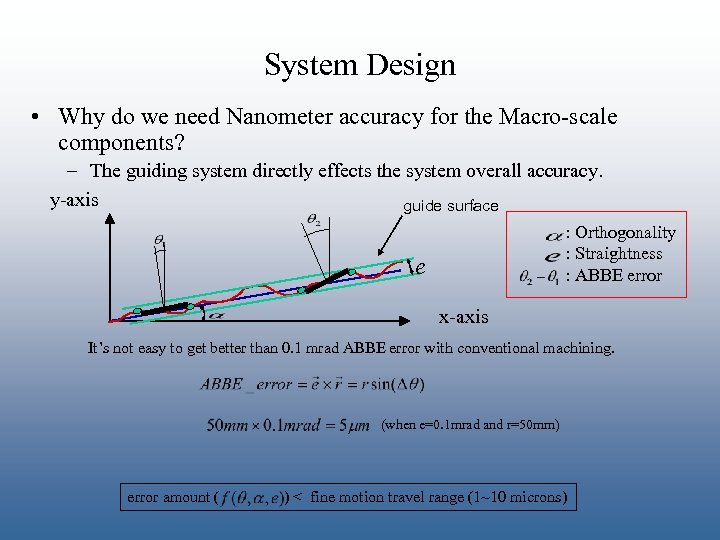 System Design • Why do we need Nanometer accuracy for the Macro-scale components? – The guiding system directly effects the system overall accuracy. y-axis guide surface : Orthogonality : Straightness : ABBE error e x-axis It’s not easy to get better than 0. 1 mrad ABBE error with conventional machining. (when e=0. 1 mrad and r=50 mm) error amount ( ) < fine motion travel range (1~10 microns)
 Meso-scale machining: 10 µm ~ 1 mm miniature machining 10 -3 silicon µmachining meso machining 10 -4 Critical dimensions 10 -5 10 -6 [m]
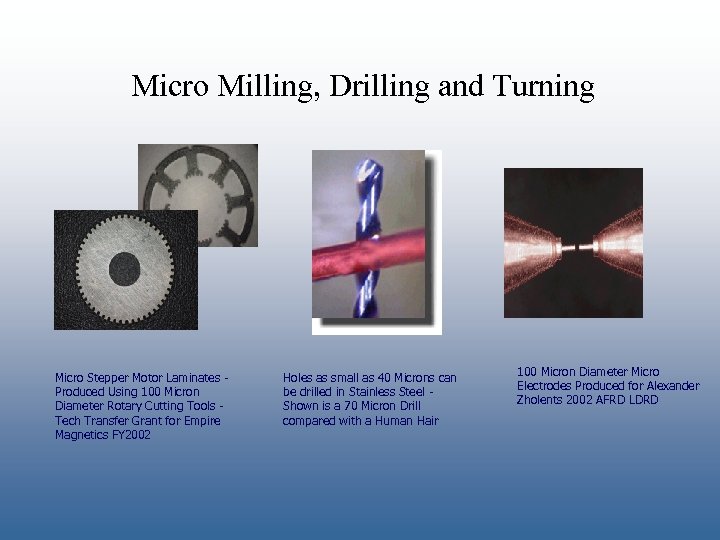 Micro Milling, Drilling and Turning Micro Stepper Motor Laminates Produced Using 100 Micron Diameter Rotary Cutting Tools Tech Transfer Grant for Empire Magnetics FY 2002 Holes as small as 40 Microns can be drilled in Stainless Steel Shown is a 70 Micron Drill compared with a Human Hair 100 Micron Diameter Micro Electrodes Produced for Alexander Zholents 2002 AFRD LDRD
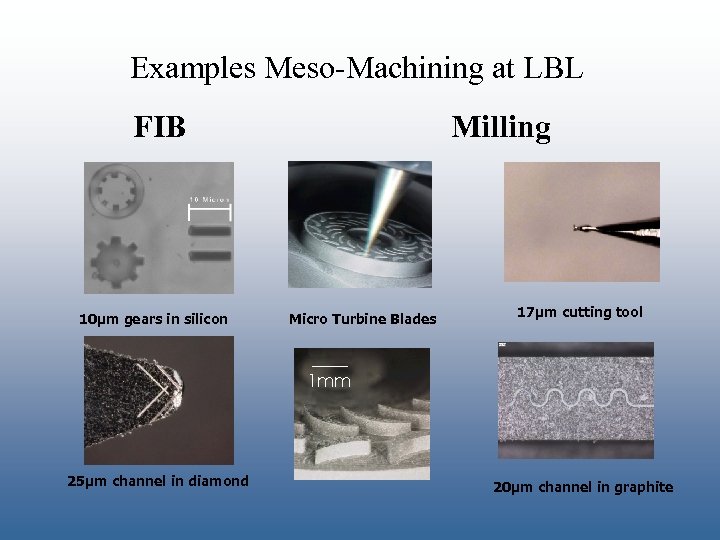 Examples Meso-Machining at LBL FIB 10µm gears in silicon Milling Micro Turbine Blades 17µm cutting tool 1 mm 25µm channel in diamond 20µm channel in graphite
 2 -translational axis manipulation for FESEM 1. Technical challenge • • • 2. No-existing manipulation collect light coming from the sample Limited installation space Following the table movement Don’t hinder other instrument inside 5 mm the chamber Diamond turned mirror surface Approach • • • 3. FESEM Table With 5 -DOF Parabola mirror Two axis stage Piezo actuation Step-like actuation for stability Open loop control 10 mm X-axis stage Installation and Test Results • • Positioning accuracy: 0. 02 mm Easy user control with Visual. Basic No damage on vacuum grade No X-ray through the stage Installation surface Sensor position
 Installation and test of FESEM Stage 2 -axis stage Monitor Control Panel FESEM Outside view Mirror engagement 0. 5 mm Inside view Hole on the parabola mirror Test result
 Control panel for FESEM Stage Software : Visual. Basic Z-axis voltage level control X-axis voltage level control Stage aging time control +/-X axis feedrate control Auto-homing Z-axis control Stage pausing
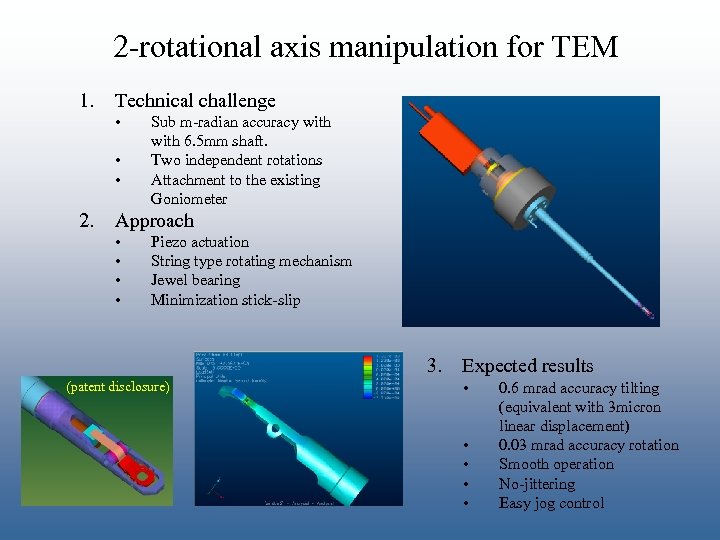 2 -rotational axis manipulation for TEM 1. Technical challenge • • • 2. Sub m-radian accuracy with 6. 5 mm shaft. Two independent rotations Attachment to the existing Goniometer Approach • • Piezo actuation String type rotating mechanism Jewel bearing Minimization stick-slip 3. (patent disclosure) Expected results • • • 0. 6 mrad accuracy tilting (equivalent with 3 micron linear displacement) 0. 03 mrad accuracy rotation Smooth operation No-jittering Easy jog control
 Fluid Holder for JEOL 3010 (Mark Williamson)
 Modular Sample Holder for the JEOL 3010 Ti - 6 Al 4 V Delrin Aluminum
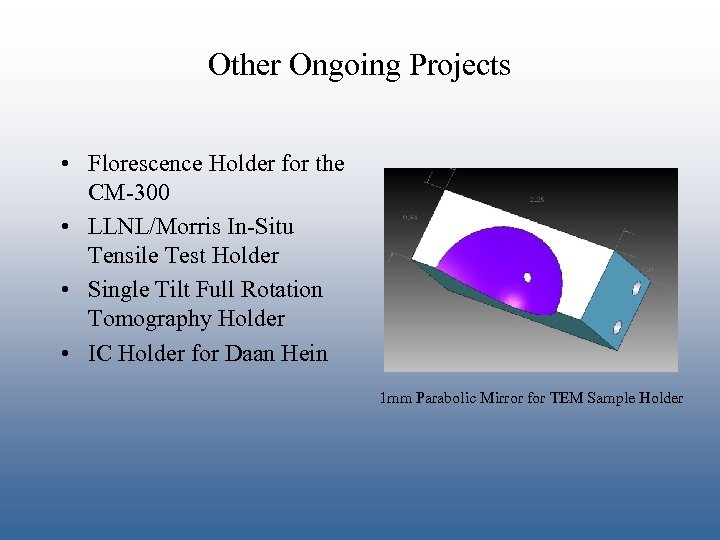 Other Ongoing Projects • Florescence Holder for the CM-300 • LLNL/Morris In-Situ Tensile Test Holder • Single Tilt Full Rotation Tomography Holder • IC Holder for Daan Hein 1 mm Parabolic Mirror for TEM Sample Holder


