
Презентация WORKING WITH FORMS

- Размер: 481.5 Кб
- Количество слайдов: 13
Описание презентации Презентация WORKING WITH FORMS по слайдам
WORKING WITH FORMS In this section, you’ll learn how to: • Modify forms • Add/delete records • Edit records • Find records • Filter records
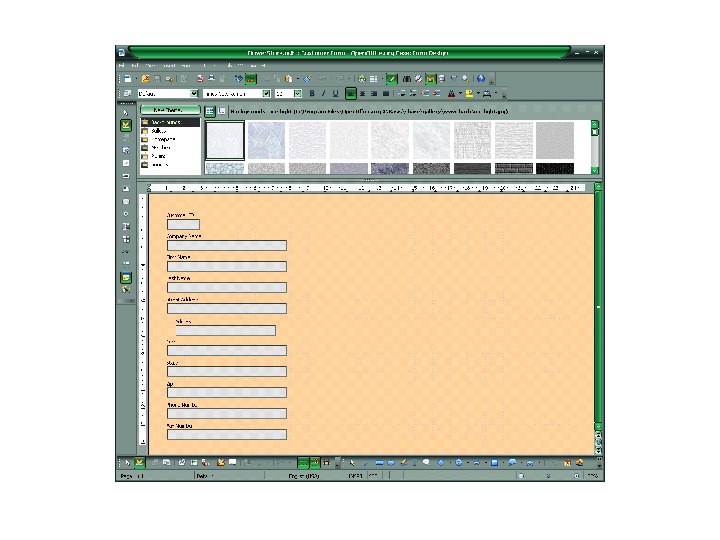
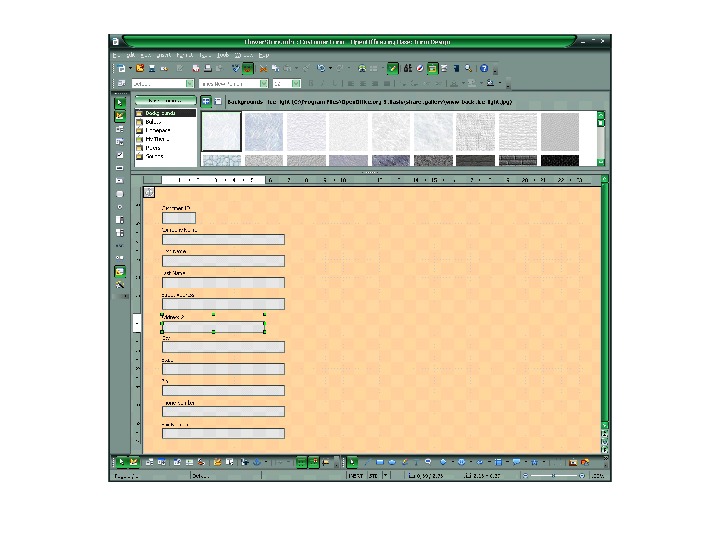
MODIFY FORMS • Start Base, then open the Flower. Store database. • In the Database list, click Forms. • Right-click Customer Form. • When the menu opens, click Edit. • TIP: Clicking Edit opens the form in Writer. • The form should look like this in Writer:
CHANGE FIELD POSITION • Click the Address 2 box to select it. • Position the cursor over the Address 2 box. • It should turn into a four-arrow «move» cursor: • Click-and-drag the box to line it up with the other boxes. • Release the mouse button. • The form should now look like this:
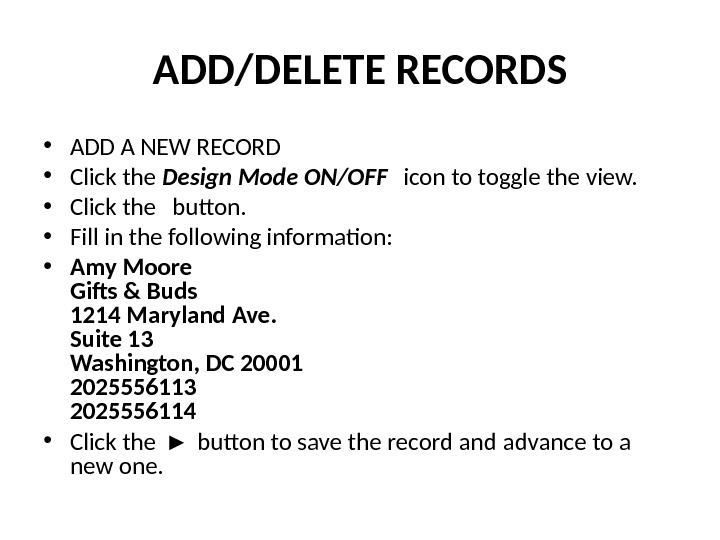
ADD/DELETE RECORDS • ADD A NEW RECORD • Click the Design Mode ON/OFF icon to toggle the view. • Click the button. • Fill in the following information: • Amy Moore Gifts & Buds 1214 Maryland Ave. Suite 13 Washington, DC 20001 2025556113 2025556114 • Click the ► button to save the record and advance to a new one.
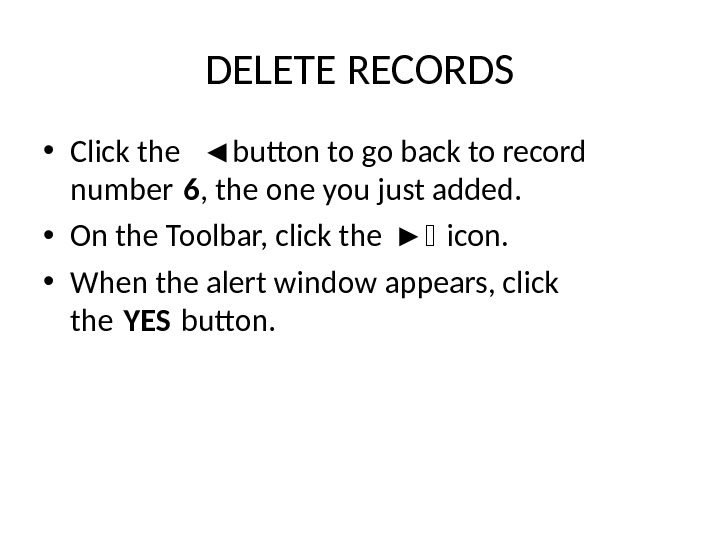
DELETE RECORDS • Click the ◄ button to go back to record number 6 , the one you just added. • On the Toolbar, click the ► icon. • When the alert window appears, click the YES button.
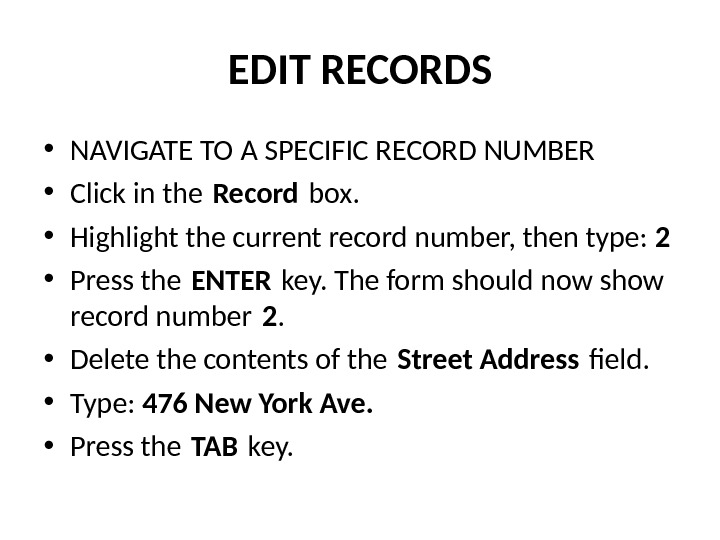
EDIT RECORDS • NAVIGATE TO A SPECIFIC RECORD NUMBER • Click in the Record box. • Highlight the current record number, then type: 2 • Press the ENTER key. The form should now show record number 2. • Delete the contents of the Street Address feld. • Type: 476 New York Ave. • Press the TAB key.
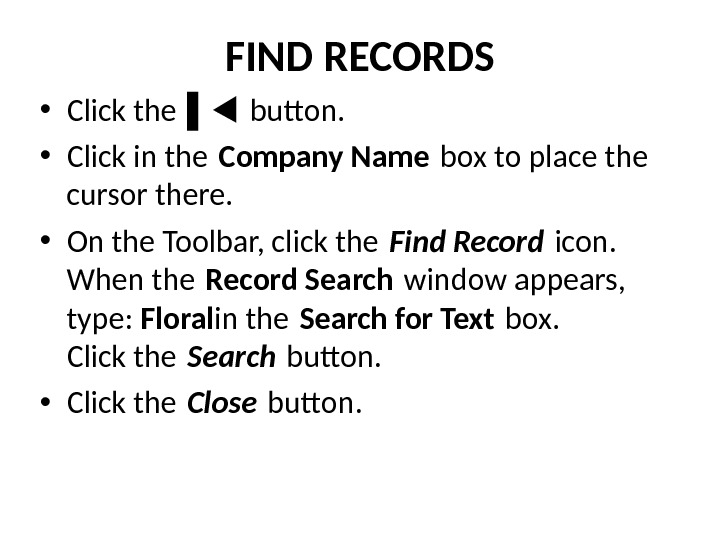
FIND RECORDS • Click the ▌ button. • Click in the Company Name box to place the cursor there. • On the Toolbar, click the Find Record icon. When the Record Search window appears, type: Floral in the Search for Text box. Click the Search button. • Click the Close button.
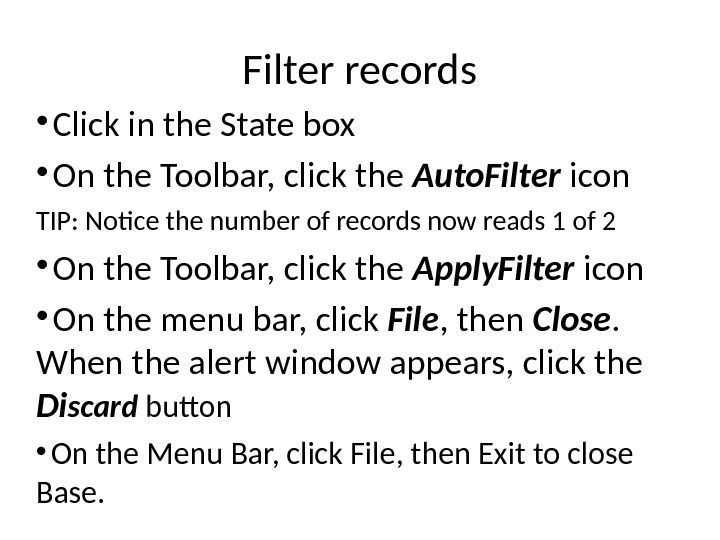
Filter records Click in the State box On the Toolbar, click the Auto. Filter icon TIP: Notice the number of records now reads 1 of 2 On the Toolbar, click the Apply. Filter icon On the menu bar, click File , then Close. When the alert window appears, click the Di scard button On the Menu Bar, click File, then Exit to close Base.
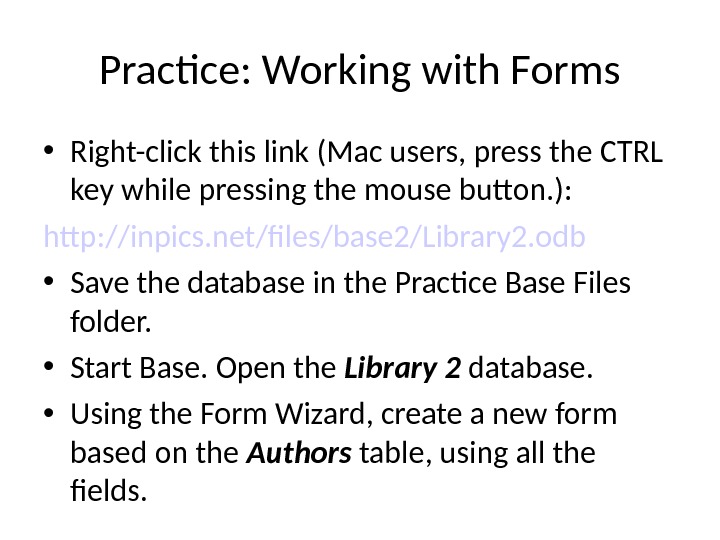
Practice: Working with Forms • Right-click this link (Mac users, press the CTRL key while pressing the mouse button. ): http: //inpics. net/fles/base 2/Library 2. odb • Save the database in the Practice Base Files folder. • Start Base. Open the Library 2 database. • Using the Form Wizard, create a new form based on the Authors table, using all the felds.
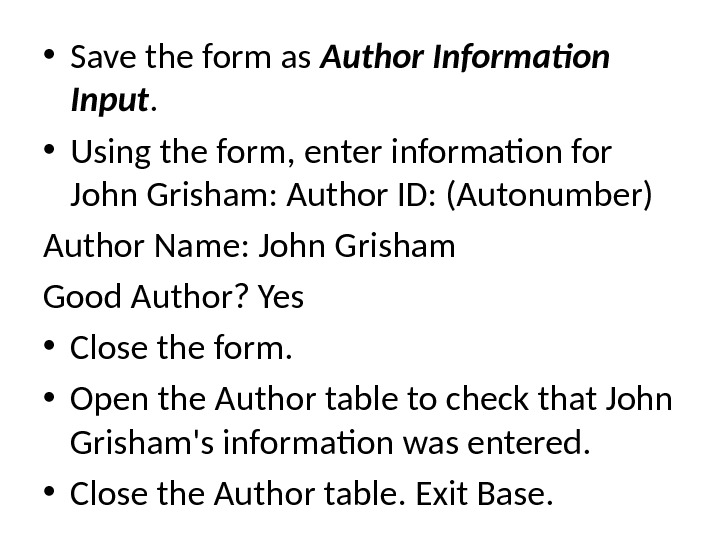
• Save the form as Author Information Input. • Using the form, enter information for John Grisham: Author ID: (Autonumber) Author Name: John Grisham Good Author? Yes • Close the form. • Open the Author table to check that John Grisham’s information was entered. • Close the Author table. Exit Base.
http: //inpics. net/tutorials/base 2/form s 11. html