

66e5d7941d68859269c992a36869d5bc.ppt
- Количество слайдов: 64
 Meridian Career Institute presents
 A Learning Resource Center Seminar
 Microsoft Word, part 1
 Objectives: Use templates and wizards Open and set up documents Print documents Format fonts Check spelling and grammar Insert Clipart and Photos Create Tables Insert page numbers
 Begin by clicking on “start”
 Microsoft Word should appear on the menu.
 If Word doesn’t appear, click on “All Programs. ”
 The Microsoft Office menu should appear. Move the cursor so that Microsoft Office is highlighted. All Microsoft Office products installed on your computer will show in a sub-menu. Click on Microsoft Office Word 2003.
 When Word opens, it will look similar to this. You can close the “Getting Started” pane and begin typing.
 If you’re not sure how to create a document in Word, click on the “Help” menu. Click on the double arrows to see more menu options.
 Click on “Show the Office Assistant. ”
 Click on the Office Assistant. The Office Assistant asks “What would you like to do? ”
 Let’s say you want to create a resume, but aren’t sure how to begin. Ask the Office Assistant! Type in “Create a resume” and the search results will appear on the right. Click on “Create a resume” in the search results list.
 Help gives two options to create a resume: “Using a template from Office Online” or “Using the wizard. ” Click on “Using a template from Office Online. ”
 This is the Template categories section of Microsoft’s Website. Templates, or patterns, of many different types of documents are listed.
 Scroll down until you see “Resumes. ”
 Word 2007 is not compatible with Word 2003. Search by date to find compatible templates.
 These templates are compatible with Word 2003. Please select the one that states Vertical design.
 Scroll down to see the template in full.
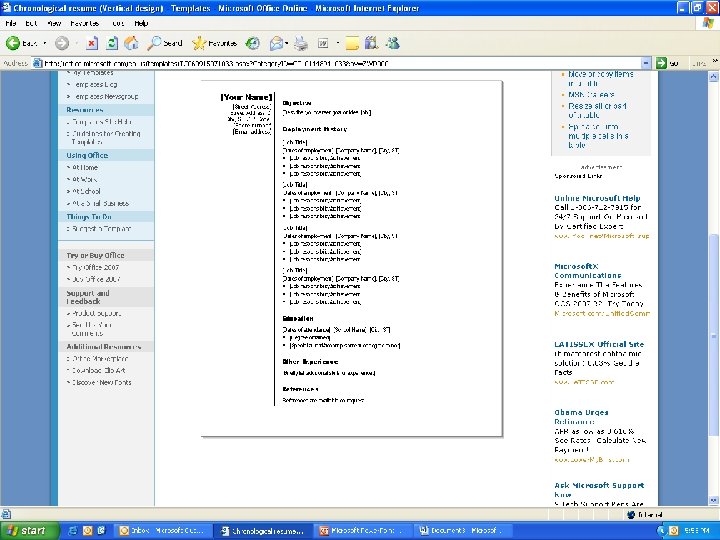
 If you want to use this template, click the download button.
 Click each area and type in your information.
 Click the lower “x” to close the document.
 Let’s look at another way to create a document
 Click the icon for “New document. ”
 The “New Document” menu appears on the right. There are three categories under the “Templates” heading. Click “On my computer. ”
 There are several tabs: General, Legal Pleadings, Letters & Faxes, Mail Merge, Memos, Other Documents, Publications, and Reports.
 Click on “Letters & Faxes. ”
 Click “Business Fax. ” You should see a preview of this style on the right.
 Click “Contemporary Fax” and view the preview on the right.
 Click on “Contemporary Letter” and view the preview on the right.
 Click on “Elegant Fax” and view the preview on the right.
 Let’s use the “Contemporary Fax” style. Click on it to open.
 Delete You may modify the fax however you choose. Delete the area requesting an address.
 In the To: section, Click and type the name of the person receiving the fax. Delete the CC: section if you are not sending a copy to anyone.
 Type a short note and enlarge the font by clicking on the font drop-down menu and selecting 12.
 Let’s create a new document. Click “File, ” then “New. ”
 Under “Templates, ” select “On my computer. ”
 Click “Other Documents” and select “Contemporary Resume. ”
 Click and type YOUR information over each section of the template.
 Let’s look at another way to create a resume. Click “New. ”
 Under “Templates, ” select “On my computer. ”
 Click on “Resume Wizard. ”
 Click “Next”
 Select “Professional” and click “Next. ”
 Select “Entry-level resume” and click “Next. ”
 and email address") Fill in your name, address, phone number, fax number (if applicable) and email address and click “Next. ”
Fill in your name, address, phone number, fax number (if applicable) and email address and click “Next. ”
 Select the headings you want, and deselect the headings you don’t want. Then click “Next. ”
 of these additional headings to add to your resume.") Select any (or none) of these additional headings to add to your resume.
Select any (or none) of these additional headings to add to your resume.
 You may type in a heading not previously listed. This box lists all of the headings currently selected.
 Click “Finish”
 Click on the different areas and enter the information requested.
 The X in the red box will close out the program. Click this one!
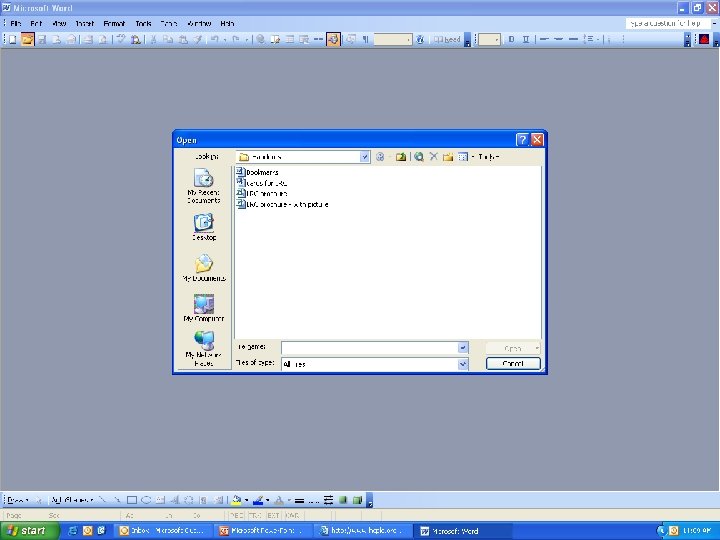
 1. Click the “Open Folder” icon.
 You can choose to look in “My Recent Documents”
 or the “Desktop”
 or “My Documents. ”
 Another way to search for documents on your computer is to use the drop down menu.
 My computer has a document previously created called “Handouts. ”

 Click on “Print Preview” before printing.
 1. This is the “Print Preview” mode. 2. Click “Close” to return to the document.
 Click the “Printer” icon to print all the pages in a document.