
Лекция 8 Windows Forms Base Class Libraries


- Размер: 198.5 Кб
- Количество слайдов: 34
Описание презентации Лекция 8 Windows Forms Base Class Libraries по слайдам
Лекция 8 Windows Forms
Base Class Libraries в. NET Framework поставляет большое количество классов для создания приложений, работающих в оконном режиме (forms-based windows applications).
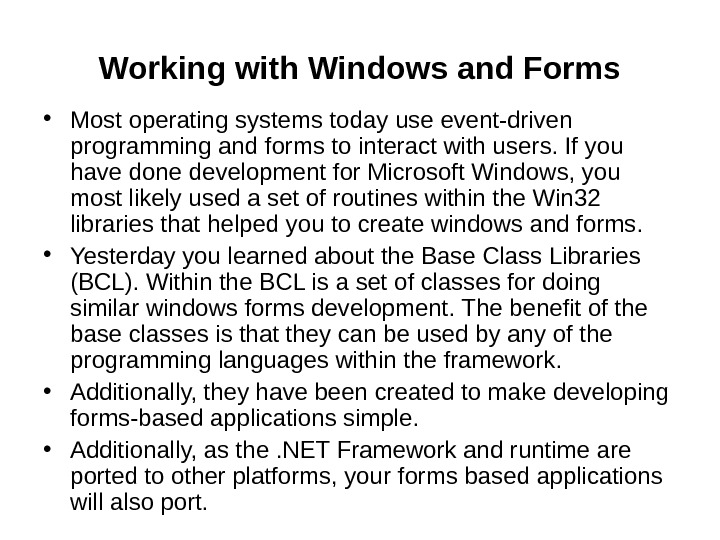
Working with Windows and Forms • Most operating systems today use event-driven programming and forms to interact with users. If you have done development for Microsoft Windows, you most likely used a set of routines within the Win 32 libraries that helped you to create windows and forms. • Yesterday you learned about the Base Class Libraries (BCL). Within the BCL is a set of classes for doing similar windows forms development. The benefit of the base classes is that they can be used by any of the programming languages within the framework. • Additionally, they have been created to make developing forms-based applications simple. • Additionally, as the. NET Framework and runtime are ported to other platforms, your forms based applications will also port.
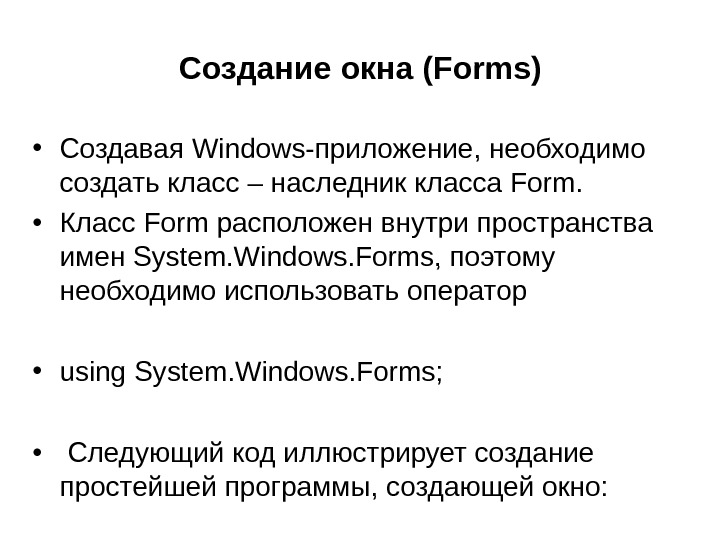
Создание окна ( Forms ) • Создавая Windows- приложение, необходимо создать класс – наследник класса Form. • Класс Form расположен внутри пространства имен System. Windows. Forms, поэтому необходимо использовать оператор • using System. Windows. Forms; • Следующий код иллюстрирует создание простейшей программы, создающей окно:
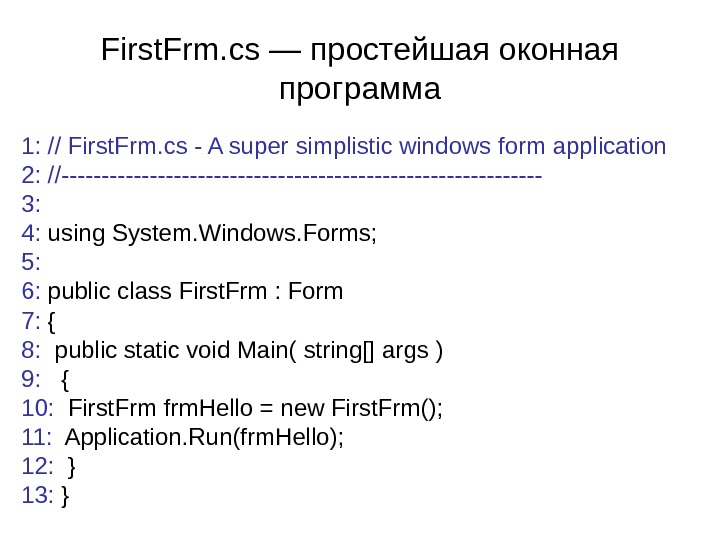
First. Frm. cs — простейшая оконная программа 1: // First. Frm. cs — A super simplistic windows form application 2: //—————————— 3: 4: using System. Windows. Forms; 5: 6: public class First. Frm : Form 7: { 8: public static void Main( string[] args ) 9: { 10: First. Frm frm. Hello = new First. Frm(); 11: Application. Run(frm. Hello); 12: } 13: }
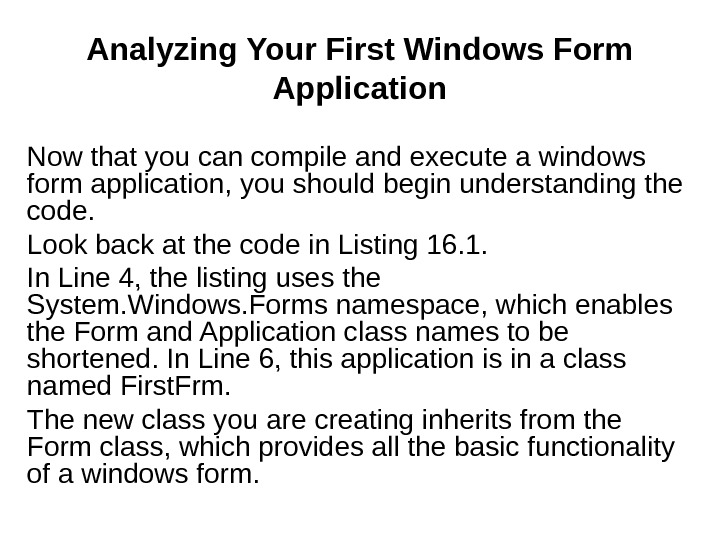
Analyzing Your First Windows Form Application Now that you can compile and execute a windows form application, you should begin understanding the code. Look back at the code in Listing 16. 1. In Line 4, the listing uses the System. Windows. Forms namespace, which enables the Form and Application class names to be shortened. In Line 6, this application is in a class named First. Frm. The new class you are creating inherits from the Form class, which provides all the basic functionality of a windows form.
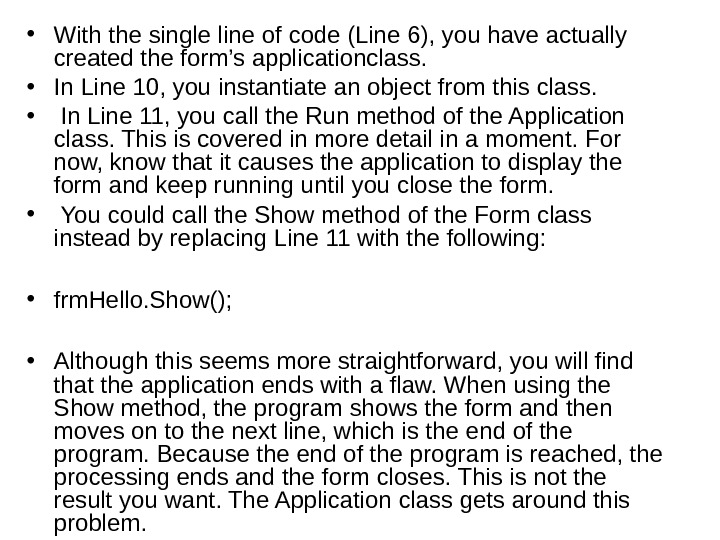
• With the single line of code (Line 6), you have actually created the form’s applicationclass. • In Line 10, you instantiate an object from this class. • In Line 11, you call the Run method of the Application class. This is covered in more detail in a moment. For now, know that it causes the application to display the form and keep running until you close the form. • You could call the Show method of the Form class instead by replacing Line 11 with the following: • frm. Hello. Show(); • Although this seems more straightforward, you will find that the application ends with a flaw. When using the Show method, the program shows the form and then moves on to the next line, which is the end of the program. Because the end of the program is reached, the processing ends and the form closes. This is not the result you want. The Application class gets around this problem.
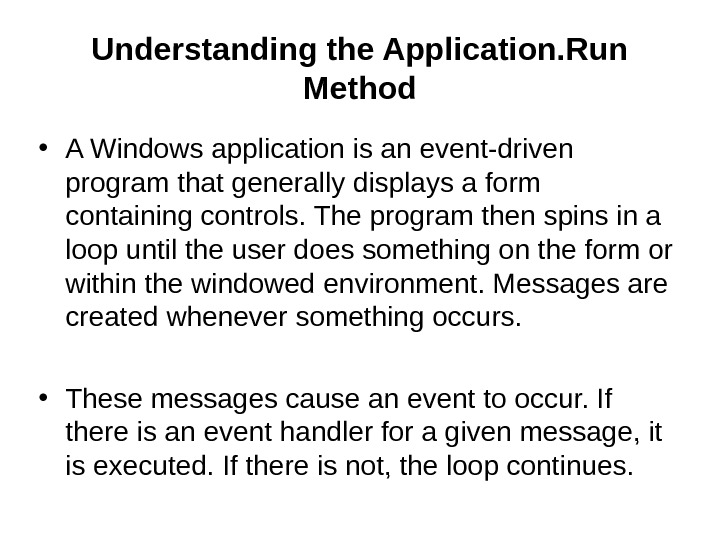
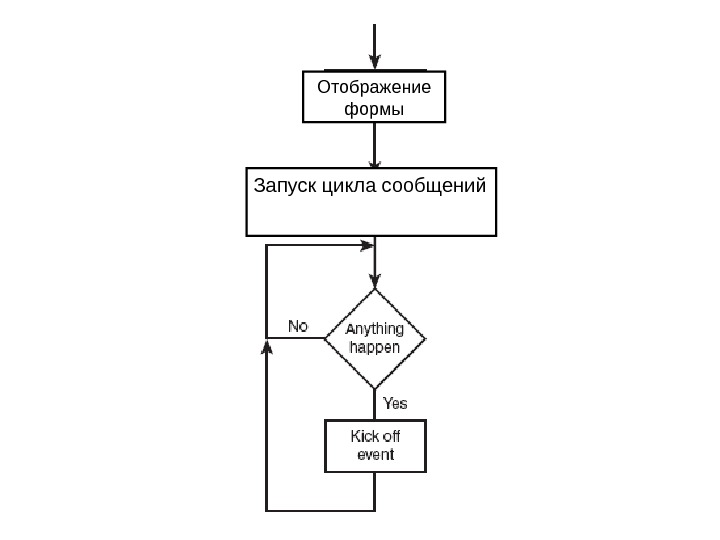
Understanding the Application. Run Method • A Windows application is an event-driven program that generally displays a form containing controls. The program then spins in a loop until the user does something on the form or within the windowed environment. Messages are created whenever something occurs. • These messages cause an event to occur. If there is an event handler for a given message, it is executed. If there is not, the loop continues.
Отображение формы Запуск цикла сообщений
• As you can see, the loop never seems to end. Actually, an event can end the program. • The basic form that you inherit from (Form) includes the close control as well as a Close item in the Command menu. These controls can kick off an event that closes the form and ends the loop. • By now you should be guessing what the Application class does for you—or, more specifically, what the Application class’s Run method does for you. The Run method takes care of creating the loop and keeping the program running until an event that ends the program loop is executed. In the case of Listing 16. 1, selecting the Close button on the form or selecting the Close option on the command menu causes an event to be fired that ends the loop and thus closes the form.
• The Application. Run method also displays a form for you. Line 11 of Listing 16. 1 receives a form object—frm. Hello. This is an object derived from the Form class (see Line 6 of Listing 16. 1). • The Application. Run method displays this form and then loops. • The loop created by the Application class’s Run method actually processes messages that are created. These messages can be created by the operating system, your application, or other applications that are running. The loop processes these methods.
• For example, when you click a button, a number of messages are created. This includes messages for a mouse down, a mouse up, a button click, and more. If a message matches with an event handler, the event handler is executed. If no event handler is defined, the message is ignored.
Customizing a Form In the previous listing, you saw a basic form presented. A number of properties, methods, and events are associated with the Form class— too many to cover in this book. However, it is worth touching on a few of them. You can check the online documentation for a complete accounting of all the functionality available with this class.
Customizing the Caption Bar on a Form Listing 16. 1 presented a basic, blank form. The next few listings continue to work with this blank form; however, with each listing in today’s lesson, you learn to take a little more control of the form. The form from Listing 16. 1 comes with a number of items already available, including the control menu and the Minimize, Maximize, and Close buttons on the title bar. You can control whether these features are on or off with your forms by setting properties:
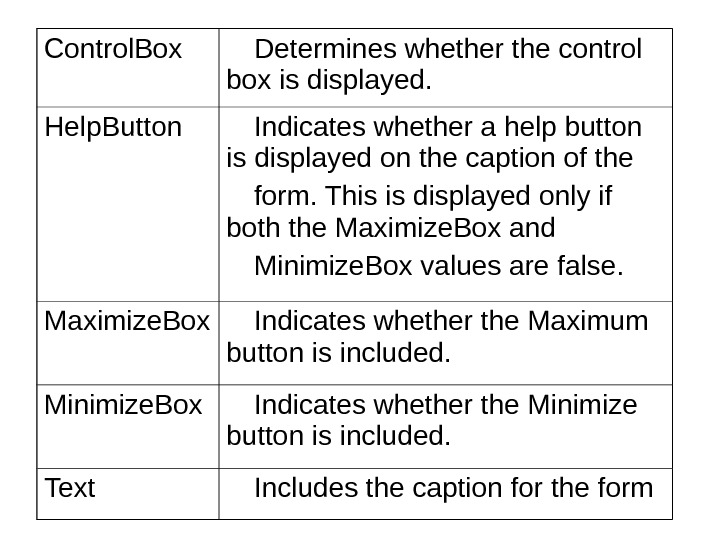
Control. Box Determines whether the control box is displayed. Help. Button Indicates whether a help button is displayed on the caption of the form. This is displayed only if both the Maximize. Box and Minimize. Box values are false. Maximize. Box Indicates whether the Maximum button is included. Minimize. Box Indicates whether the Minimize button is included. Text Includes the caption for the form
Some of these values impact others. For example, the Help. Button displays only if both the Maximize. Box and Minimize. Box properties are false (turned off). Listing 16. 2 gives you a short listing that enables you to play with these values; Figure 16. 4 shows the output.
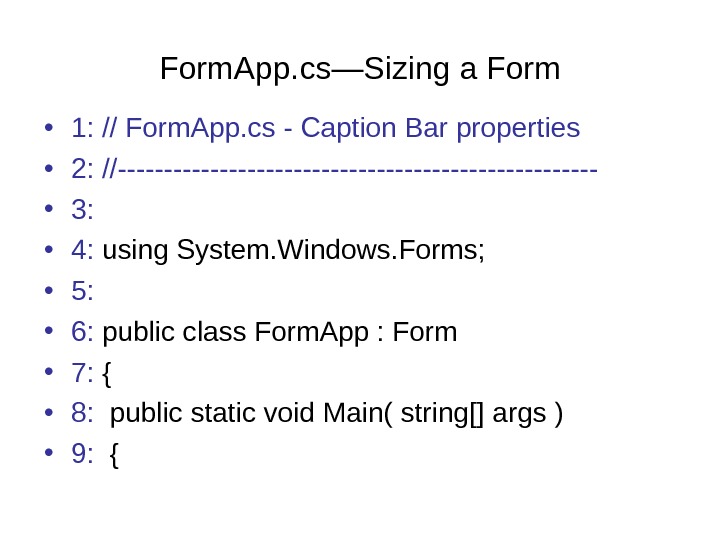
Form. App. cs—Sizing a Form • 1: // Form. App. cs — Caption Bar properties • 2: //————————— • 3: • 4: using System. Windows. Forms; • 5: • 6: public class Form. App : Form • 7: { • 8: public static void Main( string[] args ) • 9: {
• 10: Form. App frm. Hello = new Form. App(); • 11: • 12: // Caption bar properties • 13: frm. Hello. Minimize. Box = true; • 14: frm. Hello. Maximize. Box = false; • 15: frm. Hello. Help. Button = true; • 16: frm. Hello. Control. Box = true; • 17: frm. Hello. Text = @”My Form’s Caption”; • 18: • 19: Application. Run(frm. Hello); • 20: } • 21: }
• This listing is easy to follow. In Line 6, a new class is created named Form. App that inherits from the Form class. In Line 10, a new form object is instantiated from the Application class. This form has a number of values set in Lines 13– 17 that change items on the caption bar. In Line 19, the Run method of the Application class is called to display the form. You should look at the output in Figure 16. 4. Both the Maximize and Minimize buttons are displayed; however, the Maximize button is inactive. This is because you set it to false in Line 14. If you set both values to false, neither button shows.
• You should also notice that the Help button is turned to true in Line 15. The Help button displays only if both the Minimize and Maximize buttons are turned off (false). This means that Line 15 is ignored. Change the property in Line 13 so that the resulting properties in Lines 14– 16 are as follows: • 13: frm. Hello. Minimize. Box = false; • 14: frm. Hello. Maximize. Box = false; • 15: frm. Hello. Help. Button = true; • 16: frm. Hello. Control. Box = true;
• As you can see, the output reflects the values that have been set. • One additional combination is worth noting. When you set Control. Box to false, the Close button and the control box are both hidden. Additionally, if Control. Box, Minimize. Box, and Maximize. Box are all set to false and if there is no text for the caption, the caption bar disappears. • Remove Line 17 from Listing 16. 2 and set the values for the properties in Lines 13– 16 to false. Recompile and run the program. The output you receive is displayed in Figure 16. 6. • You might wonder why you would want to remove the caption bar. One possible reason is to display a splash screen. You’ll learn more about creating a splash screen later.
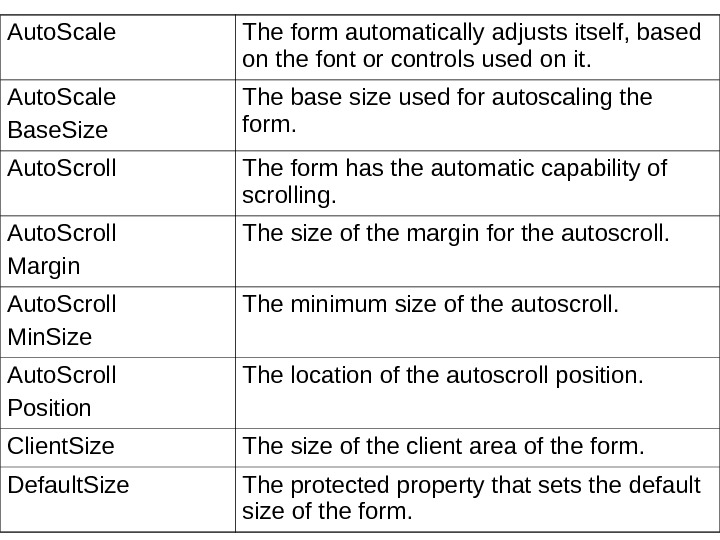
Auto. Scale The form automatically adjusts itself, based on the font or controls used on it. Auto. Scale Base. Size The base size used for autoscaling the form. Auto. Scroll The form has the automatic capability of scrolling. Auto. Scroll Margin The size of the margin for the autoscroll. Auto. Scroll Min. Size The minimum size of the autoscroll. Auto. Scroll Position The location of the autoscroll position. Client. Size The size of the client area of the form. Default. Size The protected property that sets the default size of the form.
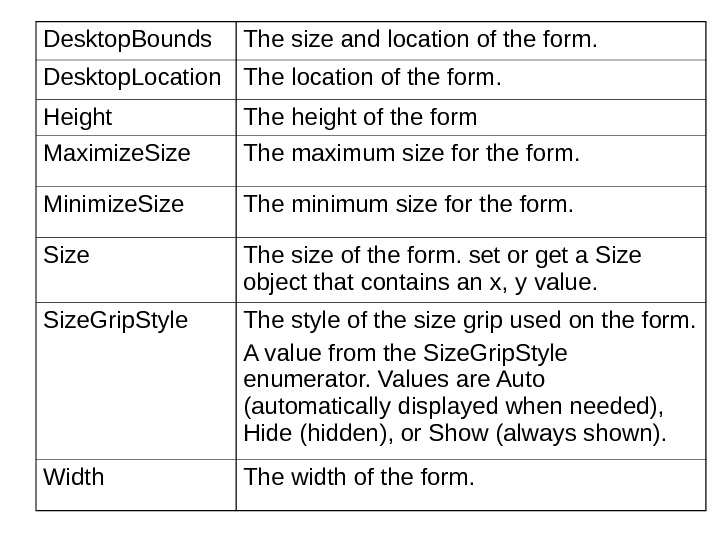
Desktop. Bounds The size and location of the form. Desktop. Location The location of the form. Height The height of the form Maximize. Size The maximum size for the form. Minimize. Size The minimum size for the form. Size The size of the form. set or get a Size object that contains an x, y value. Size. Grip. Style The style of the size grip used on the form. A value from the Size. Grip. Style enumerator. Values are Auto (automatically displayed when needed), Hide (hidden), or Show (always shown). Width The width of the form.
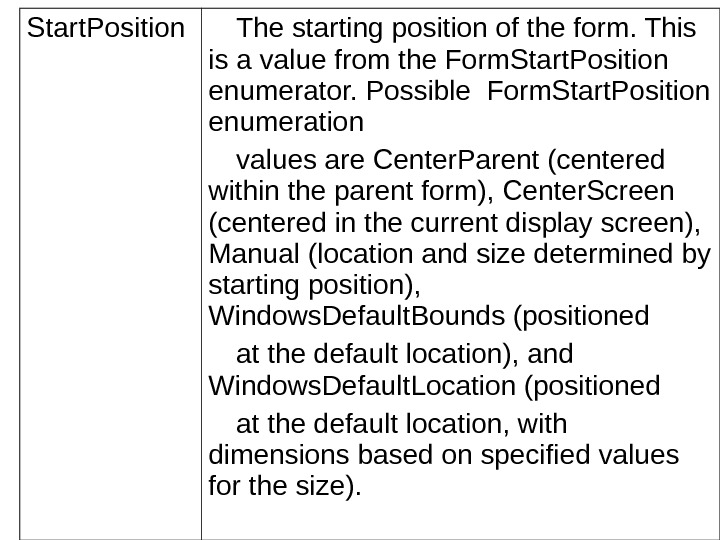
Start. Position The starting position of the form. This is a value from the Form. Start. Position enumerator. Possible Form. Start. Position enumeration values are Center. Parent (centered within the parent form), Center. Screen (centered in the current display screen), Manual (location and size determined by starting position), Windows. Default. Bounds (positioned at the default location), and Windows. Default. Location (positioned at the default location, with dimensions based on specified values for the size).
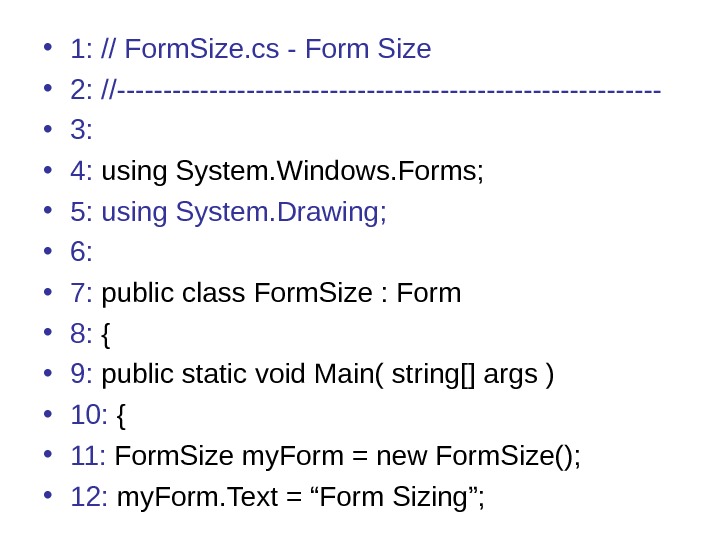
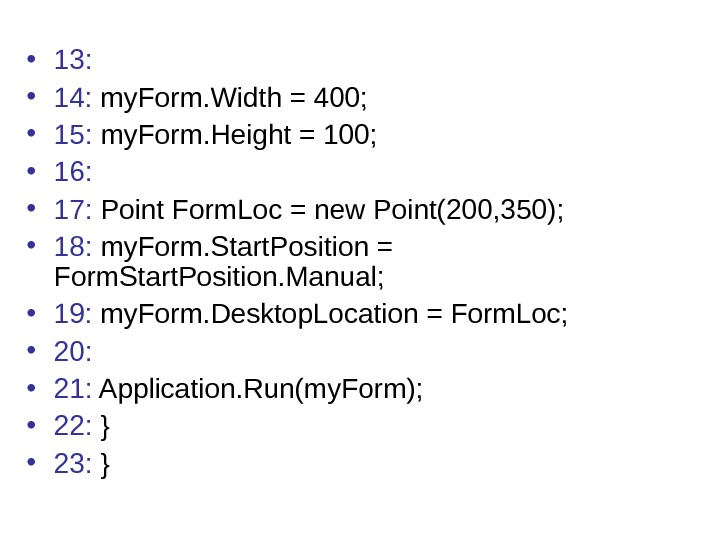
• 1: // Form. Size. cs — Form Size • 2: //—————————— • 3: • 4: using System. Windows. Forms; • 5: using System. Drawing; • 6: • 7: public class Form. Size : Form • 8: { • 9: public static void Main( string[] args ) • 10: { • 11: Form. Size my. Form = new Form. Size(); • 12: my. Form. Text = “Form Sizing”;
• 13: • 14: my. Form. Width = 400; • 15: my. Form. Height = 100; • 16: • 17: Point Form. Loc = new Point(200, 350); • 18: my. Form. Start. Position = Form. Start. Position. Manual; • 19: my. Form. Desktop. Location = Form. Loc; • 20: • 21: Application. Run(my. Form); • 22: } • 23: }
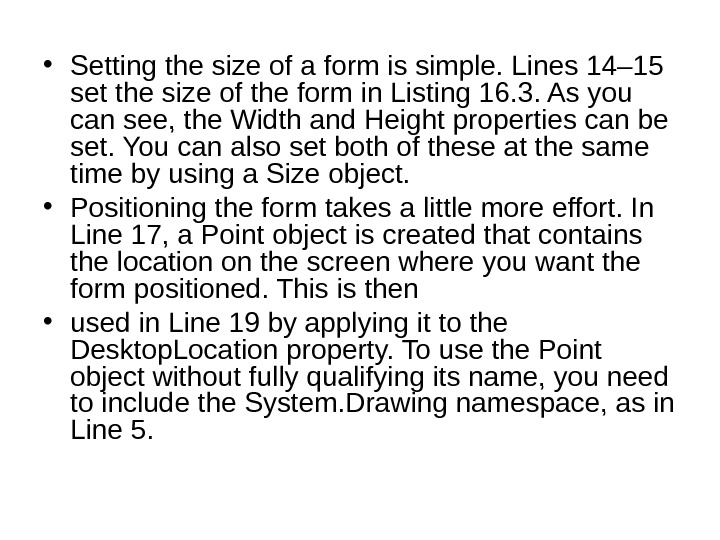
• Setting the size of a form is simple. Lines 14– 15 set the size of the form in Listing 16. 3. As you can see, the Width and Height properties can be set. You can also set both of these at the same time by using a Size object. • Positioning the form takes a little more effort. In Line 17, a Point object is created that contains the location on the screen where you want the form positioned. This is then • used in Line 19 by applying it to the Desktop. Location property. To use the Point object without fully qualifying its name, you need to include the System. Drawing namespace, as in Line 5.
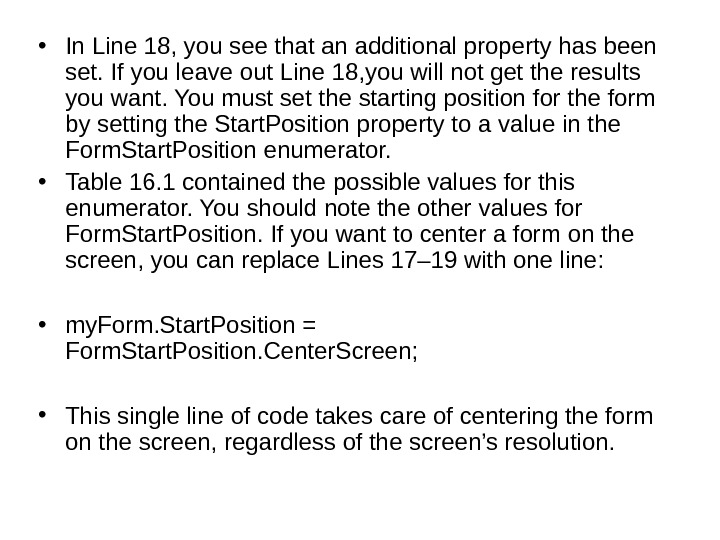
• In Line 18, you see that an additional property has been set. If you leave out Line 18, you will not get the results you want. You must set the starting position for the form by setting the Start. Position property to a value in the Form. Start. Position enumerator. • Table 16. 1 contained the possible values for this enumerator. You should note the other values for Form. Start. Position. If you want to center a form on the screen, you can replace Lines 17– 19 with one line: • my. Form. Start. Position = Form. Start. Position. Center. Screen; • This single line of code takes care of centering the form on the screen, regardless of the screen’s resolution.
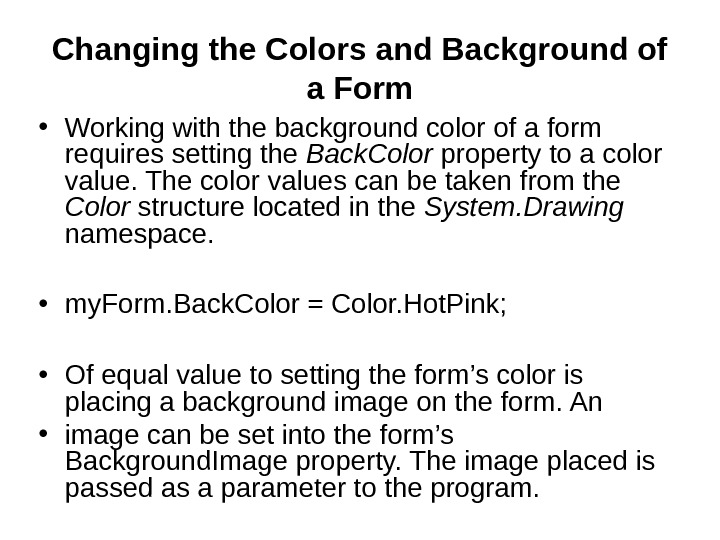
Changing the Colors and Background of a Form • Working with the background color of a form requires setting the Back. Color property to a color value. The color values can be taken from the Color structure located in the System. Drawing namespace. • my. Form. Back. Color = Color. Hot. Pink; • Of equal value to setting the form’s color is placing a background image on the form. An • image can be set into the form’s Background. Image property. The image placed is passed as a parameter to the program.
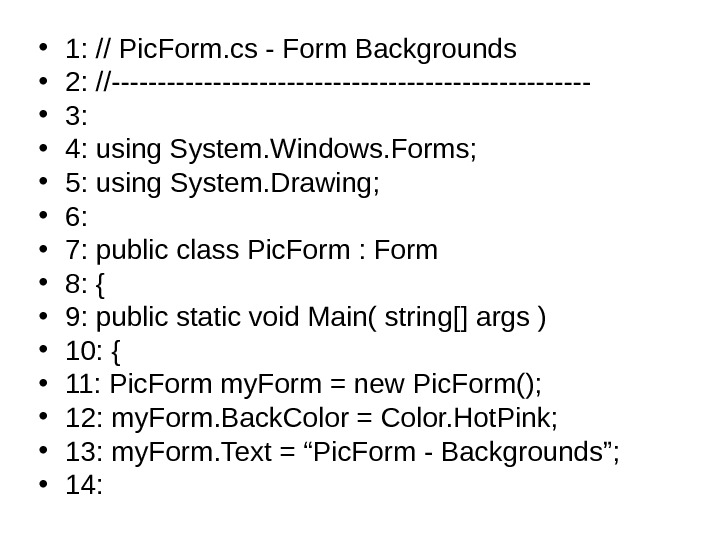
• 1: // Pic. Form. cs — Form Backgrounds • 2: //————————— • 3: • 4: using System. Windows. Forms; • 5: using System. Drawing; • 6: • 7: public class Pic. Form : Form • 8: { • 9: public static void Main( string[] args ) • 10: { • 11: Pic. Form my. Form = new Pic. Form(); • 12: my. Form. Back. Color = Color. Hot. Pink; • 13: my. Form. Text = “Pic. Form — Backgrounds”; • 14 :
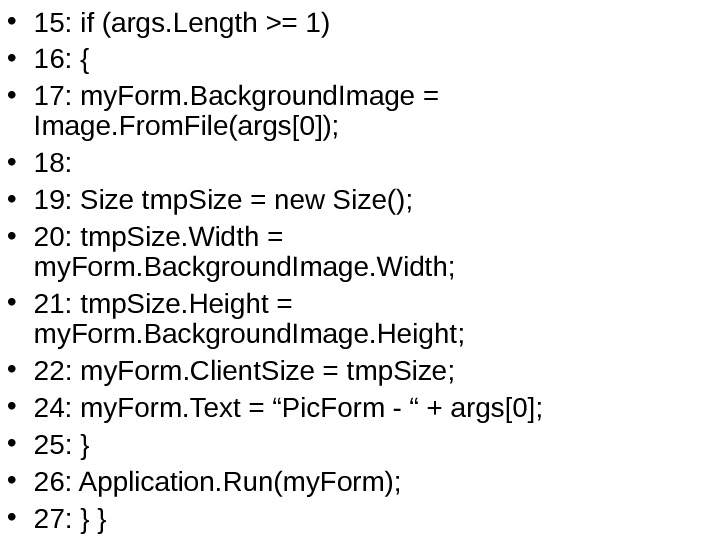
• 15: if (args. Length >= 1) • 16: { • 17: my. Form. Background. Image = Image. From. File(args[0]); • 18: • 19: Size tmp. Size = new Size(); • 20: tmp. Size. Width = my. Form. Background. Image. Width; • 21: tmp. Size. Height = my. Form. Background. Image. Height; • 22: my. Form. Client. Size = tmp. Size; • 24: my. Form. Text = “Pic. Form — “ + args[0]; • 25: } • 26: Application. Run(my. Form); • 2 7 : } }
• This program presents an image on the form background. This image is provided on the command line. If no image is entered on the command line, the background color is set to Hot Pink. I ran the listing using a picture of my nephews. I entered this command line: • Pic. Form pict 1. jpg • pict 1. jpg was in the same directory as the Pic. Form executable. If it were in a different directory, I would have needed to enter the full path. You can pass a different image, as long as the path is valid. If you enter an invalid filename, you get an exception.
• Looking at the listing, you can see that creating an application to display images is extremely easy. The framework classes take care of all the difficult work for you. In Line 12, the background color was set to be Hot Pink. This is done by setting the form’s Back. Color property with a color value from the Color structure. • In Line 15, a check is done to see whether a value was included on the command line. If a value was not included, Lines 17– 24 are skipped and the form is displayed with a hot pink background. If a value was entered, this program makes the assumption (which your • programs should not do) that the parameter passed was a valid graphics file. This file is then set into the Background. Image property of the form.
• The filename needs to be converted to an actual image for the background by using the Image class. More specifically, the Image class includes a static method, From. File, that takes a filename as an argument and returns an Image. This is exactly what is needed for this listing. • The Background. Image property holds an Image value. Because of this, properties and methods from the Image class can be used on this property. The Image class includes Width and Height properties that are equal to the width and height of the image contained. • Lines 20– 21 use these values to a temporary Size variable that, in turn, is assigned to the form’s client size in Line 22. The size of the form’s client area is set to the same size as the image. The end result is that the form displayed always displays the full image. If you don’t do this, you will see either only part of the image or tiled copies of the image.