344300de3813054ab262e8cc607861c8.ppt
- Количество слайдов: 28
 ISR Systems First Article Inspection Per AS 9102 Training Updated 4/6/2011
 First Article Inspection Requirements AS 9102 Rev A - Aerospace First Article Inspection Requirement Invoked by AS 9100: 7. 5. 1. 1 Production Process Verification The organization shall use a representative item from the first production run of a new part or assembly to verify that the production processes, production documentation and tooling are capable of producing parts and assemblies that meet requirements. This process shall be repeated when changes occur that invalidate the original results (e. g. , engineering changes, manufacturing process changes, tooling changes). NOTE This activity is often referred to as first article inspection. NOTE: See (AS) (EN) (SJAC) 9102 for guidance Updated 4/6/2011
 First Article Inspection DEFINITION FIRST ARTICLE INSPECTION (FAI): A complete, independent, and documented physical and functional inspection process to verify that prescribed production methods have produced an acceptable item as specified by engineering drawings, planning, purchase order, engineering specifications, and/or other applicable design documents. Ref AS 9102 Rev A Updated 4/6/2011
 First Article Inspection Purpose Provides objective evidence that: All engineering design and specification requirements are • understood • accounted for • verified • and documented i. e. Process and Manufacturing validation Updated 4/6/2011
 First Article Inspection When should FAI be performed? • Full FAI • New part introduction • New supplier or new location of manufacture • Lapse in production for more than 2 years • When required by the customer or Goodrich ISR • Partial (Delta) FAI • Design change • Significant change in the method of manufacture (e. g. Tooling, Processes, Machine, Location, Numerical Control Program, Sequence of Manufacture). Refer to Supplier Quality Manual for complete listing. Updated 4/6/2011
 First Article Inspection What does it apply to? • All parts defined by drawings issued by ISR • Assemblies • All levels of detail parts within assembly § including castings and forgings • Modified Standard, Electronic or COTS Items §Only the modifications Updated 4/6/2011
 First Article Inspection What does it not apply to? • Standard Parts • If supplier can provide evidence (Cof. C) that part has been qualified to procurement specification such as MS, NAS etc. • Electronic Components • If parts being supplied have been manufactured by a supplier listed on Qualified Products List (QPL) for that part • Non Custom parts (COTS) • Commercial Off The Shelf (COTS) Items No FAI required Updated 4/6/2011
 First Article Inspection What is included? • Verification of all design characteristics • Material and Special Process Certifications • Manufacturing Process Verification • Nonconformance resolution • FAIRs for major subassemblies Updated 4/6/2011
 First Article Inspection Forms The Following Forms comprise a First Article Inspection Report (FAIR) AS 9102 Form 1: Part Number Accountability shall be used to identify the part that is being first article inspected (FAI part) and associated sub-assemblies or detail parts. AS 9102 Form 2: Product Accountability – Raw Material, Specifications and Special Process(s), Test Verification shall be used if any material, special processes or functional testing are defined as a design requirement. AS 9102 Form 3: Characteristic Accountability, Verification and Compatibility Evaluation shall be used to record an actual measurement or inspection/verification of the FAI part for every design characteristic on the drawing, including notes. Note: The standard Form 3 in this tutorial has been modified to include a column for the recording of measurement equipment used during the inspection of the FAI part. Updated 4/6/2011
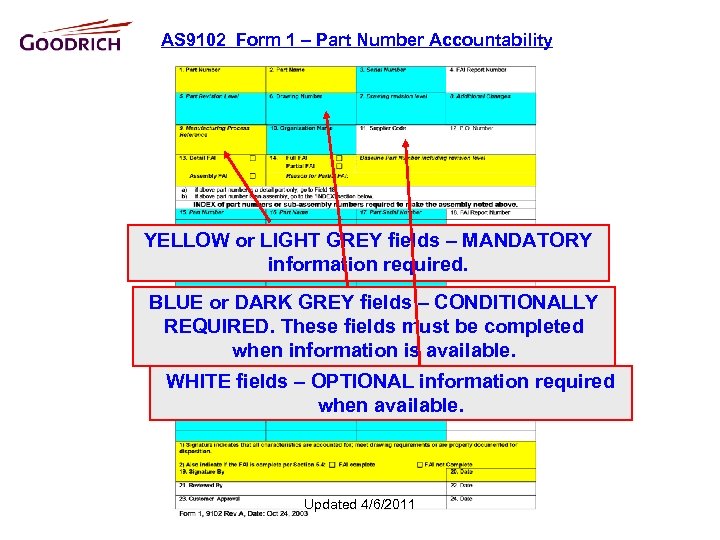 AS 9102 Form 1 – Part Number Accountability YELLOW or LIGHT GREY fields – MANDATORY information required. BLUE or DARK GREY fields – CONDITIONALLY REQUIRED. These fields must be completed when information is available. WHITE fields – OPTIONAL information required when available. Updated 4/6/2011
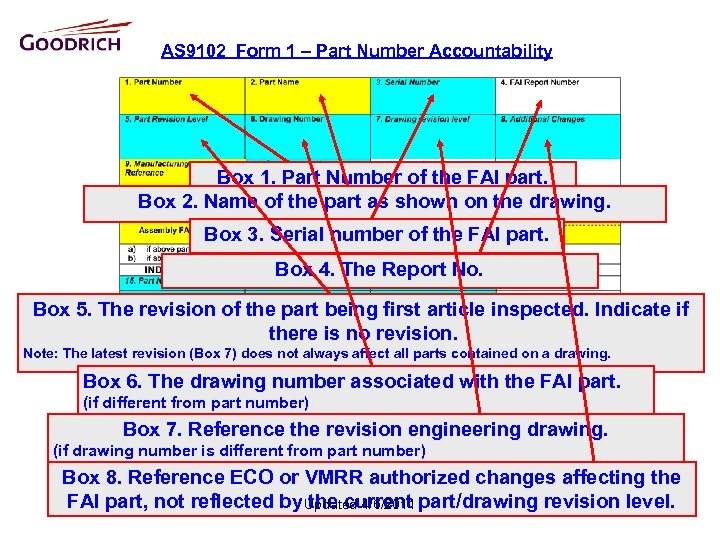 AS 9102 Form 1 – Part Number Accountability Box 1. Part Number of the FAI part. Box 2. Name of the part as shown on the drawing. Box 3. Serial number of the FAI part. Box 4. The Report No. Box 5. The revision of the part being first article inspected. Indicate if there is no revision. Note: The latest revision (Box 7) does not always affect all parts contained on a drawing. Box 6. The drawing number associated with the FAI part. (if different from part number) Box 7. Reference the revision engineering drawing. (if drawing number is different from part number) Box 8. Reference ECO or VMRR authorized changes affecting the FAI part, not reflected by Updated 4/6/2011 part/drawing revision level. the current
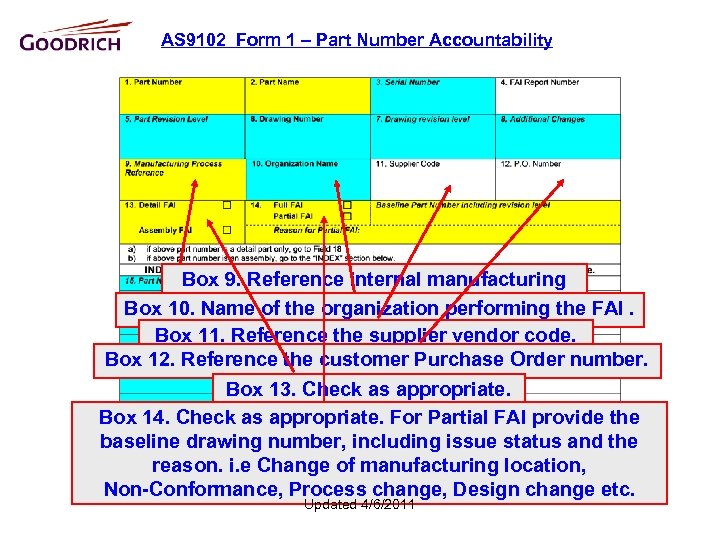 AS 9102 Form 1 – Part Number Accountability Box 9. Reference internal manufacturing process and Rev used. Box 10. Name of the organization performing the FAI. Box 11. Reference the supplier vendor code. Box 12. Reference the customer Purchase Order number. Box 13. Check as appropriate. Box 14. Check as appropriate. For Partial FAI provide the baseline drawing number, including issue status and the reason. i. e Change of manufacturing location, Non-Conformance, Process change, Design change etc. Updated 4/6/2011
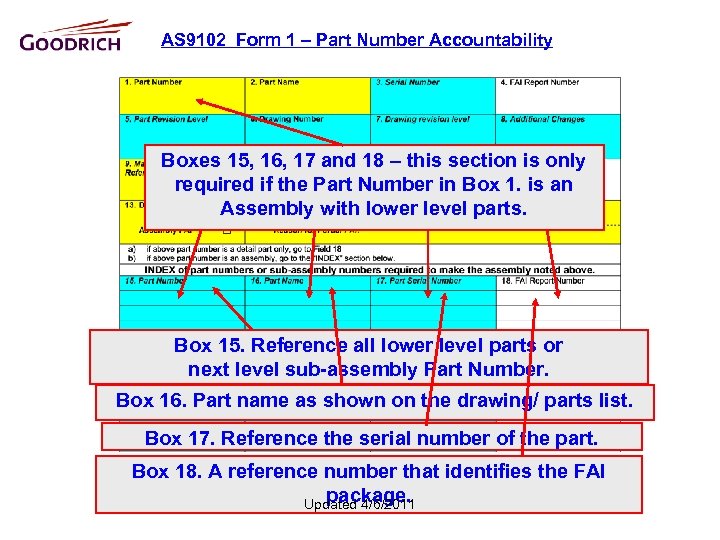 AS 9102 Form 1 – Part Number Accountability Boxes 15, 16, 17 and 18 – this section is only required if the Part Number in Box 1. is an Assembly with lower level parts. Box 15. Reference all lower level parts or next level sub-assembly Part Number. Box 16. Part name as shown on the drawing/ parts list. Box 17. Reference the serial number of the part. Box 18. A reference number that identifies the FAI package. Updated 4/6/2011
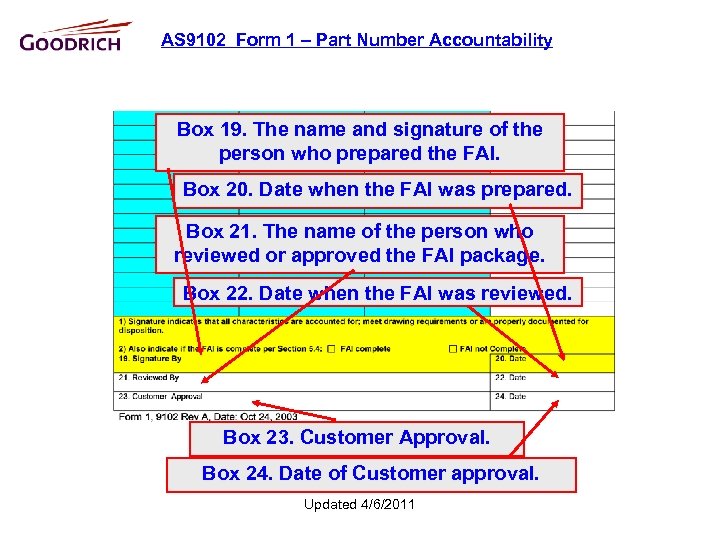 AS 9102 Form 1 – Part Number Accountability Box 19. The name and signature of the person who prepared the FAI. Box 20. Date when the FAI was prepared. Box 21. The name of the person who reviewed or approved the FAI package. Box 22. Date when the FAI was reviewed. Box 23. Customer Approval. Box 24. Date of Customer approval. Updated 4/6/2011
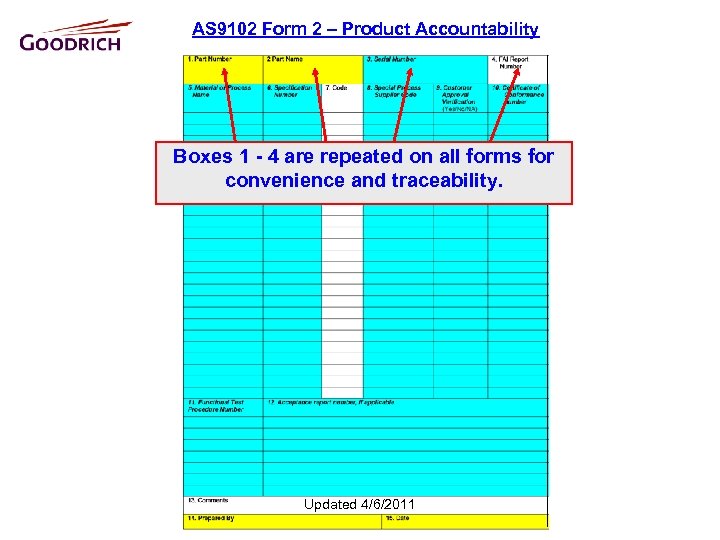 AS 9102 Form 2 – Product Accountability Boxes 1 - 4 are repeated on all forms for convenience and traceability. Updated 4/6/2011
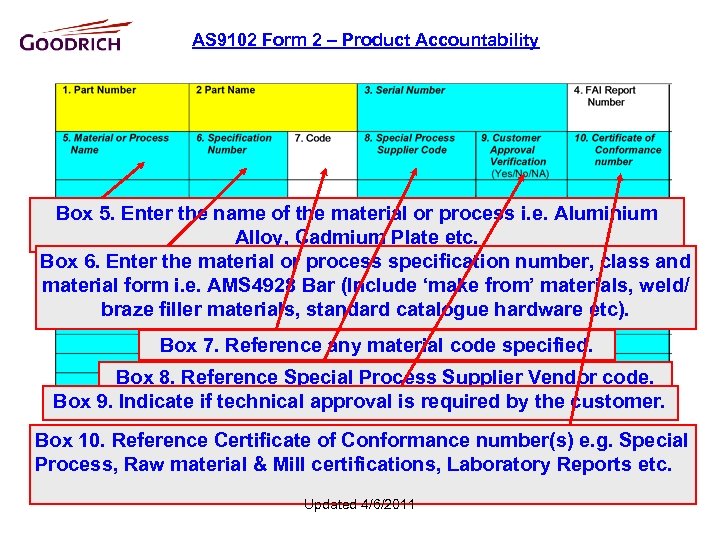 AS 9102 Form 2 – Product Accountability Box 5. Enter the name of the material or process i. e. Aluminium Alloy, Cadmium Plate etc. Box 6. Enter the material or process specification number, class and material form i. e. AMS 4928 Bar (Include ‘make from’ materials, weld/ braze filler materials, standard catalogue hardware etc). Box 7. Reference any material code specified. Box 8. Reference Special Process Supplier Vendor code. Box 9. Indicate if technical approval is required by the customer. Box 10. Reference Certificate of Conformance number(s) e. g. Special Process, Raw material & Mill certifications, Laboratory Reports etc. Updated 4/6/2011
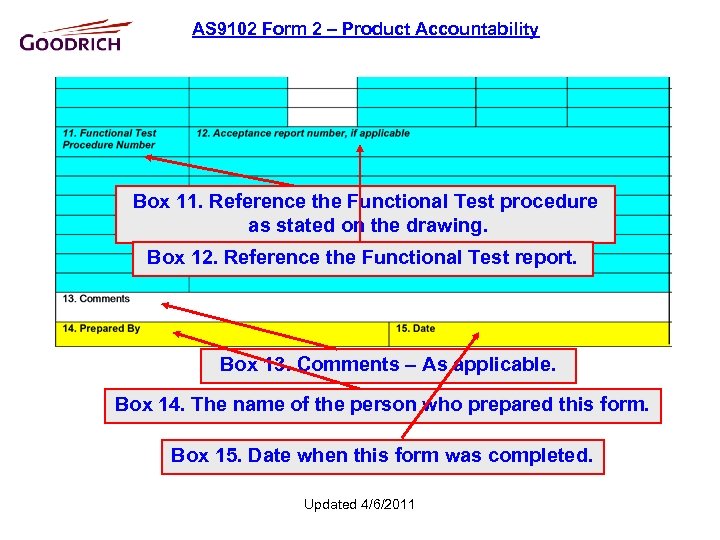 AS 9102 Form 2 – Product Accountability Box 11. Reference the Functional Test procedure as stated on the drawing. Box 12. Reference the Functional Test report. Box 13. Comments – As applicable. Box 14. The name of the person who prepared this form. Box 15. Date when this form was completed. Updated 4/6/2011
 BALLOONED DRAWING A ballooned drawing is a required element of a FAIR package to support Box 5 of Form 3 Identify 100% of contracted* characteristics: • Balloon and number all dimensions • Balloon and number all surface finish callouts Ø Including exclusion and inclusion area callouts • Balloon and number all material and hardness callouts Ø Don’t forget the requirements identified in the title boxes at the bottom of the drawings. • Note callouts are identified as such on Form 3 e. g. Note 1, Note 2 etc. *If part is shipped incomplete per the Purchase Order(PO), Statement Of Work(SOW) or approved Vendor Material Review Request(VMRR) account for the excluded characteristics by indicating in balloon or adjacent to note the coded reason. PO SOW VMRR#XXXX Updated 4/6/2011
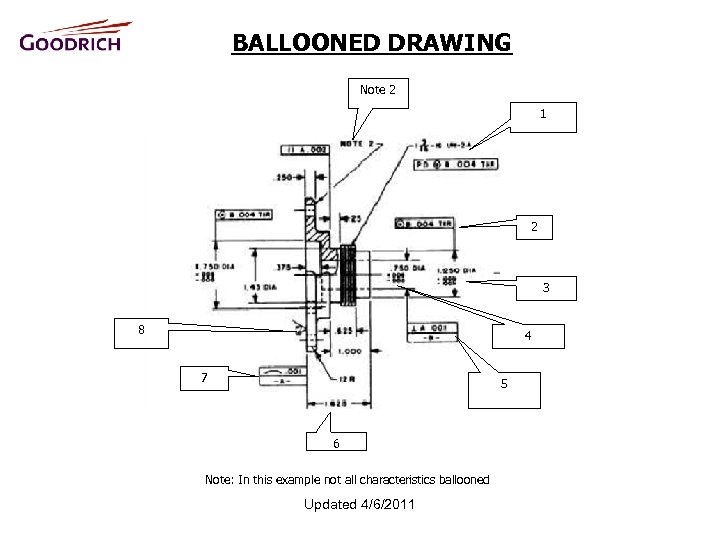 BALLOONED DRAWING Note 2 1 2 3 8 4 7 5 6 Note: In this example not all characteristics ballooned Updated 4/6/2011
 BALLOONED DRAWING Circuit Card Assemblies Balloon and number all drawing features including dimensions, specifications and literary notes. Discrete electronic components (or detail parts) are accounted for by color highlighting the reference designator as follows: 1. Component in place and part number/value/polarity visually verified – Green 2. Component in place and not able to visually verify part number/ value/polarity – Yellow 3. Component purposely not installed – Red Indicate reason by reference designator on the field of drawing or separate attached listing, also reference authorizing document e. g. PO, SOW or VMRR#. 4. No component to be installed at reference designator by design (not on parts list) – Blue Include the color code legend on the field of the drawing. Updated 4/6/2011
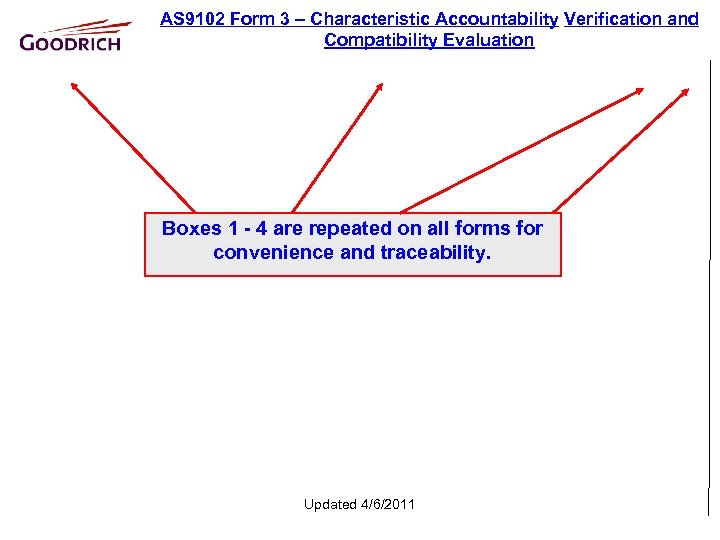 AS 9102 Form 3 – Characteristic Accountability Verification and Compatibility Evaluation Boxes 1 - 4 are repeated on all forms for convenience and traceability. Updated 4/6/2011
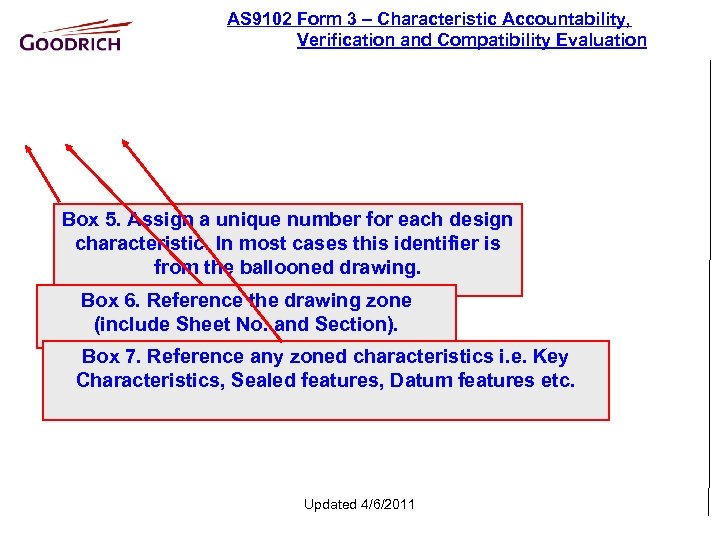 AS 9102 Form 3 – Characteristic Accountability, Verification and Compatibility Evaluation Box 5. Assign a unique number for each design characteristic. In most cases this identifier is from the ballooned drawing. Box 6. Reference the drawing zone (include Sheet No. and Section). Box 7. Reference any zoned characteristics i. e. Key Characteristics, Sealed features, Datum features etc. Updated 4/6/2011
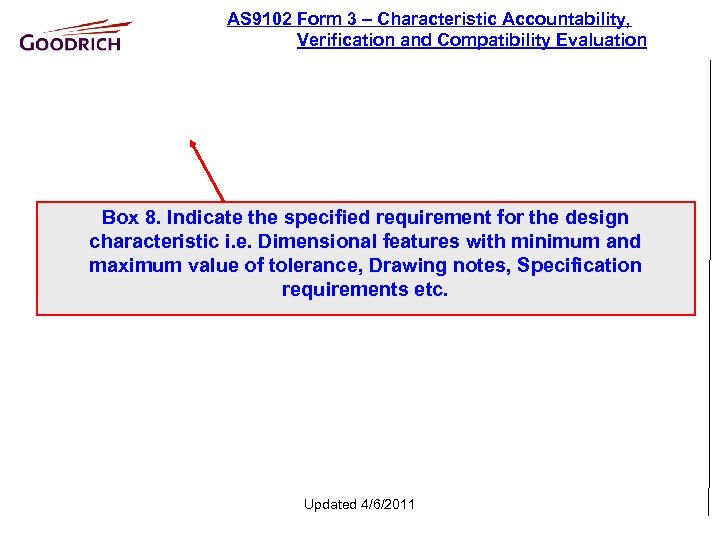 AS 9102 Form 3 – Characteristic Accountability, Verification and Compatibility Evaluation Box 8. Indicate the specified requirement for the design characteristic i. e. Dimensional features with minimum and maximum value of tolerance, Drawing notes, Specification requirements etc. Updated 4/6/2011
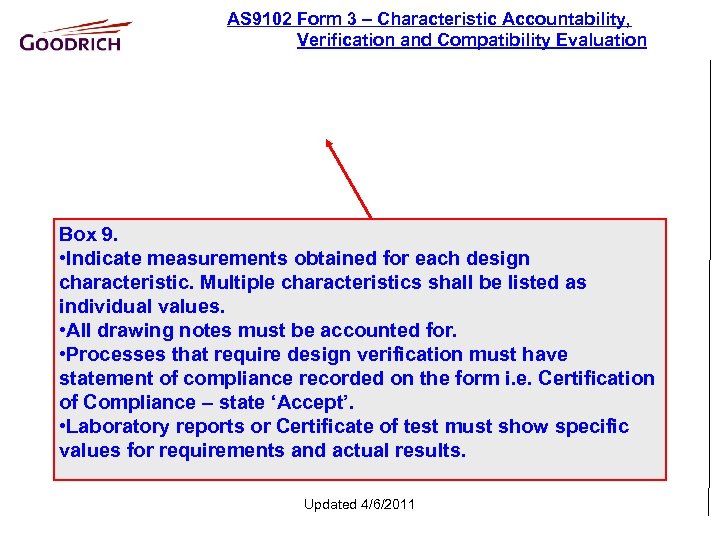 AS 9102 Form 3 – Characteristic Accountability, Verification and Compatibility Evaluation Box 9. • Indicate measurements obtained for each design characteristic. Multiple characteristics shall be listed as individual values. • All drawing notes must be accounted for. • Processes that require design verification must have statement of compliance recorded on the form i. e. Certification of Compliance – state ‘Accept’. • Laboratory reports or Certificate of test must show specific values for requirements and actual results. Updated 4/6/2011
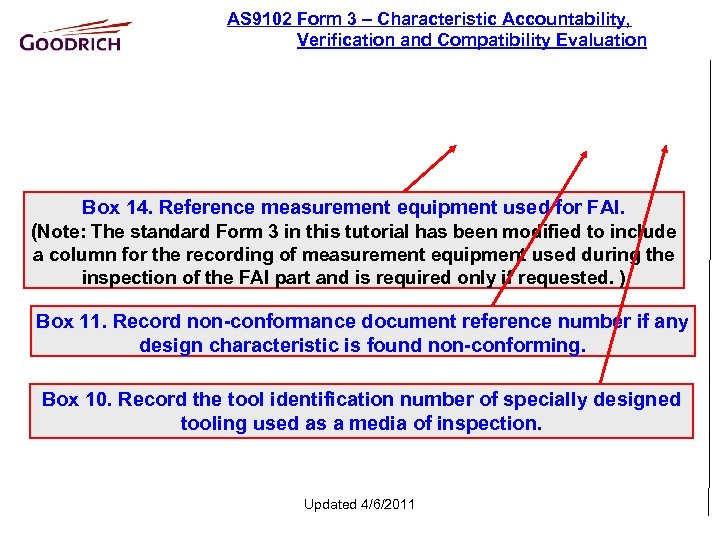 AS 9102 Form 3 – Characteristic Accountability, Verification and Compatibility Evaluation Box 14. Reference measurement equipment used for FAI. (Note: The standard Form 3 in this tutorial has been modified to include a column for the recording of measurement equipment used during the inspection of the FAI part and is required only if requested. ) Box 11. Record non-conformance document reference number if any design characteristic is found non-conforming. Box 10. Record the tool identification number of specially designed tooling used as a media of inspection. Updated 4/6/2011
 AS 9102 Form 3 – Characteristic Accountability, Verification and Compatibility Evaluation Box 12. Name of the person who prepared this form. Box 13. Date when this form was completed. Updated 4/6/2011
 First Article Inspection Forms cont’d AS 9102 forms can be downloaded at: http: //www. sae. org/aaqg/publications/as 9102 a-faq. htm Updated 4/6/2011
 First Article Inspection • FAI Completion & Verification § Results compiled by person independent to process § Results reviewed independently and signed • ISR Acceptance § Submitted FAI Report and Part are verified by ISR personnel. §Results are fed back to supplier Ø If acceptable, signed sheets sent to Supplier for the record. Ø If unacceptable, processed via Non-Conforming Material procedure. 4/6/2011 Updated


