Дорога.pptx
- Количество слайдов: 10
 CREATE YOUR OWN DESIGNS AND USE THE EXTENSIVE ICON LIBRARY TO DEPICT YOUR ROADS IN THIS CREATIVE TOOLKIT. SPEED LIMIT 55 ROAD INFORMATION TOOL (Animated Slide)
 SPEED LIMIT 55 ROAD INFORMATION TOOL (Static Slide)
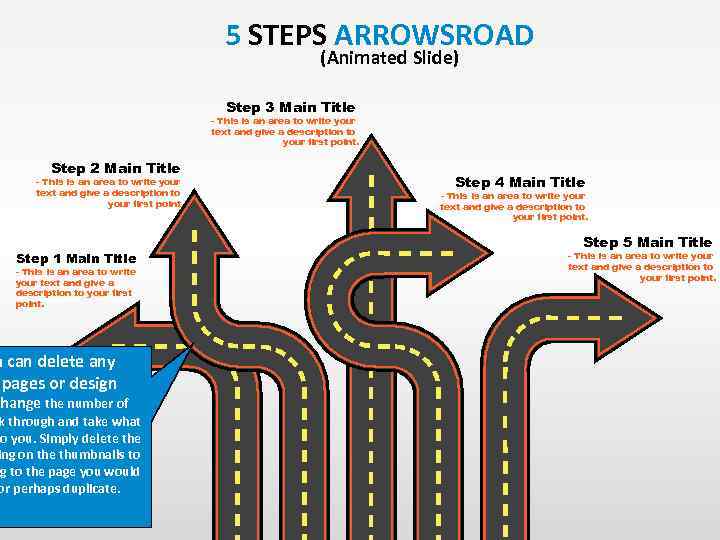 5 STEPS ARROWSROAD (Animated Slide) Step 3 Main Title - This is an area to write your text and give a description to your first point. Step 2 Main Title - This is an area to write your text and give a description to your first point. Step 1 Main Title - This is an area to write your text and give a description to your first point. u can delete any pages or design change the number of k through and take what to you. Simply delete the ing on the thumbnails to ng to the page you would or perhaps duplicate. Step 4 Main Title - This is an area to write your text and give a description to your first point. Step 5 Main Title - This is an area to write your text and give a description to your first point.
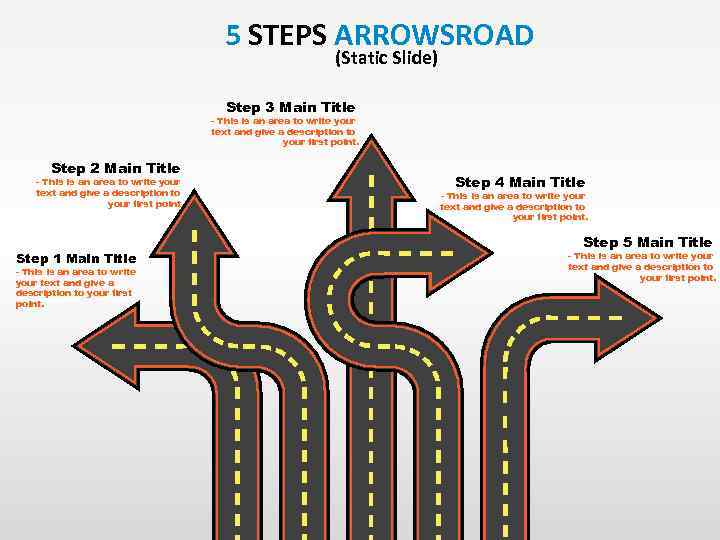 5 STEPS ARROWSROAD (Static Slide) Step 3 Main Title - This is an area to write your text and give a description to your first point. Step 2 Main Title - This is an area to write your text and give a description to your first point. Step 1 Main Title - This is an area to write your text and give a description to your first point. Step 4 Main Title - This is an area to write your text and give a description to your first point. Step 5 Main Title - This is an area to write your text and give a description to your first point.
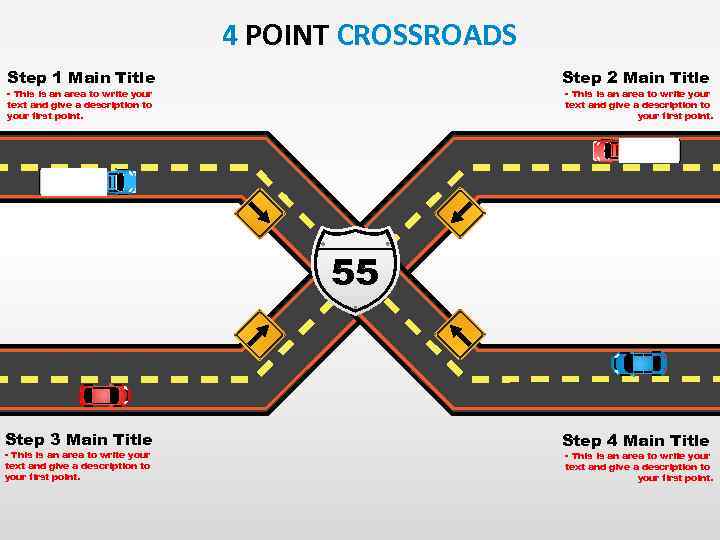 4 POINT CROSSROADS Step 2 Main Title Step 1 Main Title - This is an area to write your text and give a description to your first point. 55 Step 3 Main Title - This is an area to write your text and give a description to your first point. Step 4 Main Title - This is an area to write your text and give a description to your first point.
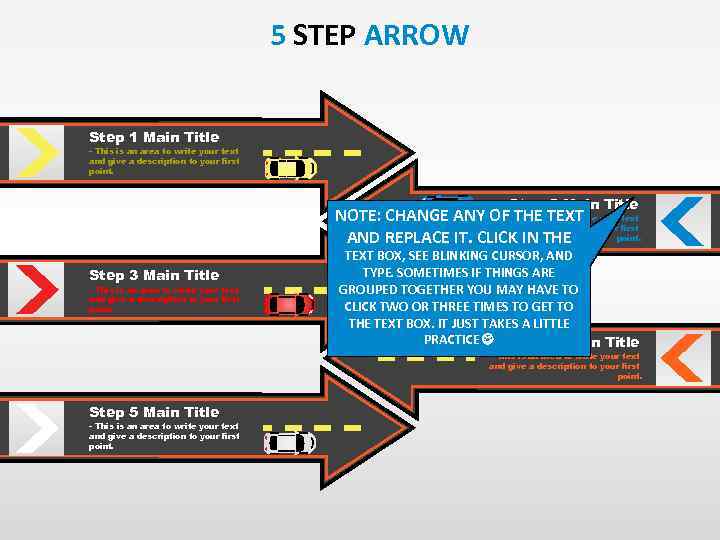 5 STEP ARROW Step 1 Main Title - This is an area to write your text and give a description to your first point. Step 2 Main Title NOTE: CHANGE ANY OF THEarea to write your text - This is an TEXT and give a description to your first point. AND REPLACE IT. CLICK IN THE Step 3 Main Title - This is an area to write your text and give a description to your first point. TEXT BOX, SEE BLINKING CURSOR, AND TYPE. SOMETIMES IF THINGS ARE GROUPED TOGETHER YOU MAY HAVE TO CLICK TWO OR THREE TIMES TO GET TO THE TEXT BOX. IT JUST TAKES A LITTLE PRACTICE Step 4 Main Title - This is an area to write your text and give a description to your first point. Step 5 Main Title - This is an area to write your text and give a description to your first point.
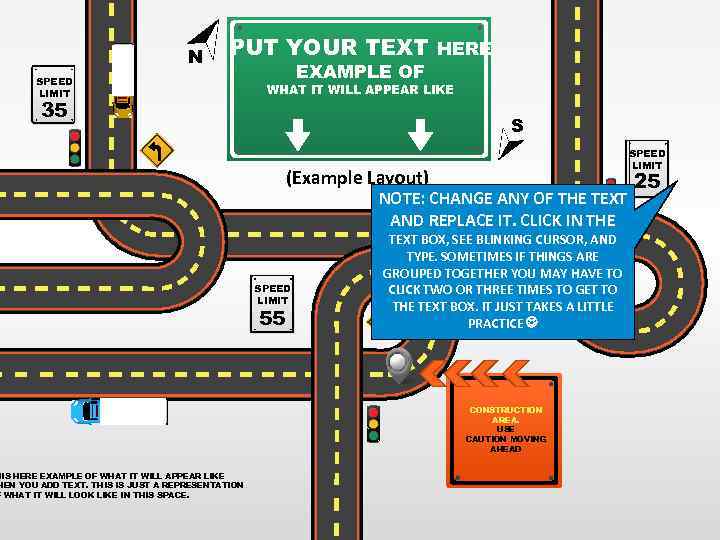 N PUT YOUR TEXT HERE SPEED LIMIT 35 HIS HERE EXAMPLE OF WHAT IT WILL APPEAR LIKE HEN YOU ADD TEXT. THIS IS JUST A REPRESENTATION F WHAT IT WILL LOOK LIKE IN THIS SPACE. EXAMPLE OF WHAT IT WILL APPEAR LIKE S SPEED LIMIT (Example Layout) NOTE: CHANGE ANY OF THE TEXT AND REPLACE IT. CLICK IN THE SPEED LIMIT 55 TEXT BOX, SEE BLINKING CURSOR, AND TYPE. SOMETIMES IF THINGS ARE GROUPED TOGETHER YOU MAY HAVE TO CLICK TWO OR THREE TIMES TO GET TO THE TEXT BOX. IT JUST TAKES A LITTLE PRACTICE CONSTRUCTION AREA. USE CAUTION MOVING AHEAD 25
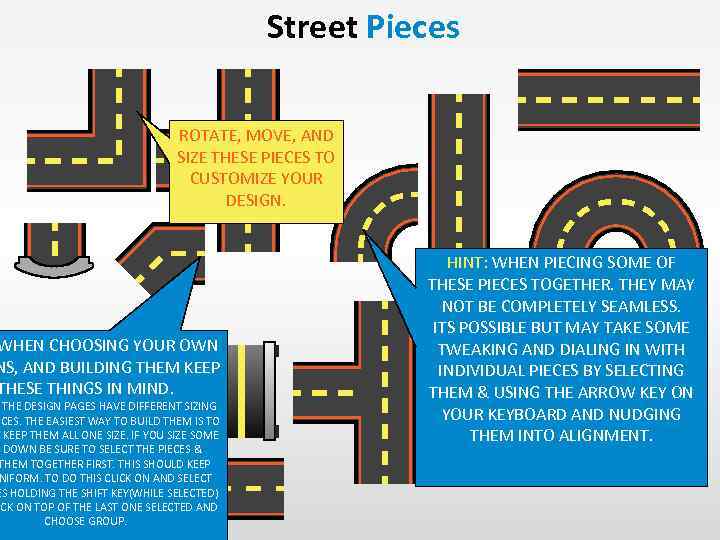 Street Pieces ROTATE, MOVE, AND SIZE THESE PIECES TO CUSTOMIZE YOUR DESIGN. WHEN CHOOSING YOUR OWN NS, AND BUILDING THEM KEEP THESE THINGS IN MIND. THE DESIGN PAGES HAVE DIFFERENT SIZING ECES. THE EASIEST WAY TO BUILD THEM IS TO Y KEEP THEM ALL ONE SIZE. IF YOU SIZE SOME DOWN BE SURE TO SELECT THE PIECES & THEM TOGETHER FIRST. THIS SHOULD KEEP NIFORM. TO DO THIS CLICK ON AND SELECT ES HOLDING THE SHIFT KEY(WHILE SELECTED) ICK ON TOP OF THE LAST ONE SELECTED AND CHOOSE GROUP. HINT: WHEN PIECING SOME OF THESE PIECES TOGETHER. THEY MAY NOT BE COMPLETELY SEAMLESS. ITS POSSIBLE BUT MAY TAKE SOME TWEAKING AND DIALING IN WITH INDIVIDUAL PIECES BY SELECTING THEM & USING THE ARROW KEY ON YOUR KEYBOARD AND NUDGING THEM INTO ALIGNMENT.
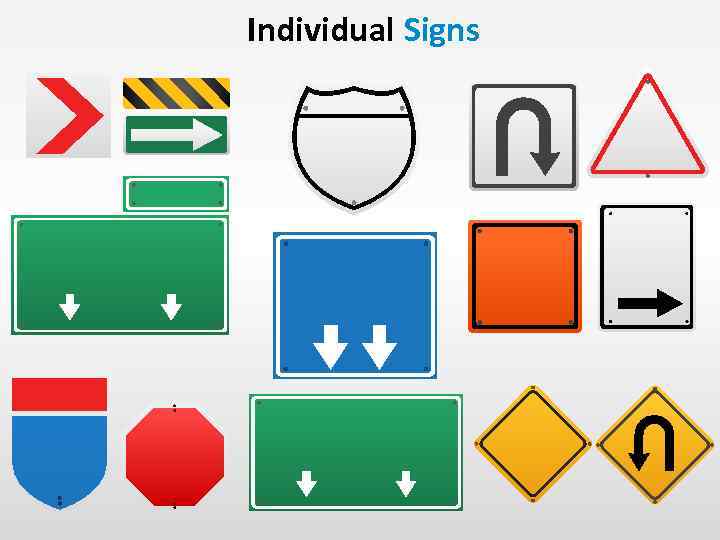 Individual Signs
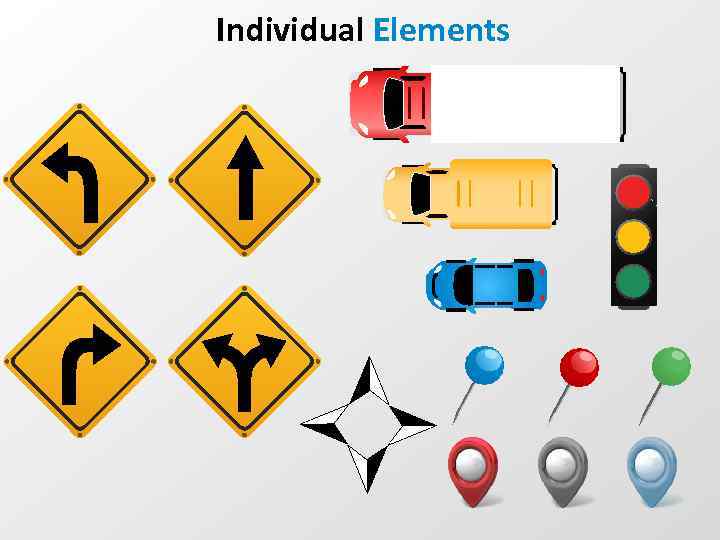 Individual Elements


