
Still Life or Observational Drawing


- Размер: 6.5 Mегабайта
- Количество слайдов: 31
Описание презентации Still Life or Observational Drawing по слайдам
Still Life or Observational Drawing
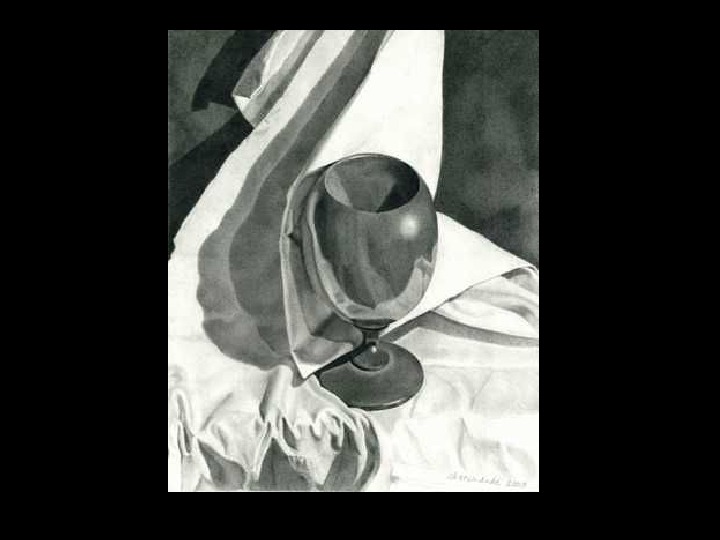
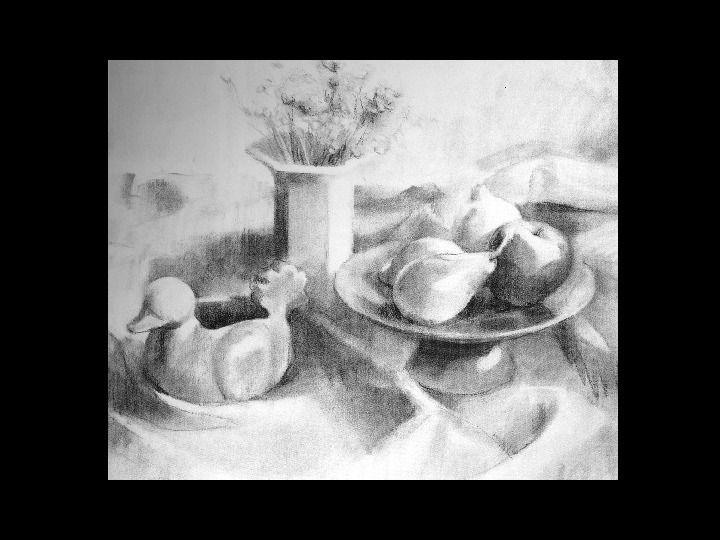
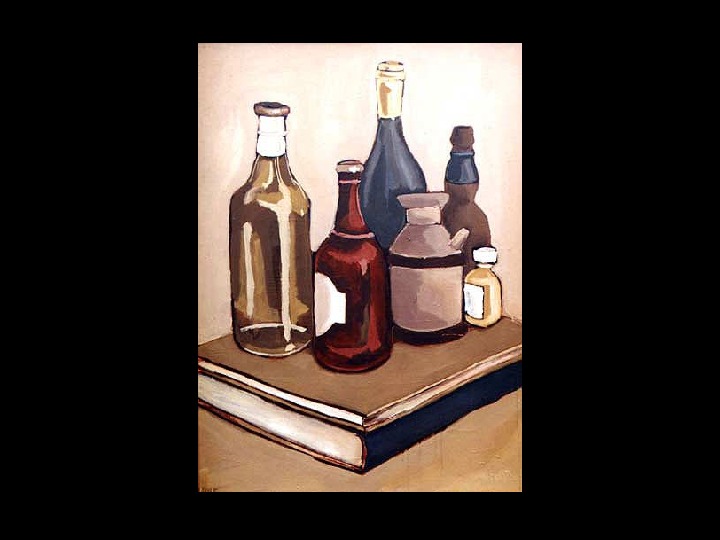
WHY DRAW STILL LIFES? A still life is a drawing or painting of inanimate objects — such as fruit, pottery and flowers. The artist has a chance to arrange these objects (unlike a landscape) in order to work out the composition of their artwork. In addition, they are a great way to practice and develop observational drawing techniques.
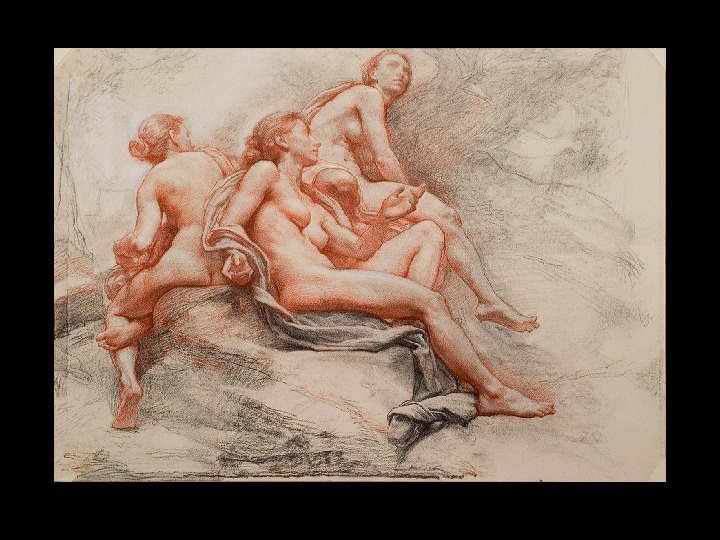
A trois crayon
TIPS FOR SETTING UP YOUR OWN STILL LIFE: 1. Choose your location: light source is the key to a strong painting or drawing. The creation of a strong range of values will give life and impact to your work. 2. Architectural features such as a window frame or door can add direction to a composition. Think about the overall arrangement and composition of your page. 3. Choose your objects with thought! Beginners should avoid oddly shaped objects that might look ‘wrong’ even when you’ve got it ‘right’. Choose objects that will make an interesting drawing and demonstrate use of value and composition. 4. Arrange the group. When arranging, consider compositional elements, avoiding bland central postitioning and symmetry. Once you get the hang of it, be a little daring! Try something with a unique perspective or challenge your skills. 5. Avoid piling fruit in a bowl — let it spill from a bag, or be half-eaten on a plate… and you don’t have to use fruit! 6. View your arrangement through an empty slide frame (make one out of card) to assess the composition and consider its placement on the paper.
Starting your STILL LIFE: 1 — Create a VALUE SCALE 10 Steps — start with white and end with black… — should see an even “jump” in value from one step to the next. — you will use this to create a Full-range of value in your still life
Ways to Create Value (SHADING)
Drawing Simple Objects:
Adding Value:
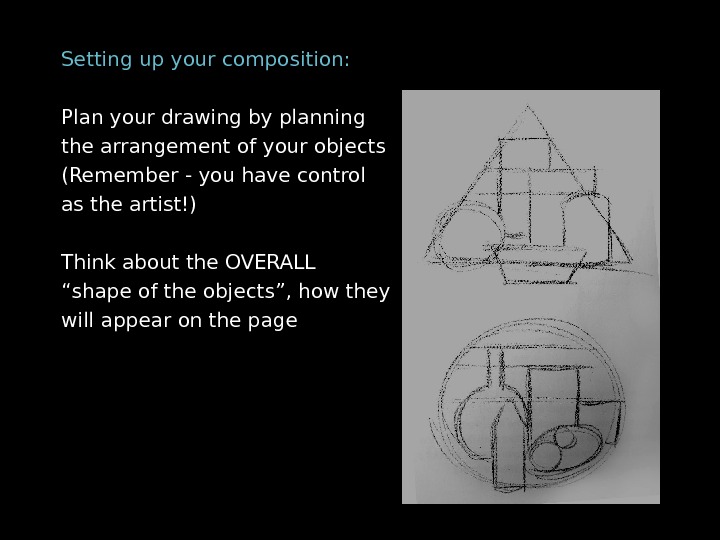
Setting up your composition: Plan your drawing by planning the arrangement of your objects (Remember — you have control as the artist!) Think about the OVERALL “ shape of the objects”, how they will appear on the page
Start your drawing… LIGHTLY sketch out shapes of objects (use vine charcoal, a drawing stump or light pencil (ex: 4 H). Work out the kinks now… get the perspective, composition and proportions right…
Your assignment: 1 — Create a value scale (10 steps etc. ) 2 — An observational/still-life drawing showing: • developed value • sophisticated composition, use of entire picture plane • experimentation and/or mastery of media • correct proportion OR distortion with artistic purpose • set up your own or use one of the ones around the studio * If you are a beginner, start with the egg drawing… then move on to a simple still life.
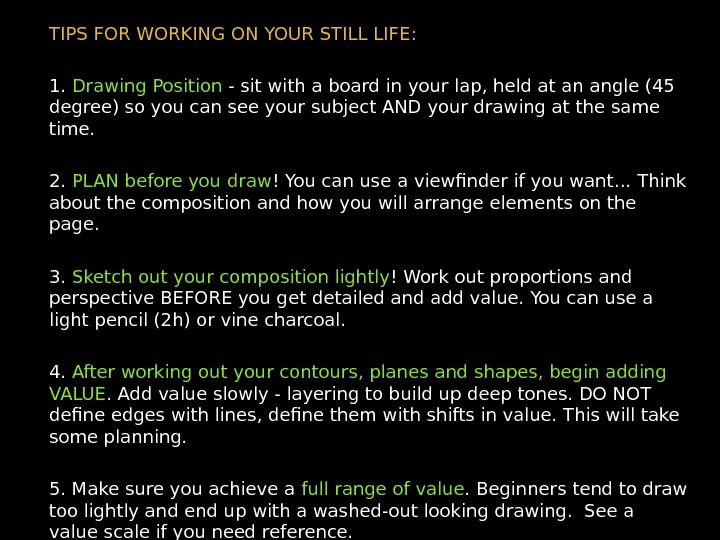
TIPS FOR WORKING ON YOUR STILL LIFE: 1. Drawing Position — sit with a board in your lap, held at an angle (45 degree) so you can see your subject AND your drawing at the same time. 2. PLAN before you draw ! You can use a viewfinder if you want… Think about the composition and how you will arrange elements on the page. 3. Sketch out your composition lightly ! Work out proportions and perspective BEFORE you get detailed and add value. You can use a light pencil (2 h) or vine charcoal. 4. After working out your contours, planes and shapes, begin adding VALUE. Add value slowly — layering to build up deep tones. DO NOT define edges with lines, define them with shifts in value. This will take some planning. 5. Make sure you achieve a full range of value. Beginners tend to draw too lightly and end up with a washed-out looking drawing. See a value scale if you need reference.