
1 Pro. CAST Hpdc filling 2


- Размер: 5.3 Mегабайта
- Количество слайдов: 26
Описание презентации 1 Pro. CAST Hpdc filling 2 по слайдам
1 Pro. CAST Hpdc filling
2 Load the mesh file
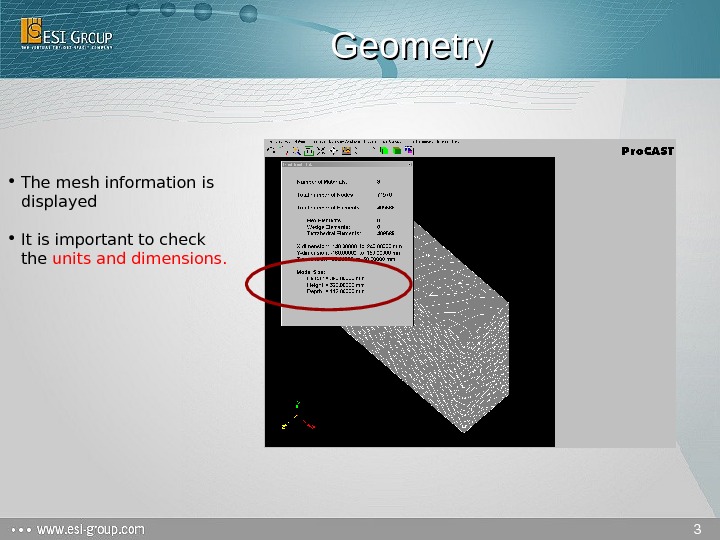
3 Geometry • The mesh information is displayed • It is important to check the units and dimensions.
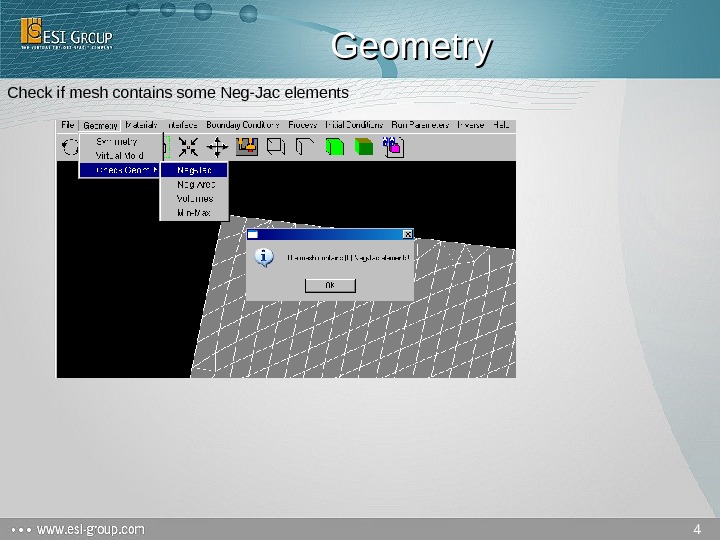
4 Geometry Check if mesh contains some Neg-Jac elements
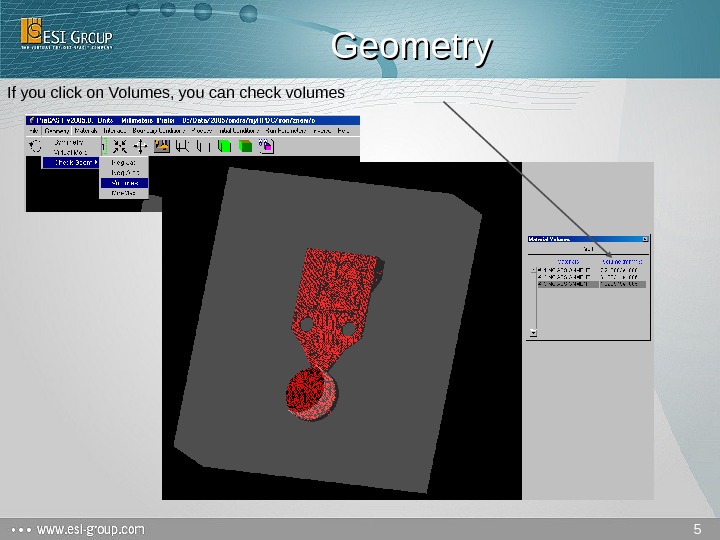
5 Geometry If you click on Volumes, you can check volumes
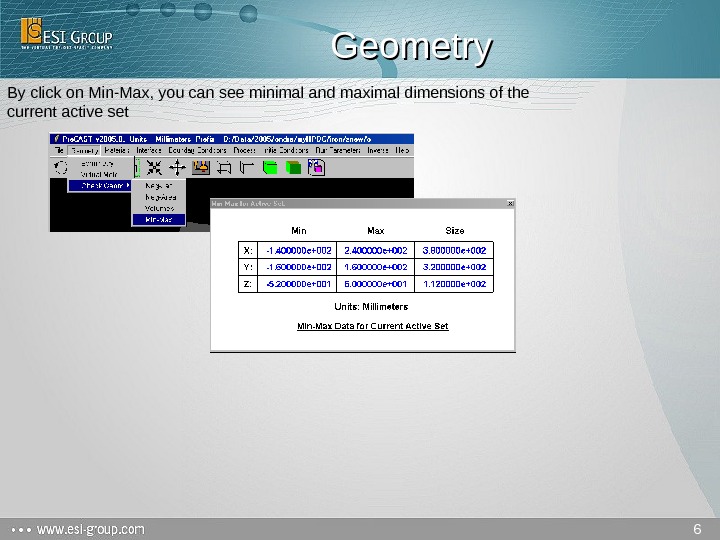
6 Geometry By click on Min-Max, you can see minimal and maximal dimensions of the current active set
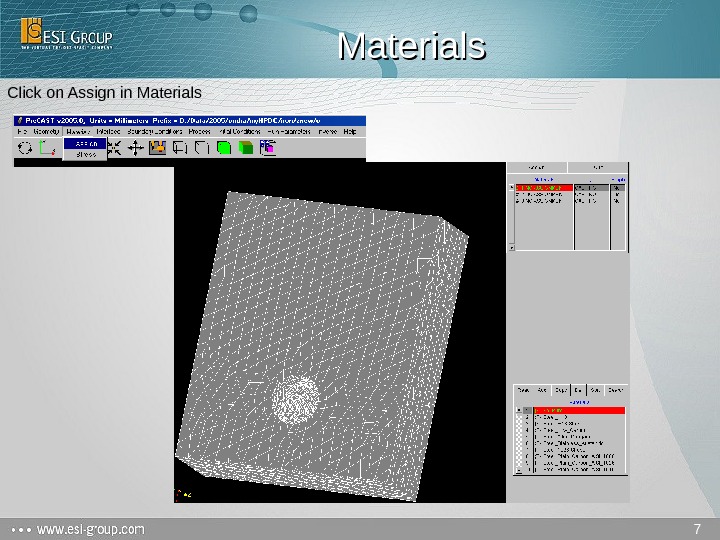
7 Materials Click on Assign in Materials
8 Materials 1. Select among the material database list the material that will be modeled 2. select the right material type and 3. set the casting as empty for a filling simulation
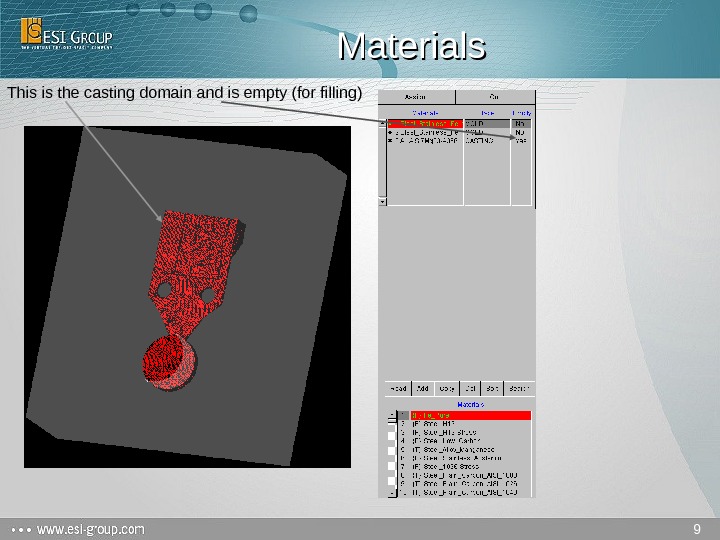
9 Materials This is the casting domain and is empty (for filling)
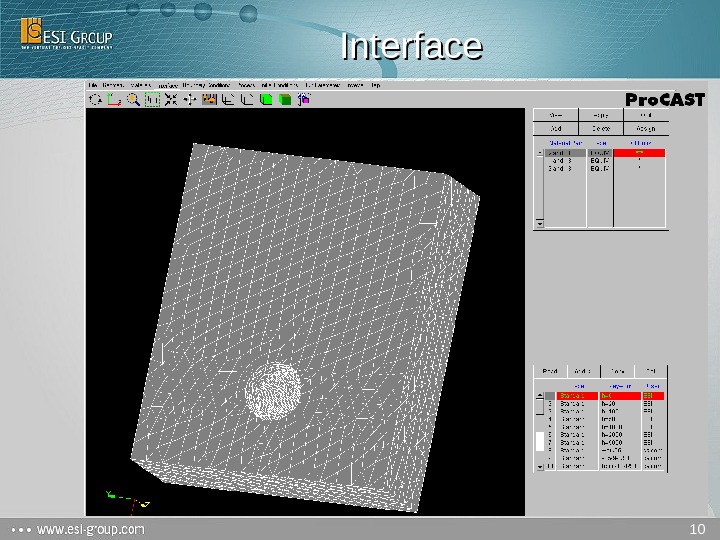
10 Interface
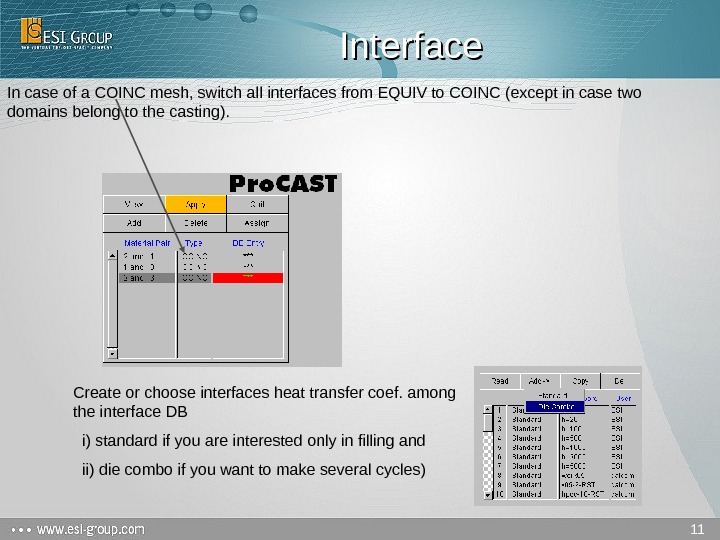
11 Interface In case of a COINC mesh, switch all interfaces from EQUIV to COINC (except in case two domains belong to the casting). Create or choose interfaces heat transfer coef. among the interface DB i) standard if you are interested only in filling and ii) die combo if you want to make several cycles)
12 Diecombo Interface Thermal conditions has to be entered Press assign to put condition on right material pair Copy and modify interfaces DB entry allows one to save time
13 Boundary Conditions Select and add the Boundary Conditions for filling simulation Add Heat, Velocity and Temperature BC conditions
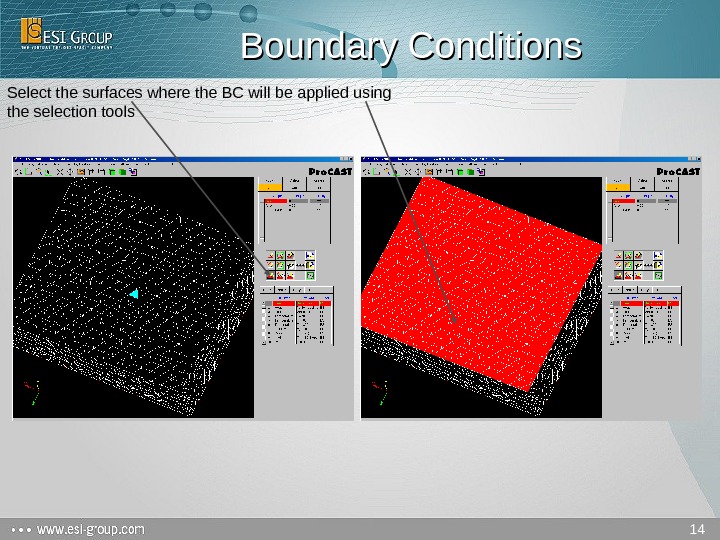
14 Boundary Conditions Select the surfaces where the BC will be applied using the selection tools
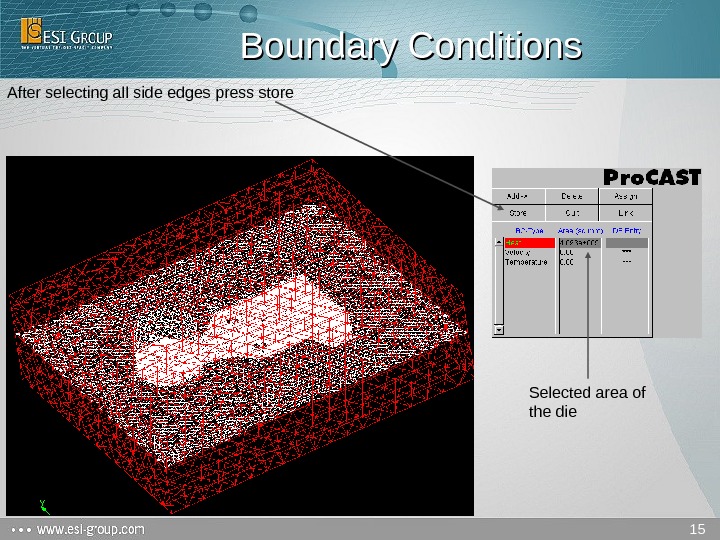
15 Boundary Conditions After selecting all side edges press store Selected area of the die
16 Boundary Conditions Create new velocity condition by Add Again by Propagate Select surface
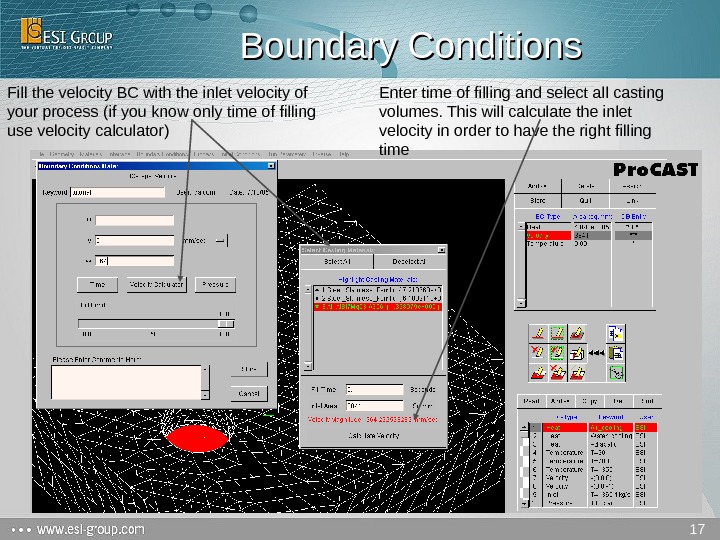
17 Boundary Conditions Fill the velocity BC with the inlet velocity of your process (if you know only time of filling use velocity calculator) Enter time of filling and select all casting volumes. This will calculate the inlet velocity in order to have the right filling time
18 Boundary Conditions As velocity and temperature conditions have the same surface, you can copy the surface selection Select Velocity push Copy, select Temperature push Paste and Store it
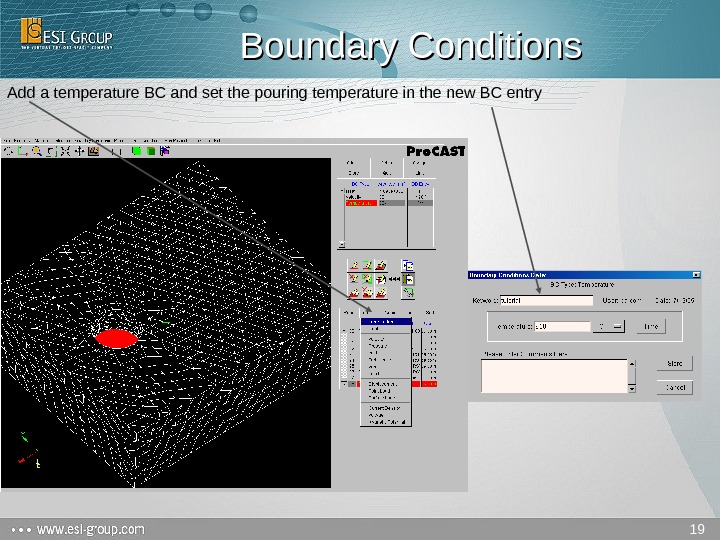
19 Boundary Conditions Add a temperature BC and set the pouring temperature in the new BC entry
20 Gravity Set gravity in right direction In this menu we will change only Gravity. Look at axes an find right gravity vector. Enter correct value according to units (a left-click on x, y or z enters automatically the value 9. 81 and a double click enters a -9. 81).
21 Initial Conditions For each material set initial temperature
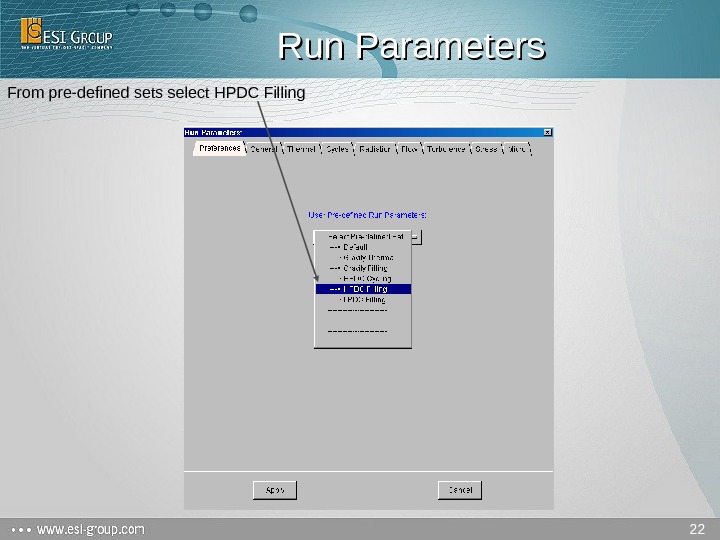
22 Run Parameters From pre-defined sets select HPDC Filling
23 Run Parameters If you are not interested in solidification select small time after filling
24 Run Parameters For more detailed results choose lower storage frequency
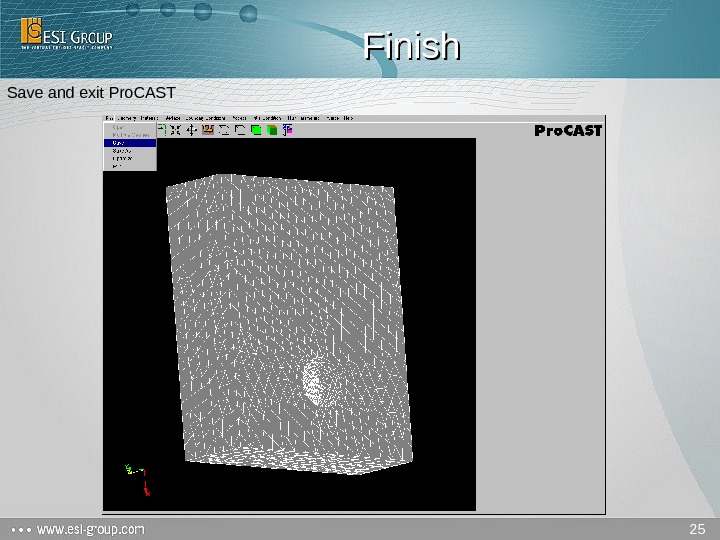
25 Finish Save and exit Pro. CAST
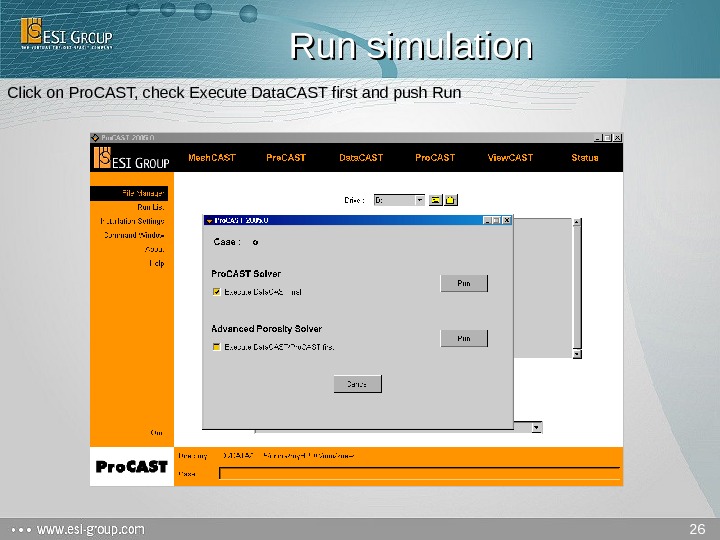
26 Run simulation Click on Pro. CAST, check Execute Data. CAST first and push Run